


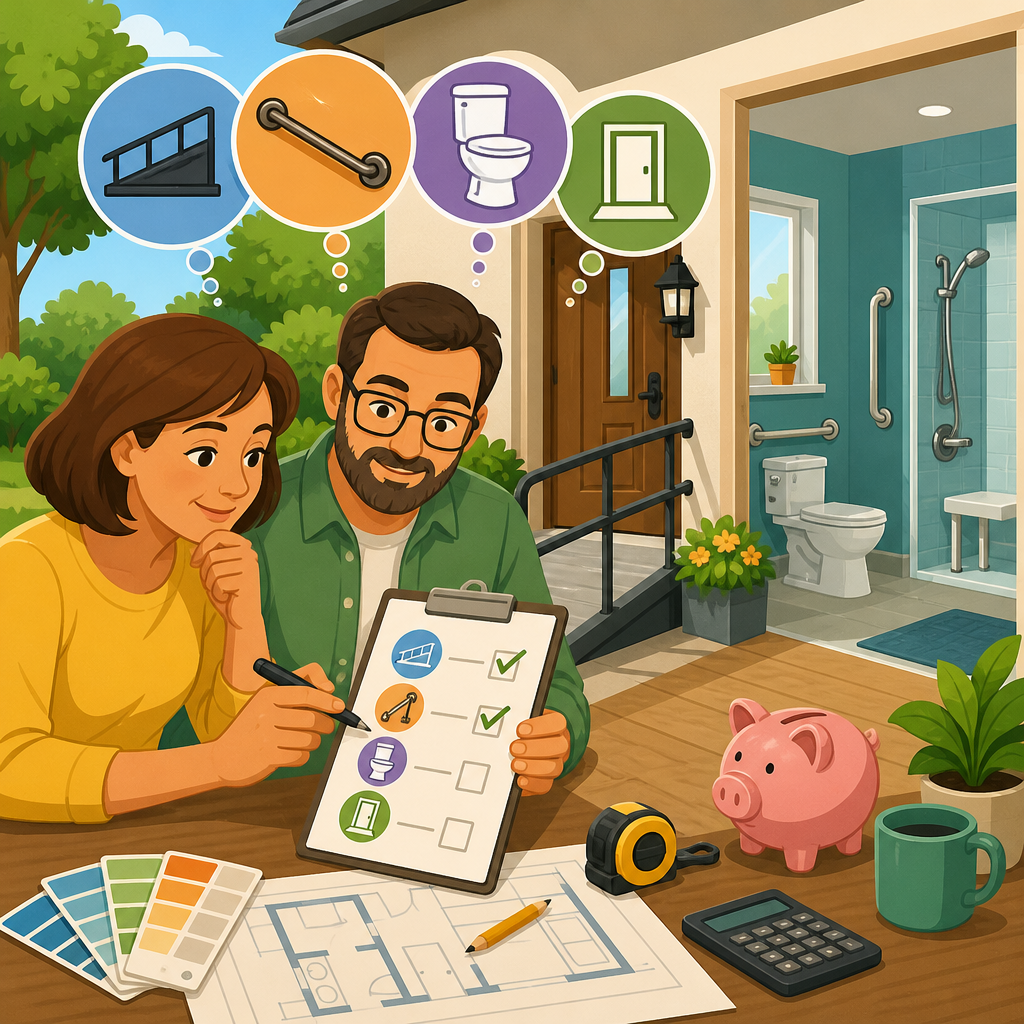
Home accessibility modifications become most effective when they are prioritized in the right order, because limited budgets force homeowners to choose changes that improve safety, independence, and daily function first. In practical terms, accessibility renovations are changes that help people with mobility, balance, vision, hearing, strength, or cognitive limitations use a home more safely and comfortably. These projects can range from inexpensive grab bars and lever handles to larger upgrades such as no-step entries, widened doorways, stair lifts, or roll-in showers. I have worked with families planning these upgrades after injuries, during aging-in-place remodels, and when preparing a home for a wheelchair user, and the same question appears every time: what should we do first if we cannot do everything now?
The answer starts with understanding that priority is not the same as preference. A beautiful kitchen reconfiguration may feel important, but if the bathroom lacks stable supports or the front entry has unsafe stairs, those issues usually rank higher. Good prioritization considers fall risk, frequency of use, ability to perform activities of daily living, emergency egress, and total cost versus impact. It also recognizes that home accessibility modifications are not only for permanent disabilities. Many households need short-term changes after surgery, during rehabilitation, or while caring for an older parent whose needs are increasing. The right sequence can prevent injuries, reduce caregiver strain, and delay or avoid a move to a more expensive setting.
This hub article explains how to prioritize accessibility renovations when money is tight, while also giving a comprehensive framework for evaluating home accessibility modifications room by room. It covers how to assess urgent hazards, which low-cost changes deliver the biggest gains, when structural work should move to the top of the list, and how to plan a phased budget that avoids wasted spending. You will also see real-world examples, practical decision criteria, and trusted standards that professionals commonly use. If you need to make your home safer and more usable without overspending, start with function, document the highest risks, and build your renovation plan around the places where a single upgrade can improve everyday life immediately.
Start with a safety and function audit
The first step is a home accessibility assessment focused on tasks, not just features. In every project I have managed, the most useful walkthrough began with simple questions: Can the resident enter and exit independently? Can they toilet, bathe, prepare food, and reach medication safely? Can a caregiver assist without strain? This task-based approach reveals where the home breaks down. A raised threshold may seem minor until it repeatedly catches a walker. A narrow bathroom door becomes critical when someone starts using a wheelchair. A tub wall turns into a daily hazard after a hip replacement.
Professionals often structure these reviews around activities of daily living and instrumental activities of daily living, then map barriers room by room. The highest-priority risks are usually falls, transfers, and blocked routes. According to the Centers for Disease Control and Prevention, falls are a leading cause of injury among older adults, so any audit should look closely at stairs, bathrooms, loose flooring, poor lighting, and lack of hand support. If possible, involve an occupational therapist, certified aging-in-place specialist, or accessibility-focused contractor. They can identify details homeowners often miss, such as improper turning clearances, unsafe reach ranges, or fixture placements that do not work from a seated position.
Prioritize projects using impact, urgency, and cost
Once hazards are documented, rank home accessibility modifications using three factors: impact on daily independence, urgency of the safety risk, and cost to implement. This prevents emotional decision-making and keeps the budget aligned with measurable benefit. A simple scoring method works well. Give each possible project a score from one to five for safety improvement, frequency of use, and affordability. Projects with high safety and high frequency almost always rise to the top, even if they are not the most visible changes.
| Modification | Typical Cost Range | Main Benefit | Priority Level |
|---|---|---|---|
| Grab bars at toilet and shower | $100-$500 | Reduces fall risk during transfers | Very high |
| Improved lighting and rocker switches | $150-$800 | Better visibility and easier control | High |
| Threshold ramps | $50-$400 | Smoother walker or wheelchair access | High |
| Lever door handles and faucet controls | $20-$300 each | Easier use with limited grip strength | High |
| Toilet height upgrade or raised seat | $50-$600 | Safer sit-to-stand transfers | High |
| Stair lift | $3,000-$15,000 | Maintains access to upper floor | Medium to high |
| Roll-in shower conversion | $5,000-$20,000+ | Accessible bathing and caregiver support | High if bathing is unsafe |
| Door widening | $700-$2,500 per opening | Wheelchair clearance | High when mobility device use is permanent |
For example, one family I advised wanted to spend its full budget replacing kitchen cabinets with lower counters. After scoring the whole house, we moved bathroom support bars, a handheld shower, brighter hallway lighting, and two entry ramps ahead of the kitchen work. The result was immediate: the resident could bathe with less help, stopped catching a walker at the door thresholds, and could enter the home without two-person assistance. The kitchen remodel remained worthwhile, but it was not the first dollar to spend.
Address entry, exit, and route accessibility before comfort upgrades
If a person cannot get in, out, or through the home reliably, cosmetic or convenience upgrades should wait. Entry accessibility is often the highest-value category because it affects every medical appointment, every delivery, and every emergency evacuation. A no-step entrance is ideal, but even a properly sized threshold ramp or modular aluminum ramp can dramatically improve access. The Americans with Disabilities Act uses technical criteria such as a 1:12 ramp slope for many public settings, and while private homes may require case-by-case adaptation, that ratio remains a useful benchmark for safe planning. Steeper ramps may save space but can become dangerous without assistance.
Inside the home, focus next on the primary route between bedroom, bathroom, kitchen, and exit. Remove trip hazards, secure rugs, improve lighting, and widen or clear passages where mobility devices scrape or stall. Pocket doors, offset hinges, and strategic trim work sometimes create enough clearance to delay a full doorway reconstruction. In one bungalow project, replacing a traditional hinged bathroom door with a pocket door solved a walker clearance problem for a fraction of the cost of moving walls. Route accessibility also includes flooring transitions. Thick rugs, uneven tile edges, and abrupt thresholds can stop wheelchairs and trigger falls. Smoother surfaces often deliver more benefit than homeowners expect.
Make the bathroom your highest-priority room in many cases
Bathrooms deserve special attention because they combine water, hard surfaces, tight turning spaces, and frequent transfers. In real homes, the bathroom is where small accessibility failures become injuries. If the budget allows only one room-focused renovation, this is often the room to choose. Start with the essentials: secure grab bars anchored to blocking or framing, a handheld shower on a slide bar, a non-slip floor treatment or slip-resistant tile, improved lighting, and a toilet setup that supports safer transfers. A comfort-height toilet or raised seat can make a measurable difference for people with weak knees, limited hip flexion, or poor balance.
When bathing is the main challenge, compare modification levels carefully. A transfer bench and handheld shower may solve the problem temporarily for a few hundred dollars. If stepping over a tub wall is no longer safe, a low-threshold shower conversion may offer better value than repeated stopgap purchases. For wheelchair users or people needing caregiver assistance, a curbless or roll-in shower with enough clear floor space becomes more important. Professionals often reference standards from ICC A117.1 or universal design best practices for clearances and control placement, because dimensions matter. A beautifully renovated shower that lacks turning room or places controls out of reach is still a functional failure.
Use low-cost modifications to buy time and reduce risk
Not every accessibility improvement requires construction. When funds are limited, inexpensive changes can lower risk immediately while you plan larger work. This is especially useful after hospital discharge, when families need faster solutions than a full remodel can provide. Install lever-style door handles, replace round faucet knobs with easier controls, add motion-sensor night lights, raise frequently used chairs with stable risers approved for the furniture type, and move daily-use items to shoulder and waist height. Even rearranging a bedroom to create a straight path to the bathroom can prevent nighttime falls.
Assistive equipment also plays a role in home accessibility modifications, even though it is not attached to the building. Bed rails, shower chairs, transfer benches, portable ramps, and over-toilet frames can be effective bridges. The tradeoff is that equipment should not substitute for structural safety forever when permanent limitations exist. I have seen families spend repeated small amounts on temporary fixes that eventually exceed the cost of a single better renovation. The smart approach is to use low-cost measures to stabilize the environment, then schedule permanent upgrades in phases. Think of these changes as risk control, not a final strategy.
Know when larger structural renovations should come first
Some situations justify moving expensive projects to the top of the list. If a wheelchair cannot access the bathroom at all, if all essential living spaces are split across levels with no practical way to climb stairs, or if caregiving requires unsafe lifting in narrow spaces, structural work is no longer optional. In these cases, delaying major changes can increase medical risk and caregiver injury. Door widening, bathroom reconfiguration, bedroom relocation to the main floor, and exterior ramp construction may create more independence than several smaller purchases combined.
Stair decisions are a common example. A stair lift can be excellent when the user can transfer safely on and off the seat and the staircase geometry allows proper installation. However, for someone who uses a wheelchair full time, relocating essential living functions to one level may be more practical than depending on a lift for every trip. Similarly, an expensive kitchen remodel may not need full custom cabinetry. Selective changes such as knee space under a sink, pull-out shelves, side-opening oven access, or relocating the microwave to counter height can improve usability at lower cost. The key is matching the renovation to the person’s long-term functional profile rather than assuming the biggest project is automatically the best project.
Build a phased budget and use credible funding sources
A phased plan turns an overwhelming accessibility wish list into an achievable sequence. I usually recommend three tiers. Phase one covers urgent safety issues within thirty days, such as grab bars, lighting, railings, threshold ramps, and clutter removal. Phase two addresses daily function over the next six to twelve months, including shower modifications, toilet upgrades, door hardware, and route improvements. Phase three includes structural renovations with design drawings, permits, and contractor coordination, such as zero-step entries, widened hallways, or a full accessible bathroom. This sequencing protects limited cash while ensuring that each later project supports, rather than duplicates, earlier work.
Funding options vary, but homeowners should check state assistive technology programs, Medicaid waiver pathways where available, Veterans Affairs housing grants for eligible veterans, nonprofit repair programs, and local aging agencies. Some insurers may cover specific durable medical equipment but not construction, so documentation matters. Ask contractors for itemized bids and distinguish medically necessary work from general remodeling. Also verify whether products meet recognized safety standards and whether installers have relevant experience. Poorly installed grab bars, undersized ramps, and noncompliant shower slopes are expensive mistakes. Prioritize accessibility renovations the same way you would prioritize healthcare: solve the highest-risk barriers first, document needs clearly, and commit to the next most important improvement on your list this month.
Frequently Asked Questions
1. How do I decide which accessibility renovations should come first when my budget is limited?
The best way to prioritize accessibility renovations is to start with the changes that reduce the greatest safety risks and improve essential daily activities. In most homes, that means looking first at fall hazards, bathroom access, entryways, and the ability to move safely between the rooms used every day. If someone in the household struggles with balance, strength, mobility, or fatigue, the most urgent upgrades are usually the ones that prevent injuries during routine tasks like bathing, using the toilet, entering the home, and getting in and out of bed.
A practical way to evaluate priorities is to walk through the home and identify where problems happen most often. Ask questions like: Where is the person most likely to fall? Which task requires help from another person right now? Which part of the home causes pain, strain, or fear? Which obstacle keeps the person from using an important room independently? The answers will usually reveal that the first dollars should go toward high-impact safety improvements rather than cosmetic changes or lower-priority convenience features.
For many households, early priorities include grab bars in the shower and near the toilet, better lighting in hallways and entrances, non-slip flooring or bath surfaces, stair handrails, and removing trip hazards such as loose rugs or raised thresholds. If entering the home is difficult, even a modest exterior modification like a safer handrail, a threshold ramp, or improved walkway lighting may be more valuable than a larger interior upgrade. The key is to focus on modifications that immediately improve safety, reduce dependence, and make the home usable every day.
2. What are the most cost-effective accessibility upgrades that make a real difference?
When money is tight, the most cost-effective upgrades are usually the smaller changes that solve common safety and usability problems without requiring major construction. These improvements often deliver a strong return because they affect daily routines right away. Grab bars, handheld showerheads, raised toilet seats, shower chairs, anti-slip strips, lever door handles, rocker light switches, and brighter task lighting are good examples. They are relatively affordable, but they can dramatically improve confidence and function for someone with limited strength, dexterity, or balance.
Another high-value area is circulation throughout the home. Replacing doorknobs with lever handles, widening a few critical furniture pathways, lowering frequently used storage items, and adding motion-sensor lighting can make a home much easier to navigate with limited mobility or low vision. Even simple adjustments like changing the height of a bed, adding contrasting tape to stair edges, or moving everyday items to waist level can reduce strain and improve independence without a large renovation budget.
Bathroom modifications often provide some of the strongest benefits because bathrooms are one of the highest-risk areas in any home. If a full roll-in shower remodel is not realistic, smaller upgrades such as a tub transfer bench, secure grab bars, a comfort-height toilet, and a handheld showerhead can still make bathing and toileting much safer. In many cases, thoughtful low-cost changes done in the right places are more useful than spending the same amount on one large but less urgent renovation.
3. Should I focus on bathrooms, entrances, or other areas of the home first?
There is no one-size-fits-all answer, but bathrooms and entrances are often the first places to evaluate because they combine high risk with high daily importance. The bathroom is where slips and falls are especially common, and the entrance determines whether someone can get in and out of the home safely for work, medical appointments, errands, or emergencies. If either area is unsafe or difficult to use, it can limit independence quickly and create serious risk.
That said, the right priority depends on how the home is actually used. If a person cannot enter the house without assistance, then the entrance may be the top priority. If they can enter safely but are at high risk during bathing or toileting, then the bathroom should likely come first. If stairs prevent access to the bedroom, laundry area, or main living spaces, then handrails, stair safety upgrades, or temporary first-floor living arrangements may matter more than either of those areas in the short term.
A smart approach is to rank spaces by urgency and frequency. Start with the areas used multiple times every day and the locations where a mistake could lead to a serious injury. For many people, that means first addressing the route into the home, the bathroom, the bedroom, and the main path between them. Kitchens, closets, and secondary spaces can absolutely matter, but they often come after the core spaces needed for safe mobility, hygiene, rest, and basic independence.
4. How can I plan accessibility renovations in phases so I do not waste money?
Phasing accessibility renovations is one of the smartest ways to manage a limited budget, but it works best when there is an overall plan from the beginning. Instead of choosing projects one at a time with no long-term strategy, map out both the immediate needs and the likely future needs of the person living in the home. A phased plan should separate upgrades into categories such as urgent safety changes, near-term function improvements, and larger long-term renovations. This helps you spend money in a sequence that supports future work instead of forcing expensive redo projects later.
For example, if a bathroom remodel may eventually be needed, avoid spending money on temporary changes that will need to be removed unless they provide a clear short-term safety benefit. It may be wiser to install grab bars, improve lighting, and add a shower seat now, while planning the layout so that a curbless shower or wider doorway can be added later. The same principle applies to entryways, flooring, and circulation paths. Think about how today’s lower-cost modifications fit into a future accessible design.
It also helps to bring in the right expertise early, even if you are not ready for a full renovation. A contractor experienced in accessibility work, an occupational therapist, or a certified aging-in-place specialist can help identify which upgrades are foundational and which are optional. That guidance can prevent wasted spending on features that look helpful but do not solve the real barriers in the home. A phased plan should always begin with immediate safety, then move toward independence and long-term livability as funds become available.
5. Are there ways to pay for accessibility renovations or reduce the total cost?
Yes, and it is worth researching funding options before paying out of pocket for every modification. Depending on the homeowner’s age, disability status, income, military service, or insurance situation, there may be grants, local assistance programs, nonprofit support, tax benefits, or loan options available. Some communities offer home modification programs through aging services, disability resource centers, housing agencies, or state accessibility initiatives. Veterans may also have access to specific home adaptation benefits. Because programs vary widely by location, local research is often the best starting point.
Even when direct financial aid is limited, there are practical ways to reduce costs. One is to prioritize targeted modifications over full remodels when possible. Another is to bundle related work so labor costs are used efficiently. Comparing contractors who have real experience with accessibility features can also help prevent costly mistakes. In some cases, durable equipment such as ramps, shower chairs, or transfer benches may be available used, loaned through community programs, or covered in part by benefits or medical-related funding sources.
It is also important to think about cost in terms of value, not just price. A well-chosen accessibility upgrade can reduce the likelihood of falls, delay the need for more intensive care, and allow someone to remain at home more safely and comfortably. Those outcomes can save money over time while improving quality of life. When budgets are limited, the goal is not simply to spend less. It is to spend strategically on the modifications that have the greatest impact on safety, independence, and day-to-day function.