Stair lift rail alignment determines whether a new system feels smooth, quiet, and dependable or becomes a source of jolts, nuisance faults, and premature wear. In straightforward terms, rail alignment is the process of setting the stair lift track at the correct pitch, spacing, height, and joint position so the carriage moves exactly as the manufacturer intended. During installation, even a small deviation can change how the drive system engages the rail, how the seat levels on the staircase, and how safety sensors respond at landings and on intermediate bends. I have seen installations that looked acceptable at a glance but produced repeated service calls because the rail was slightly twisted at one bracket or because two sections were joined under tension rather than flush.
This matters because a stair lift is not simply furniture attached to stairs; it is a load-bearing mobility device with moving mechanical, electrical, and safety components. Most modern units use a rack-and-pinion or cable-driven system, battery charging points at one or both ends, limit switches, overspeed protection, and obstruction sensors. All of those systems assume the rail geometry is correct. When alignment is right, the user experiences predictable starts, stable seat posture, reliable charging, and accurate stopping at top and bottom landings. When alignment is wrong, the symptoms can include rough travel, beeping fault codes, uneven gear wear, battery undercharging, or a seat that stops slightly off level, which can make transfers more difficult for people with reduced balance or strength.
For homeowners comparing professional installation vs DIY, rail alignment is the point where the difference becomes most concrete. Professional installers use manufacturer templates, torque specifications, digital levels, inclinometer readings, bracket spacing rules, and final ride testing under load. A DIY approach may look cheaper at the outset, but the technical margin for error is narrower than many expect, especially on older staircases with settling, irregular treads, soft timber, or walls that are not square. This article explains why alignment matters, how professional installers achieve it, where DIY efforts often go wrong, and how to decide which path is appropriate for your home and your safety needs.
What Rail Alignment Actually Includes During a Stair Lift Installation
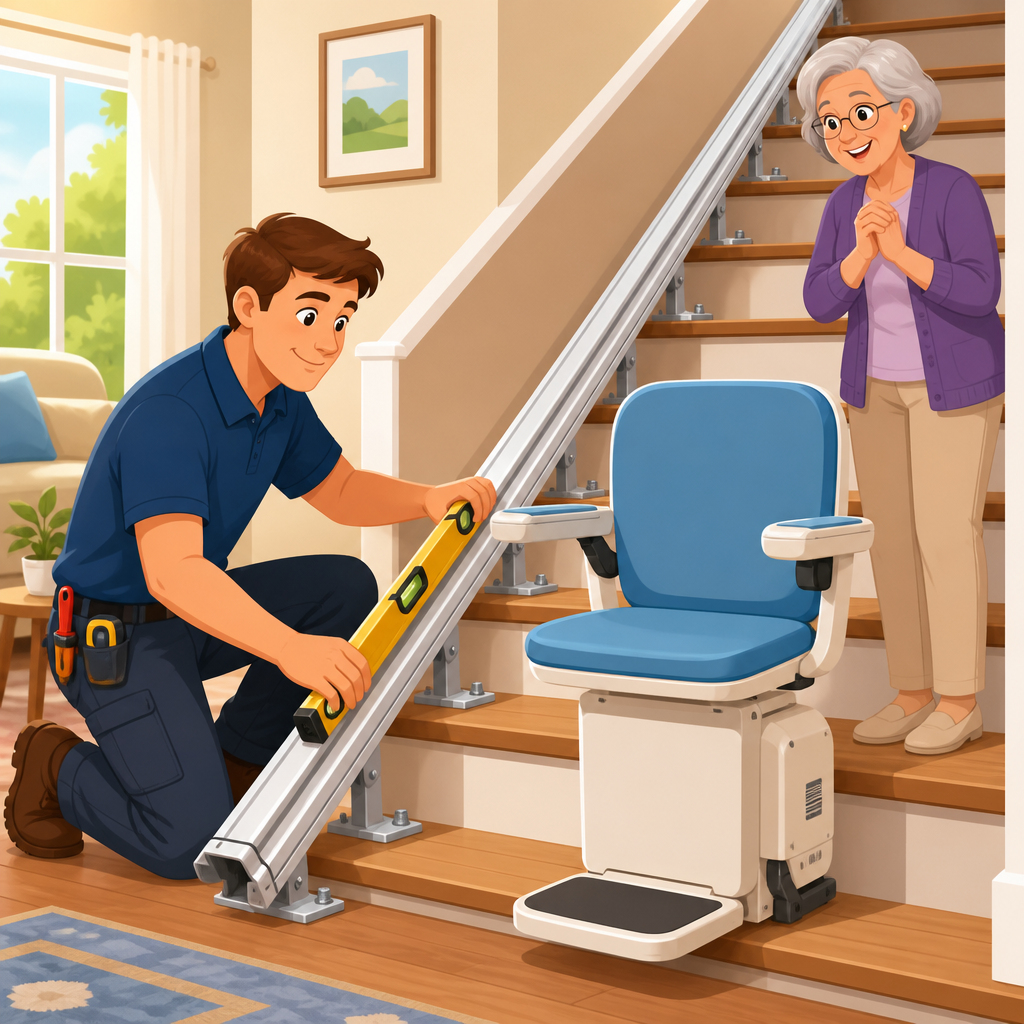
Rail alignment is broader than making the track look straight. On a straight stair lift, installers must confirm the rail follows the staircase pitch precisely, with bracket locations set to distribute loads into sound treads at the correct intervals. The rail also needs consistent stand-off distance from nosings or walls, depending on the model, so the carriage clears trim, skirts, and handrails throughout its travel. If the system uses a geared strip on the rail, tooth mesh must remain consistent from end to end. On a curved stair lift, alignment becomes more exacting because each bend, park position, and transition point must match a survey drawing and the manufactured rail geometry within tight tolerances.
In practice, that means checking section joints, vertical and lateral level, bracket plumb, and seat platform attitude at multiple points. It also means confirming final stop positions line up with safe transfer areas, not just with where the rail physically ends. Experienced installers will inspect tread integrity before drilling, shim only where approved by the manufacturer, and avoid forcing a rail into place to overcome a staircase irregularity. Forcing is a common root cause of stress at joints and later movement. The best installations feel effortless partly because the rail was set up to let the machine do its work without compensating for hidden misalignment every time it travels.
How Poor Alignment Affects Safety, Ride Quality, and Component Life
The most immediate effect of poor alignment is ride quality. Users notice vibration, clicking, hesitation at joints, or a slight lurch when the carriage starts and stops. Those symptoms are not merely cosmetic. They indicate loads are being transferred unevenly through the gearbox, rollers, guide shoes, or drive pinion. Over time, that can accelerate wear on the rail teeth, loosen fasteners, and increase noise. I have also seen poor rail alignment cause charging issues because the carriage failed to settle precisely onto the charge contacts at the upper landing. The owner assumed the batteries were defective, but the underlying issue was stop position drift caused by installation geometry.
Safety implications are more serious. If the seat ends a travel cycle out of level, even by a modest amount, stepping on or off becomes less stable. Misalignment can also affect obstruction sensor sensitivity or produce nuisance trips that strand a user mid-staircase. On curved systems, a badly aligned transition can alter footrest clearance and reduce confidence for users who already have limited mobility. Excessive stress on brackets or treads is another concern. Stair lifts are engineered to place weight into specific fixing points. If a bracket is skewed or over-tightened to pull the rail into alignment, the tread material may crack, compress, or gradually loosen. That can compromise both the lift and the staircase structure over time.
Why Professional Installation Usually Delivers Better Results Than DIY
Professional stair lift installation is not valuable simply because a technician owns tools. It is valuable because the installer follows a repeatable process grounded in manufacturer requirements and field experience. Reputable companies begin with a site survey that measures tread depth, rise, pitch, landing space, wall projections, door swing, and any hazards such as radiators or low banisters. For curved lifts, many providers use digital photo measurement or optical surveying systems to create a precise rail drawing before fabrication. For straight lifts, the installer still verifies dimensions on site because old houses often differ from nominal measurements in ways that matter once brackets and overrun lengths are involved.
During fitting, trained installers work to specified torque values, bracket spacing, and electrical setup procedures. They know, for example, when uneven treads can be accommodated with approved shims and when the substrate is too weak and needs remedial carpentry first. They also know how to test the system under real conditions: empty travel, loaded travel, charging confirmation, swivel and footrest interlock checks, and emergency stop validation. Crucially, professional installation usually preserves the product warranty and may be required for compliance with insurer or supplier terms. Many manufacturers and dealers explicitly restrict commissioning to authorized technicians because the final setup determines whether the device meets its rated performance and safety envelope.
Where DIY Stair Lift Installation Runs Into Trouble
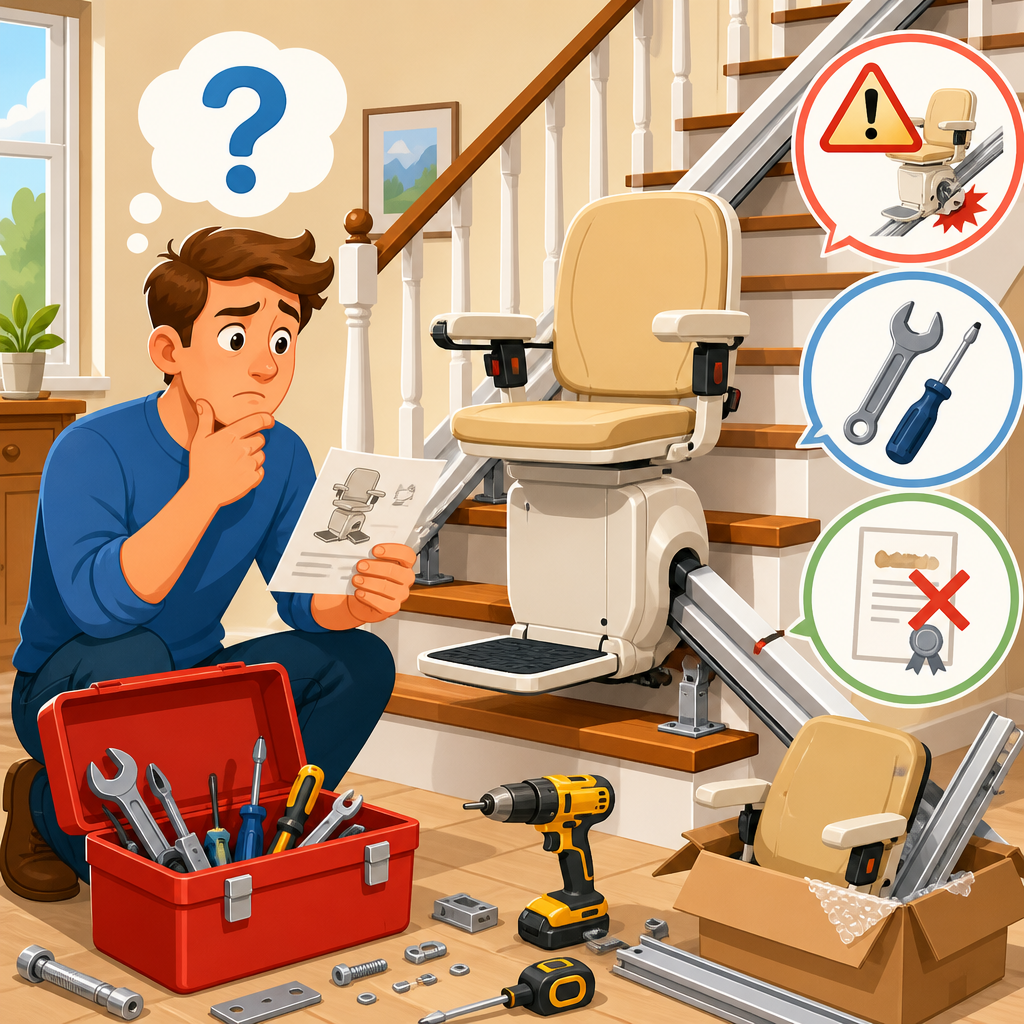
DIY installation tends to underestimate the gap between assembling parts and commissioning a mobility device. Homeowners with strong mechanical skills can often mount brackets and physically place a rail, but trouble begins with tolerance stacking. A few millimeters of error at several brackets can create a twist large enough to affect carriage travel. A rail joint that is not perfectly seated may feel acceptable during a hand push test yet produce repeated jolts under motor load. Fasteners are another issue. Under-tightening allows movement; over-tightening can distort brackets, strip timber, or crush packers that then settle later. Without the manufacturer’s exact specification and a calibrated torque tool, consistency is difficult.
Electrical setup is also a common stumbling point. Battery-powered lifts still require correct charger placement, outlet suitability, and contact alignment. Limit settings, final stop calibration, and fault-code interpretation vary by brand. A DIY installer may misread a nuisance fault as a bad board when the actual cause is rail geometry, or may chase a charging problem without realizing the carriage is stopping a few millimeters short. There is also the question of liability. If a self-installed stair lift malfunctions and causes injury, warranty support may be limited or denied. For households with older adults recovering from surgery, people with neurological conditions, or users transferring independently, that risk profile is not theoretical. It directly affects daily safety.
Professional Installation vs DIY: A Practical Comparison
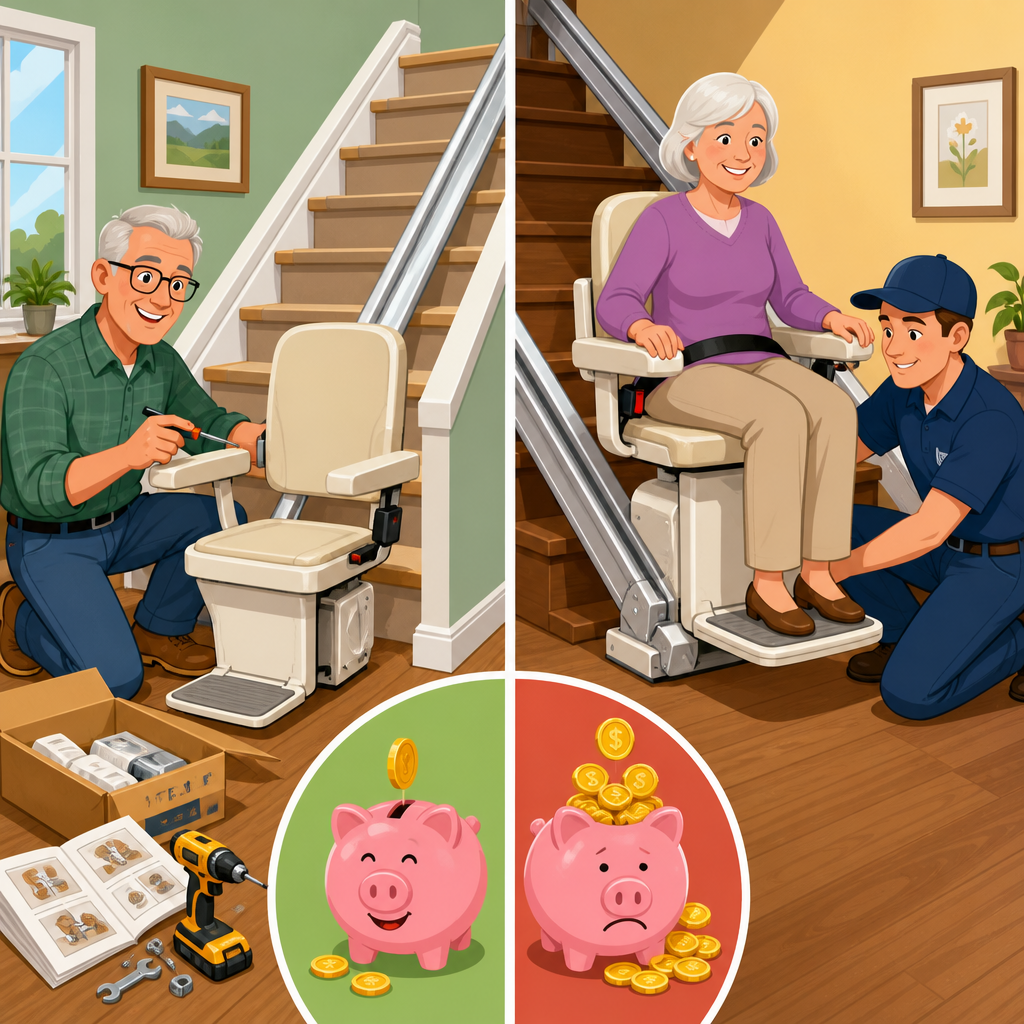
The central tradeoff is simple: DIY can reduce upfront labor cost, while professional installation reduces technical risk and long-term ownership friction. In my experience, many of the savings people expect from DIY disappear after they purchase specialized tools, replace damaged trim or treads, and spend time troubleshooting charging or stop-position problems. Professional installers also spot issues unrelated to the lift itself, such as a loose newel post, compressed carpet under a bracket, or inadequate clearance at a hallway door. Those findings matter because stair lift performance depends on the environment as much as on the machine.
| Factor | Professional Installation | DIY Installation |
|---|---|---|
| Rail alignment accuracy | Set using manufacturer methods, measured tolerances, and ride testing | Depends on homeowner skill; errors often appear only after repeated use |
| Safety checks | Includes commissioning, sensor tests, charging checks, and landing verification | Often limited to basic operation unless the owner knows brand-specific procedures |
| Warranty support | Usually preserved when fitted by authorized technicians | May be reduced or voided by self-installation |
| Time to reliable use | Typically same day for straight lifts after survey approval | Longer if fit issues, calibration errors, or staircase repairs are discovered |
| Long-term cost | Higher upfront labor, lower chance of callbacks and premature wear | Lower upfront labor, higher risk of adjustments, parts wear, and rework |
That comparison does not mean every homeowner should dismiss hands-on involvement. Some people are well suited to preparing the site, clearing obstructions, arranging power access, or understanding the post-installation checklist. But when the question is who should align and commission the rail, the answer is usually the trained installer. The consequences of an error are cumulative. A lift can operate imperfectly for weeks before the owner notices battery decline, unusual noise, or drift at a landing. By then, the system may already have experienced avoidable wear.
Installation Factors That Make Alignment More Difficult Than It Looks
Several real-world conditions complicate rail alignment. Older timber stairs may have inconsistent tread thickness, hidden repairs, or slight sag between stringers. Carpet and underlay can compress differently from one tread to the next, changing bracket seating unless the installer compensates correctly. Walls are often out of plumb, which matters when maintaining folded-seat clearance or keeping the footrest from contacting baseboard trim on a curved travel path. Even in newer homes, stair geometry can vary enough that a nominally straight run is not truly uniform from bottom landing to upper floor.
Curved stair lifts add another layer because custom rails are fabricated from survey data, then assembled and fine-tuned on site. Any discrepancy between the survey and the actual staircase must be absorbed within the system’s adjustment range. Professional installers know where that range exists and where it does not. They also understand traffic flow and transfer ergonomics. The top overrun may need to place the seat away from the stair edge, near a doorway without blocking it, or in a position that allows a safe swivel. Proper alignment therefore combines mechanical precision with user-centered placement. That blend is difficult to replicate in a DIY project driven mainly by assembly instructions.
How to Decide Between Professional Installation and DIY
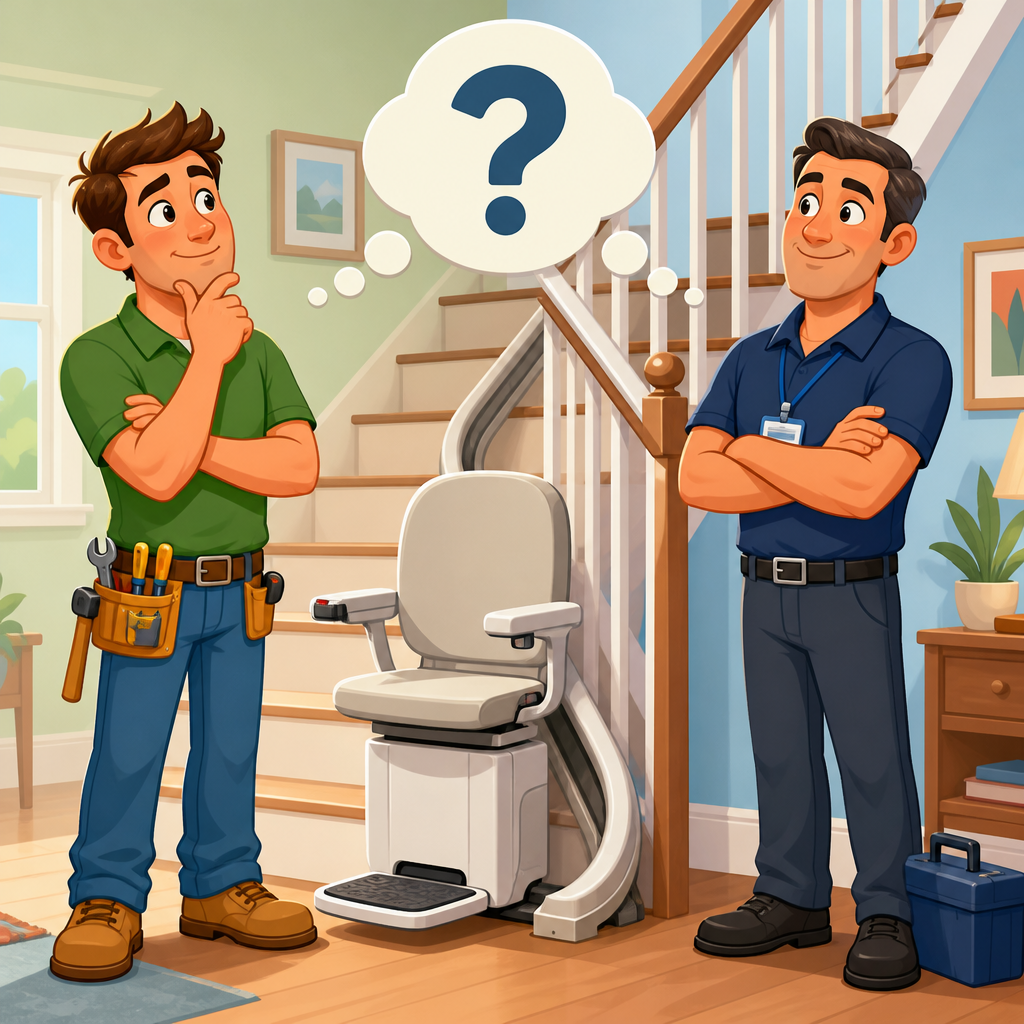
If you are choosing between professional installation and DIY, start with three questions. First, is the lift straight or curved? Curved systems should be professionally installed without exception because the rail is custom engineered and the setup tolerances are tight. Second, who will use the lift, and how much safety margin do they need during transfers? A user with poor balance, limited grip, or cognitive impairment benefits from the predictability of a professionally aligned system. Third, what does the manufacturer require for warranty and commissioning? If authorized installation is a condition of support, DIY savings may be false economy.
Also assess the staircase itself. Narrow stairs, brittle treads, thick carpet, half-landings, and obstructions such as radiators or doors all increase complexity. Ask the supplier how they verify rail alignment, what load testing they perform, and whether follow-up adjustments are included. A credible installer should explain bracket layout, charging-point setup, final stop calibration, and user handover in plain language. For households researching the broader Installation & Setup topic, this article serves as the decision hub: once you understand why rail alignment matters, related questions about measurements, power supply, staircase preparation, and post-installation checks become much easier to evaluate. If safety, warranty protection, and reliable daily use matter in your home, choose professional installation and treat DIY as site preparation only.
Frequently Asked Questions
Why is stair lift rail alignment so important during installation?
Rail alignment is one of the most important factors in how a stair lift performs from day one. The rail is not just a support track; it is the path that guides the carriage, drive system, and seat as they move up and down the staircase. When the rail is aligned correctly, the lift travels smoothly, the seat stays properly positioned, the motor and transmission engage as designed, and the ride feels quiet and controlled. When alignment is off, even by a small amount, the effects can show up immediately as vibration, jerky starts and stops, rubbing, unusual noise, or fault codes. In some cases, the problems are subtle at first and become more noticeable over time as parts begin to wear unevenly.
Proper alignment also affects safety and reliability. The lift must maintain the correct pitch, spacing, height, and joint positioning along the staircase so the carriage moves with consistent contact and balance. If one section is slightly too high, too low, or twisted, the drive components may be forced to work harder than intended. That extra strain can shorten the life of rollers, gears, brackets, and electronic components. In practical terms, good alignment helps the stair lift feel dependable, while poor alignment can turn a new installation into an ongoing source of nuisance service calls and premature wear.
What problems can happen if a stair lift rail is even slightly misaligned?
A slightly misaligned rail can cause a surprising range of issues because stair lifts are engineered to operate within tight tolerances. One common problem is a rough ride. Homeowners may notice small jolts at rail joints, side-to-side movement, or a feeling that the lift is straining during travel. The unit may also become noisier than expected, producing clicking, grinding, scraping, or humming sounds as the carriage passes through sections that are not properly set. These symptoms are often early clues that the rail geometry is forcing the carriage or drive system out of its intended path.
Misalignment can also create operational and mechanical problems. The seat may not stay level the way it should, the footrest may sit at an awkward angle relative to the stairs, or the unit may stop unexpectedly because sensors detect resistance or inconsistent travel. Over time, those small alignment errors can lead to uneven roller wear, excess stress on the transmission, increased battery draw, and faster deterioration of moving parts. In other words, poor alignment does not just affect comfort; it can reduce reliability, increase maintenance needs, and raise the likelihood of avoidable repairs long before the stair lift should need them.
How do professional installers make sure a stair lift rail is aligned correctly?
Professional installers follow a careful, step-by-step process rather than simply attaching the rail and testing whether it moves. They begin by measuring the staircase precisely, including rise, run, landing space, and any transitions or obstructions. From there, they position the rail to match the manufacturer’s specifications for pitch, bracket spacing, rail height, and clearances. This matters because each model is designed with specific requirements for how the carriage, motor, and seat interact with the track. Installers use leveling tools, alignment checks, and bracket adjustments to ensure the rail is straight where it should be straight, properly angled where the staircase changes, and fully supported without introducing twist or flex.
They also pay close attention to rail joints and connection points. On multi-piece rails, the transitions between sections must be smooth and accurately matched so the carriage does not bump or bind as it travels across them. After the rail is secured, experienced technicians perform test runs under operating conditions, listening for noise, watching for vibration, and confirming that the seat remains level and the unit charges properly at its designated points. Final fine-tuning is often what separates an average installation from an excellent one. A well-trained installer knows that correct alignment is not judged by whether the lift merely functions, but by whether it operates smoothly, quietly, and consistently in real everyday use.
Does proper rail alignment affect the long-term lifespan of a stair lift?
Yes, proper rail alignment has a direct impact on long-term durability. A stair lift is a system of interdependent components: the rail, carriage, drive mechanism, rollers, power system, and safety controls all rely on predictable movement. When the rail is aligned correctly, those components share loads the way the manufacturer intended. The motor does not have to compensate for extra resistance, the rollers do not wear unevenly, and the drive system can maintain steady engagement throughout the trip. This reduces stress on critical parts and helps the lift deliver many years of dependable service with routine maintenance.
When alignment is poor, the opposite tends to happen. The lift may still work, but it does so inefficiently. The motor may draw more power, the transmission may endure repeated strain, and moving parts may develop wear patterns that lead to noise, reduced performance, or breakdowns. Batteries can also be affected if the unit works harder on every trip or fails to settle correctly at charge points. Over time, these small inefficiencies add up. That is why rail alignment is not just an installation detail; it is a major factor in protecting the owner’s investment and preserving the overall lifespan of the system.
How can a homeowner tell whether a newly installed stair lift rail may need adjustment?
Homeowners can often spot signs of alignment issues by paying attention to how the lift feels and sounds in normal use. A properly aligned stair lift should move with a steady, composed motion and should not feel like it is lurching, dragging, wobbling, or hesitating at specific spots on the staircase. If the ride becomes bumpy at the same joint every trip, if the seat seems slightly off-level, or if the lift produces new rattling, scraping, or grinding noises, those are all reasons to ask for an inspection. Repeated fault messages, inconsistent charging, or stops that do not seem related to an obstruction can also point to alignment or rail support issues.
It is important not to dismiss these symptoms as normal settling. Stair lifts are designed to operate smoothly when installed correctly, and unusual behavior in a new system should be evaluated promptly. Homeowners do not need to diagnose the exact problem themselves; instead, they should document what they notice, including where on the staircase it happens and whether the issue is consistent. That information can help a technician identify whether the rail needs a bracket adjustment, a joint correction, or another installation-related refinement. Early attention to small warning signs can prevent larger performance problems and help ensure the lift remains safe, quiet, and dependable.