Removing a stair lift sounds straightforward, but doing it without damaging treads, loosening balusters, or creating electrical hazards takes planning, the right tools, and a clear understanding of how residential lift systems are built. A stair lift is a motorized chair or standing platform that travels on a rail fixed to stair treads or, less often, adjacent wall supports. DIY stair lift removal means dismantling that system yourself instead of hiring a mobility equipment dealer, accessibility contractor, or licensed electrician. This matters for homeowners preparing a property for sale, families clearing an estate, and buyers replacing an old unit with a newer model. I have worked on removals where the job took under two hours and others where hidden splices, seized brackets, and patched oak stairs turned a simple uninstall into a repair project. The difference was rarely the brand alone; it was whether the installer followed manufacturer specifications, whether the battery system was isolated safely, and whether the person removing the lift understood the order of operations. Professional installation vs DIY becomes the central question because the cheapest path upfront can become the most expensive if the stairs, rail, or electrical components are mishandled. A careful removal protects the staircase, preserves reusable parts, reduces disposal cost, and keeps open the option of reinstalling another rail-based accessibility system later.
How stair lifts are attached and what must be removed first
Most modern stair lifts from Bruno, Harmar, Stannah, Acorn, and Handicare are mounted to the stair treads, not the wall. That point is important because many homeowners delay removal out of fear that the wall will be torn apart. In a standard straight stair lift, the rail is secured with metal feet or brackets lagged into the tread surface, usually with wood screws or lag bolts. The chair carriage rides on the rail and contains the motor, gearbox, batteries, limit switches, and overspeed protection. Power typically comes from a nearby outlet feeding a charger; the lift itself usually runs on 24-volt batteries. Curved stair lifts are more complex. Their rails are custom fabricated, often shipped in numbered sections, and may include intermediate supports, parking bends, powered swivels, or hinged rail segments.
The safest removal sequence starts at the seat and carriage area rather than the rail feet. Remove power from the charging point, confirm whether the unit still has live battery voltage, and detach cosmetic covers before loosening structural hardware. On many models, the seat, footrest, and arm assemblies can be separated to reduce weight. That matters because a carriage can weigh well over 100 pounds, while some complete systems exceed 250 pounds. If you pull rail brackets first and leave the carriage on the track, the rail can twist, drop, or tear screw holes out of the stair treads. I have seen damaged red oak stairs caused by exactly that shortcut. The first rule of DIY stair lift removal is simple: de-energize, lighten, support, then unfasten.
Professional installation vs DIY: when self-removal makes sense and when it does not
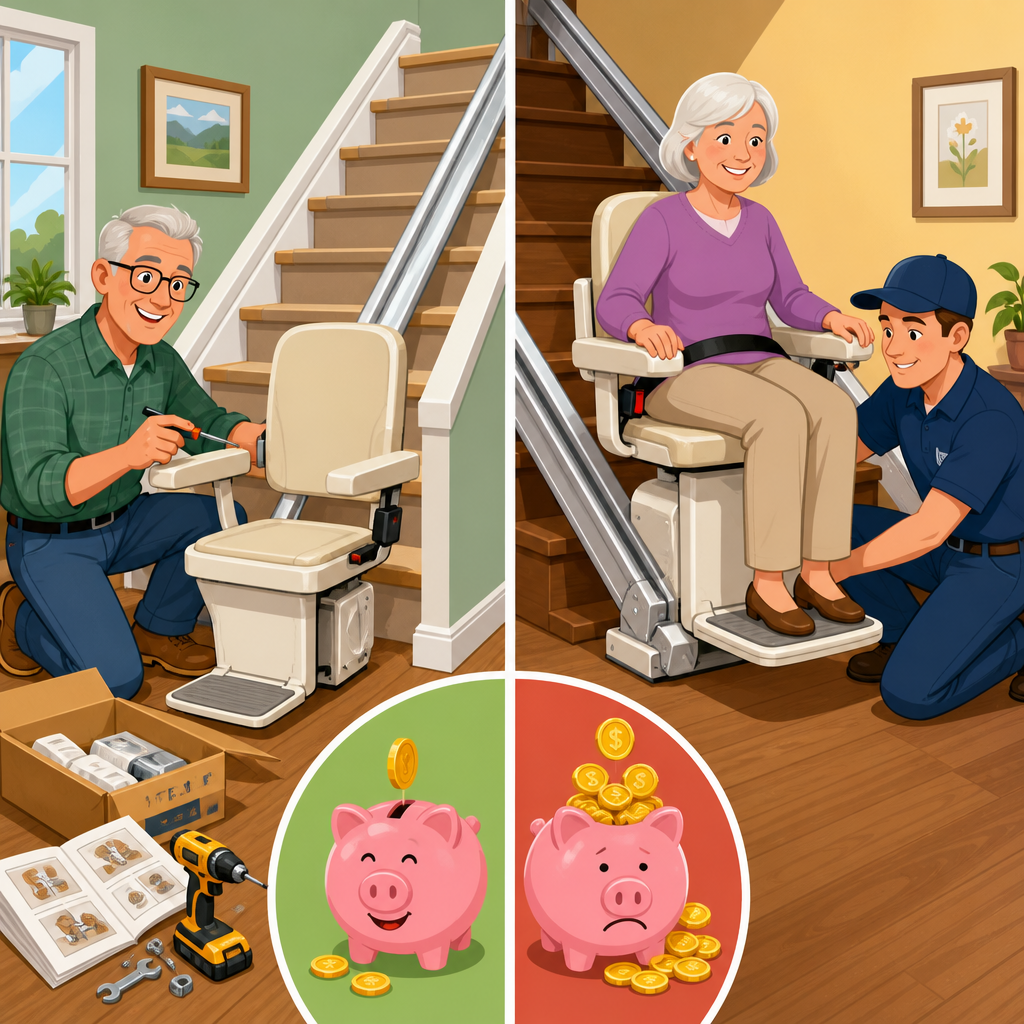
DIY removal makes sense when the lift is a straight, tread-mounted residential model in good mechanical condition, the stairs are open and accessible, and two capable adults can handle heavy components safely. It also makes sense when you have basic mechanical experience, labeled hardware storage, a drill-driver, socket set, and enough room at the top and bottom landings to maneuver long rail pieces. Straight rails are repetitive systems. Once covers are off, the fasteners are usually visible, and the unit can often be removed in manageable stages. If the staircase finish is durable and already shows prior holes or patches, the cosmetic risk is lower.
Professional removal is the better choice for curved lifts, outdoor lifts with corrosion, units tied into a dedicated electrical circuit, and any installation with custom blocking, unusual bracketry, or signs of structural movement. It is also the better choice if the stairs are historic hardwood, natural stone, or open-tread construction where every fastener mark matters. Installers know model-specific release procedures and can identify when a rail joint is under tension, when a folding hinge must be pinned before disassembly, and when batteries need proper recycling. Dealers may also buy back newer units or salvage components, offsetting labor cost. In practice, the dividing line is risk concentration. If one mistake can damage an expensive staircase, cause an injury, or make the replacement installation harder, professional service usually wins.
| Factor | DIY Removal | Professional Removal |
|---|---|---|
| Straight rail on wood treads | Often practical with two people and common tools | Useful if time is limited or resale handling is needed |
| Curved custom rail | Higher risk due to weight, alignment, and section joints | Recommended in most cases |
| Electrical complexity | Acceptable only if plug-in charger is simple and accessible | Best for hardwired or modified circuits |
| Stair finish sensitivity | Risk of visible gouges or enlarged holes | Better protection and patching experience |
| Disposal or resale | You arrange transport, recycling, and listing | Dealer may remove, recycle, or buy back components |
Tools, safety checks, and preparation before you start
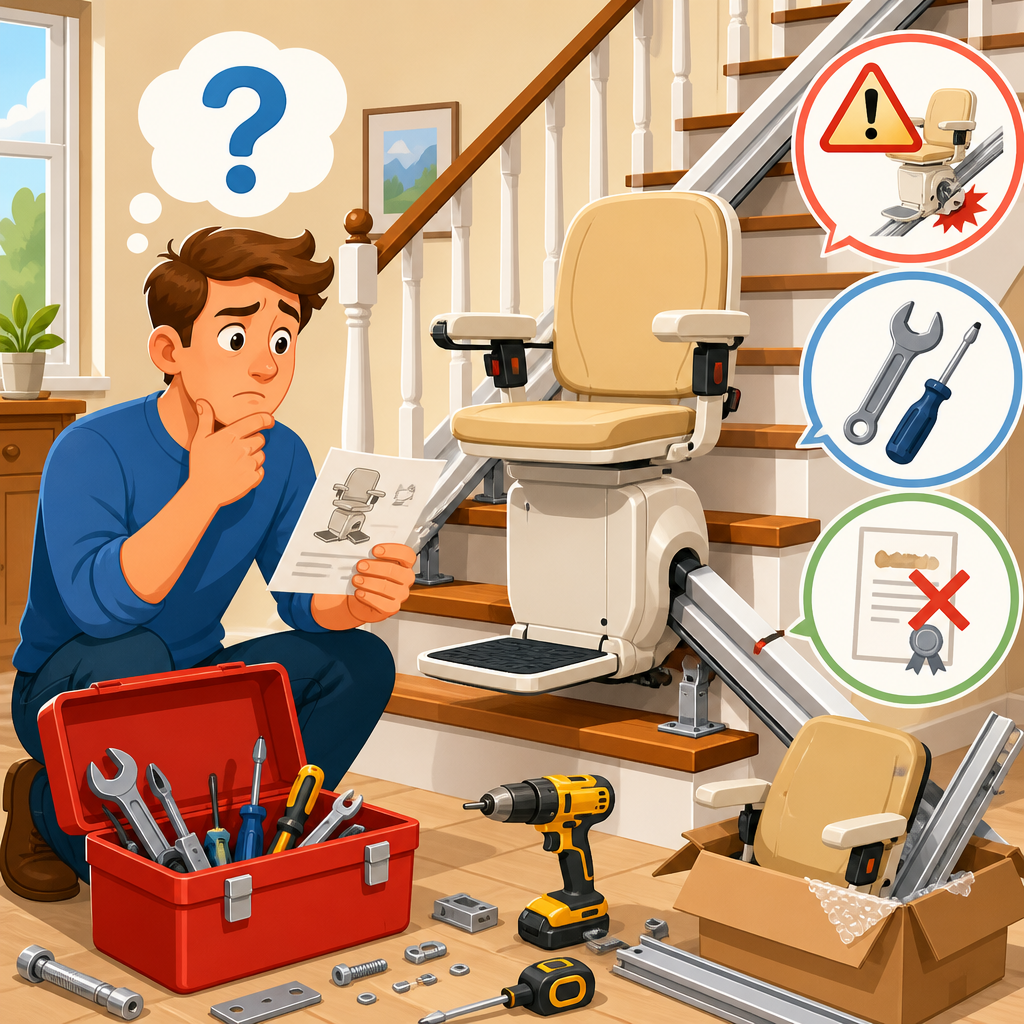
Before touching hardware, document the installation. Take wide photos of the full staircase, close photos of every bracket, the charger location, wiring paths, seat attachments, and rail joints. Label each bag of fasteners by location. This is useful not only for disposal or resale, but also for stair repair afterward. Basic tools usually include a drill-driver, impact driver used carefully, socket set, Allen keys, open-end wrenches, screw extractors, painter’s tape, moving blankets, pry protection shims, and a non-contact voltage tester. A furniture dolly helps with heavy carriage parts, and a helper is not optional. The rail is awkward even when not especially heavy.
Shut off power at the outlet or breaker as appropriate, then verify the charger is dead. Disconnect batteries according to manufacturer guidance if accessible. Wear gloves for sharp rail edges and eye protection for overhead fasteners. Protect stair nosings and finished wood with blankets or cardboard taped in place. If the rail runs close to balusters, wrap them. On narrow stairs, clear the landing completely before lifting anything. I also recommend measuring doorways and the longest rail section before removal. Many people successfully remove a lift from the stairs, then discover the rail cannot turn through the foyer without being split at a joint.
Step-by-step DIY stair lift removal without damaging the stairs
Start by parking the chair where the manual specifies for service, often near one end where access to release points is best. Remove the seat, footrest, and arm assemblies if the design allows. On several common models, this reduces both weight and bulk dramatically. Next, remove plastic shrouds and covers to expose the carriage attachment and rail brackets. Disconnect the charger leads and battery connections only after confirming the correct polarity and connector type. If any wiring passes through the rail, do not pull it blindly; release clips and feed it through in the direction intended by the design.
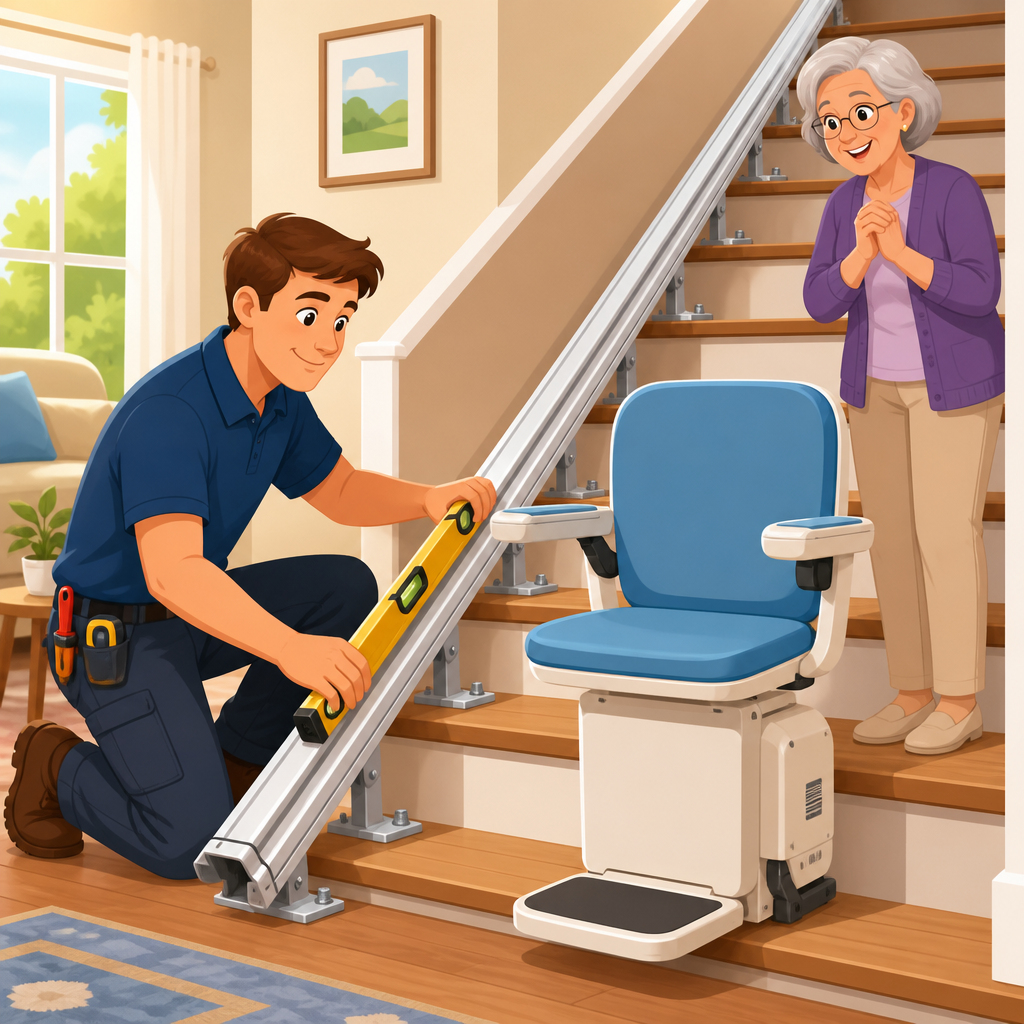
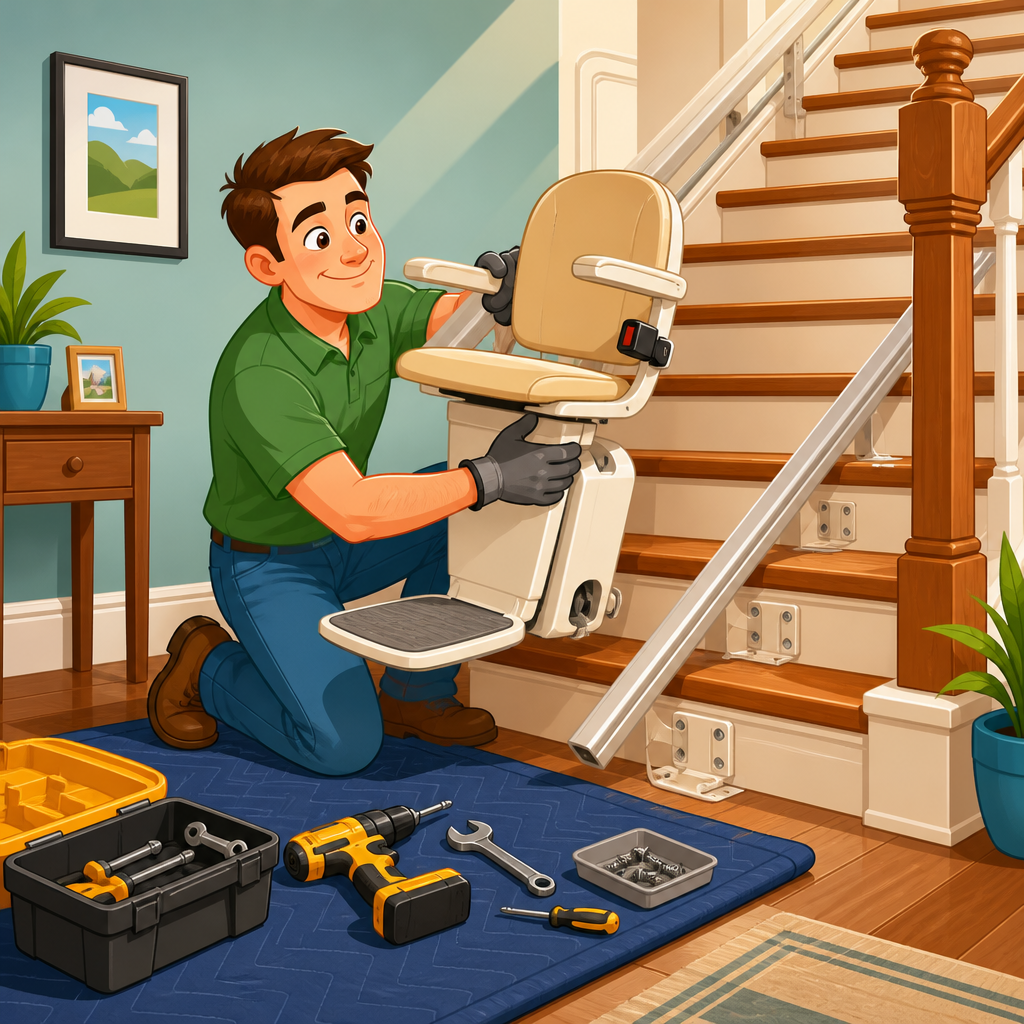
With the carriage still supported, release it from the rail using the manufacturer’s service method. Some systems require sliding the carriage off the rail end after a stop is removed; others use captive fasteners or service brackets. Support the carriage with two people and lower it onto a dolly. Only then should you begin removing rail brackets from the stairs. Work from the top down or bottom up based on where the rail is best supported, but never free both ends at once. Loosen fasteners gradually, keeping one bracket tight enough to control movement while the next support is removed. For sectional rails, separate joints on a landing whenever possible rather than over the middle of the staircase.
When lifting bracket feet off the treads, pull straight up after fully removing screws. Twisting the bracket can tear wood fibers and enlarge the holes. If a bracket sticks because finish has bonded to the pad, use a thin plastic shim or painter’s tool with protection underneath, not a pry bar directly on the wood. Collect every spacer and washer. Many installations use shims to compensate for tread variation, and losing them can make a future replacement harder to map. After the rail is out, remove charging strips, call stations, cable clips, and any surface raceway. Patch holes only after the full layout is documented. On stained hardwood, wood filler alone rarely disappears; color-matched wax, tinted filler, and touch-up markers usually produce a cleaner repair.
Common mistakes that damage stairs, walls, or the lift components
The most common mistake is underestimating weight distribution. A straight rail can feel light until one end swings and bangs a skirt board or dents drywall at the landing. The second mistake is removing tread fasteners before the carriage is off, which can strip holes or split weak stair noses. The third is using the wrong bit or too much driver torque, snapping screw heads and forcing destructive extraction. I have also seen people cut wiring before tracing it, only to discover they severed low-voltage call station wiring they hoped to preserve for a replacement unit.
Another frequent problem is cosmetic damage from poor protection. Metal bracket feet dragged across finished oak leave gray scrape marks that are harder to fix than small screw holes. Adhesive cable clips can pull finish if they are ripped off cold; warming them gently and peeling slowly works better. On plaster walls beside narrow stairs, even a seat frame can chip corners during removal. Finally, homeowners often discard manuals, keys, remotes, and charge contacts with the scrap pile. Those small items add value if the lift is resold, donated, or evaluated for parts.
Disposal, resale, donation, and stair repair after removal
Once the lift is out, you have four realistic options: keep it for parts, sell it, donate it, or recycle it. Straight lifts have a stronger secondhand market than curved lifts because rails are standard lengths or easier to replace. Curved rails are custom to a staircase and usually have limited value except for parts such as seats, chargers, and carriage components. Ask local mobility dealers whether they accept trade-ins or used equipment. Some nonprofit organizations take newer lifts, but many accept only if installation records and service history are available. Batteries must go through proper recycling channels, and electronic boards should not be tossed loosely into household trash where local rules prohibit it.
Stair repair should be done methodically. Vacuum each hole, check for crushed fibers, and decide whether the goal is structural filling or visual concealment. On painted stairs, dowel plugs, wood filler, sanding, primer, and topcoat can make old bracket points nearly invisible. On stained hardwood, a tinted hardwax repair system often blends better than generic filler. If holes are oversized, glue-in hardwood dowels provide a stronger base before finishing. Keep a photo record of the repaired stairs, especially if the property is going on the market. Buyers notice neat repairs, and clear documentation reassures them that the staircase was not structurally altered.
Choosing the right path for this installation and setup decision
DIY stair lift removal is absolutely possible on the right job, but the right job is narrower than many homeowners assume. If you are dealing with a straight, plug-in, tread-mounted unit and you have help, patience, and basic mechanical skill, self-removal can save meaningful money while preserving the stairs. If the unit is curved, hardwired, corroded, unusually heavy, or installed on premium finish stairs, professional removal is usually the smarter decision. The core principle is not speed; it is control. Controlled disassembly protects the staircase, the people doing the work, and any parts that still have value.
As the hub page for installation and setup decisions, this topic comes down to matching method to risk. Professional installation vs DIY is not a contest between confidence and cost. It is a practical assessment of system type, staircase material, electrical complexity, and your ability to manage heavy components safely. Remove power first, document everything, take the carriage off before the rail, and protect every finished surface. If any step feels uncertain, pause and call a qualified stair lift provider. A careful choice now will save repairs, reduce stress, and make your next accessibility upgrade much easier.
Frequently Asked Questions
Can I remove a stair lift myself without damaging the stairs?
Yes, but only if you approach the job methodically and understand how the lift is attached. Most residential stair lifts are mounted through brackets fastened into the stair treads rather than the handrail or balusters, which is good news because it means removal can often be done with limited cosmetic damage. The key is to work in reverse order of installation: disconnect power, remove the chair or carriage, detach the rail from its mounting brackets, and then remove the brackets from the treads one at a time. Trying to force parts loose or skipping steps is what usually leads to chipped wood, stripped screws, cracked trim, or loosened stair components.
Before you start, inspect the system closely to identify whether you have a straight or curved rail, whether there is a powered swivel seat or folding rail, and whether the unit plugs into a standard outlet or is hardwired. Take photos at every stage so you can track hardware locations and wire routing. Protect the stairs with moving blankets or cardboard, and use the correct tools, such as socket wrenches, screwdrivers, hex keys, and a drill with the proper bits. If the rail is especially heavy or awkward, have a second person help stabilize it while you loosen fasteners. The goal is controlled disassembly, not speed. If you discover the lift is tied into household wiring, has unusually heavy custom components, or appears to be mounted to structural trim rather than only the treads, it is smart to stop and bring in a professional before accidental damage occurs.
What tools and safety steps are most important before removing a stair lift?
The most important preparation is making the lift completely safe to handle. Start by shutting off power to the unit. If the stair lift is plugged into a nearby outlet, unplug it and confirm the charger is no longer active. If it is hardwired into a dedicated circuit, turn that circuit off at the breaker panel and verify there is no live power using a non-contact voltage tester or multimeter. Many stair lifts also contain batteries inside the chair base or carriage, so after external power is off, disconnect the battery leads according to the manufacturer’s setup if accessible. This prevents accidental movement, shorts, or sparking while you work around wiring and the drive system.
As for tools, gather a drill or driver, socket set, adjustable wrench, Allen keys, flat and Phillips screwdrivers, pliers, a pry bar used very carefully, painter’s tape, zip bags for hardware, and patch materials for the stairs afterward. A headlamp can help on enclosed staircases, and moving straps may be useful for managing the rail safely. Wear gloves for grip and hand protection, and use eye protection when removing brackets or drilling out stubborn fasteners. It also helps to label parts as you remove them, especially if you plan to sell, recycle, or reinstall the unit elsewhere. One of the most overlooked safety steps is planning how large pieces will be carried out of the stairwell. The rail and carriage can be bulky and heavy, so clear a path in advance and never try to catch a slipping component on the stairs.
What is the correct order for taking out a stair lift?
In most cases, the safest and cleanest sequence is to remove the non-structural components first and the load-bearing rail last. Begin by folding the seat, footrest, and arms into their compact positions and checking the manual release or service instructions if you have them. Remove any seat covers, plastic shrouds, or trim panels that conceal bolts and wiring. Next, detach the seat assembly from the carriage if the model allows it. This reduces weight and makes the remaining equipment easier to control. Some units use a post and clamp system, while others use bolts accessible beneath the seat base.
After the seat is off, address the carriage or drive unit depending on the model’s design. On some stair lifts, the carriage can be separated from the rail only at a designated end point. On others, the rail may need to come off with the carriage still attached. Disconnect charging contacts, call/send controls, and any wire harnesses carefully, labeling them if needed. Once the upper components are free, support the rail and begin removing the mounting brackets from the stair treads. Do not remove every bracket at once without support, or the rail can twist, drop, or scrape the stairs. Work from one end, keeping the rail balanced while a helper steadies it. Once the rail is fully removed, back out the remaining tread screws and inspect each mounting point. Removing parts in this order helps minimize strain on the stairs and lowers the chance of accidental gouges, cracked nosing, or damaged balusters.
How do I avoid damaging stair treads, balusters, and trim during removal?
The best way to prevent damage is to remember that the stairs are the finish surface you are trying to preserve, so every tool and movement should be controlled. First, confirm exactly where the lift is anchored. Most systems are bracketed into the treads, and those brackets should be unscrewed rather than pried off. Prying is one of the fastest ways to splinter wood or tear laminate. If a fastener resists, apply penetrating oil, use the correct driver bit, and keep steady pressure on the screw head to avoid stripping it. Painter’s tape around bracket bases can help protect surrounding finish from tool slips.
Balusters and handrails can get damaged not because the lift is attached to them, but because heavy parts are maneuvered too close to them during removal. Use blankets or foam padding along the rail side, especially in tight staircases. When lowering long rail sections, keep them lifted clear of the balusters and wall trim rather than dragging them. On carpeted stairs, take extra care not to snag fibers under bracket feet or rip the carpet when lifting hardware. Once the lift is out, remove screws straight up without rocking them side to side, then fill holes appropriately based on the tread material. Wood treads may need stainable filler and finish touch-up, while painted stairs may need wood filler, sanding, primer, and paint. Small holes are normal, but splintering, crushed nosing, and loosened trim usually result from rushing the process or using force where patience would have worked better.
What should I do with the holes, wiring, and removed stair lift parts after the lift is out?
After removal, the final cleanup work matters almost as much as the disassembly itself. Start by checking each stair tread and landing where brackets were installed. Most lifts leave a series of small to medium screw holes, and these should be filled based on the stair material and whether the stairs are stained, painted, carpeted, or scheduled for refinishing. For stained wood, use a high-quality stainable wood filler and test color before finishing. For painted stairs, use a paintable filler, sand smooth when dry, and repaint as needed. If carpet is staying in place, you may only need to tighten and brush the pile around the old fastener points, though larger impressions may require a carpet repair professional.
For electrical cleanup, cap or safely terminate any unused hardwired connections only if you are qualified to do so; otherwise, use a licensed electrician. A standard plug-in outlet can simply remain in place, but any exposed low-voltage wiring from call stations or charging contacts should be removed cleanly or secured and concealed. As for the stair lift itself, many units still have value if they are newer, from a recognized brand, and in working order. Straight stair lifts are generally easier to resell or donate than curved models because curved rails are custom-built to a specific staircase. You can contact mobility equipment dealers, medical equipment resellers, donation programs, or scrap recyclers depending on condition. Keep all hardware together, store batteries responsibly, and document the make and model if you plan to transfer ownership. Proper post-removal handling leaves the staircase looking clean and safe while also helping you recover value from the equipment when possible.