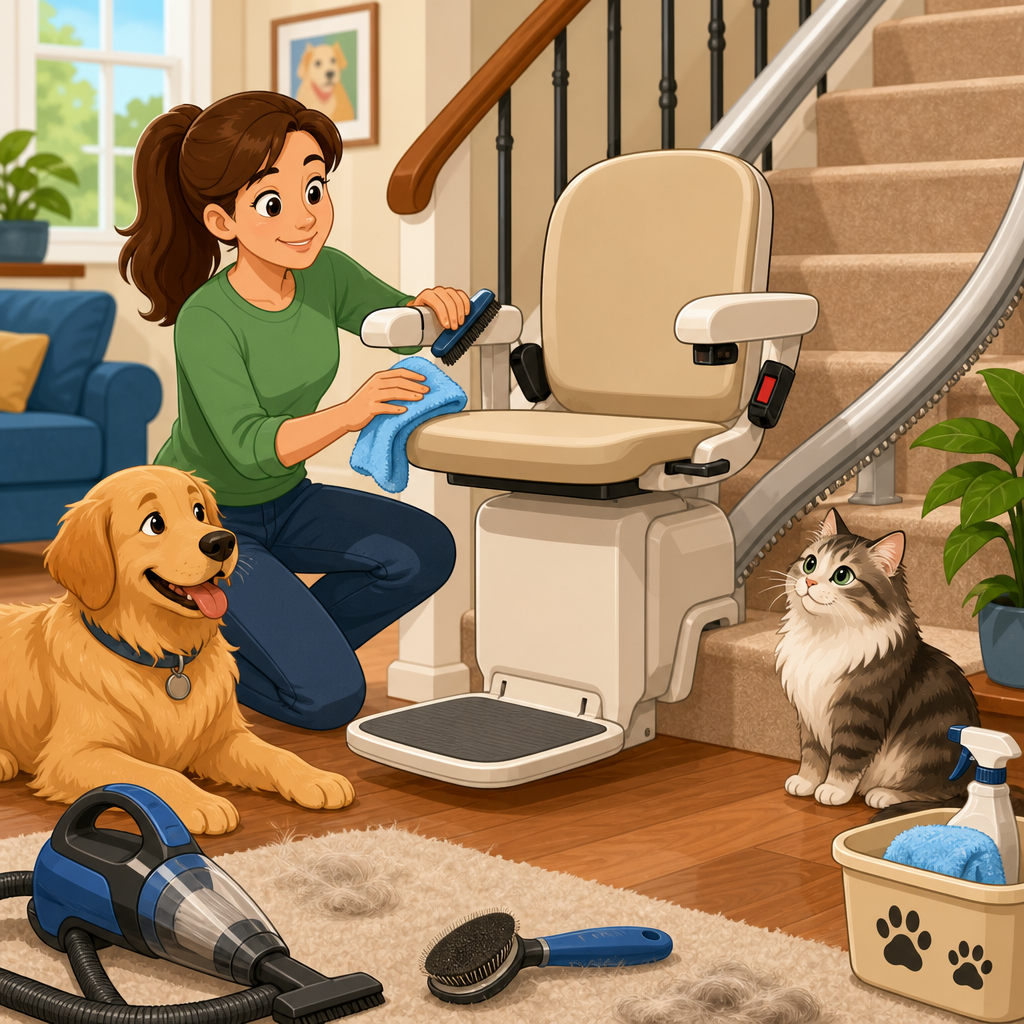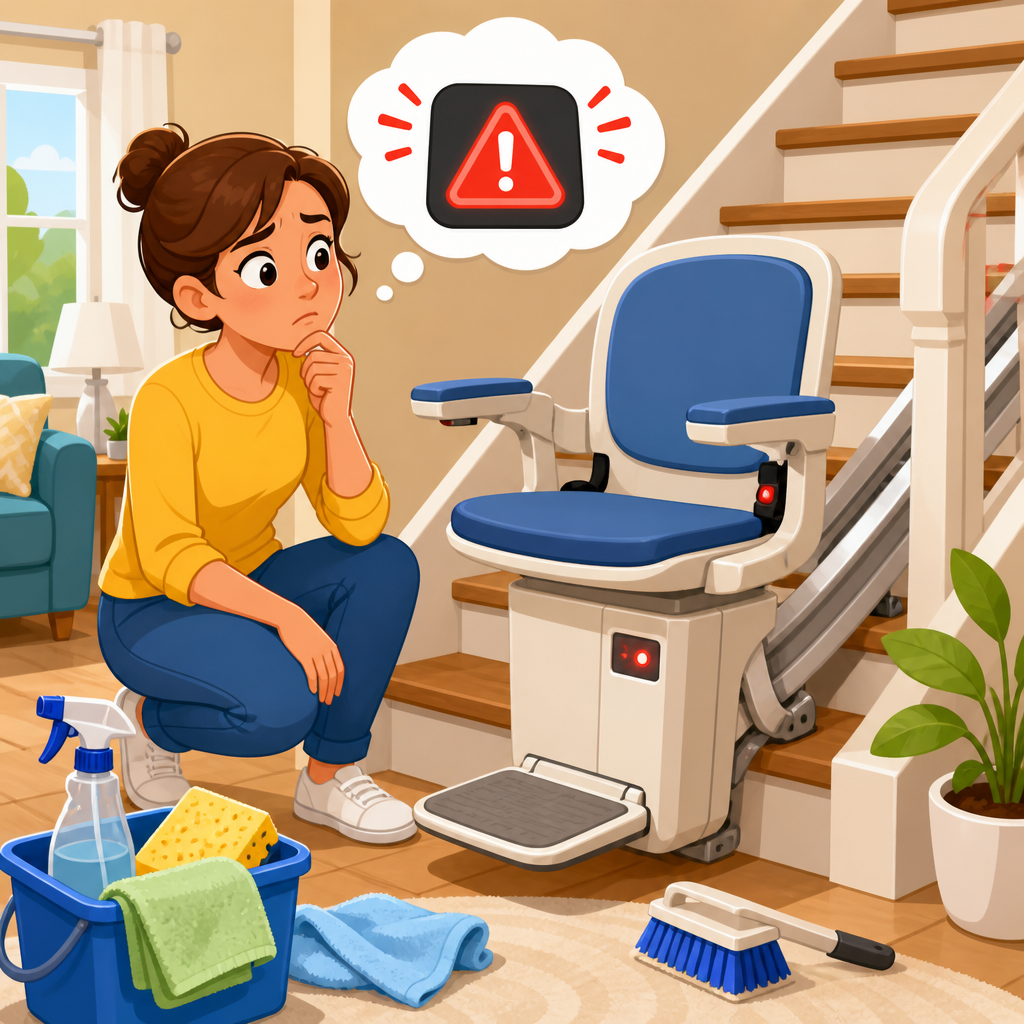
A stair lift error code appearing right after cleaning usually points to a simple issue such as moisture on a sensor, disturbed charging contacts, an engaged safety edge, or a seat or footrest left slightly out of position, but safe troubleshooting matters because stair lifts combine electrical systems, batteries, switches, and moving mechanical parts. In service calls I have handled, the timing is often the clue: the lift worked before cleaning, then stopped after a cloth, spray, vacuum, or polish was used near the rail, carriage, seat, or footrest. That sequence helps narrow the problem quickly without guessing.
Before going further, define the key terms. An error code is the number, light pattern, or beep sequence shown by the stair lift’s display or control board when the lift detects a fault. A charging contact is the metal point where the lift battery connects to the charger at a parking position. Safety edges are pressure-sensitive switches on the footrest or carriage that stop movement if the lift touches an obstacle. Limit switches tell the lift where to stop. Most modern residential units from Bruno, Handicare, Harmar, Access BDD, Acorn, and Stannah use a battery-powered drive system that rides on the rail while charging at one or both ends.
This topic matters because the wrong response can create a larger problem or a safety risk. Spraying cleaner directly onto the unit can push liquid into connectors. Scrubbing rails with abrasive pads can contaminate rollers or sensors. Repeatedly pressing the send button when a safety circuit is open can confuse diagnosis and drain batteries. On the other hand, many post-cleaning faults are minor and can be corrected in minutes by checking the seat swivel lock, folding components, key switch, charger connection, and status display. A good hub article should help you decide what to check first, what to avoid, and when to stop and call for service.
This guide covers the full “lift not working” path for post-cleaning problems and serves as a central reference for maintenance, troubleshooting, and safety. You will learn the safest first steps, the most common causes, what specific symptoms usually mean, and how to separate user-fixable issues from faults that require a technician. The aim is not to bypass protections or encourage disassembly. The aim is to restore operation safely, preserve manufacturer warranties, and reduce unnecessary downtime while keeping the user secure on the stairs.
Start With Safety Before Touching the Lift
If a stair lift error code appeared after cleaning, begin by securing the situation rather than clearing the code. Make sure the chair is parked on a landing if possible and that the user is not stranded on the seat while troubleshooting. If someone with limited mobility depends on the lift, arrange alternate assistance before testing anything. Turn the stairway light on, clear loose rugs or extension cords from the floor, and keep children and pets away from the rail.
Use only user-level controls. That means the power switch, key switch, armrest controls, remote call/send controls, seat swivel handle, and folding seat, arms, and footrest. Do not remove covers, bypass interlocks, bridge terminals, or force the carriage by hand. Residential stair lifts typically contain sealed batteries, motor gearing, and board-level electronics. Opening the unit without training can cause injury and may void coverage. If you smell burning, see smoke, notice melted insulation, or find standing liquid near the charger, stop immediately and disconnect power at the wall outlet only if it is safe to reach.
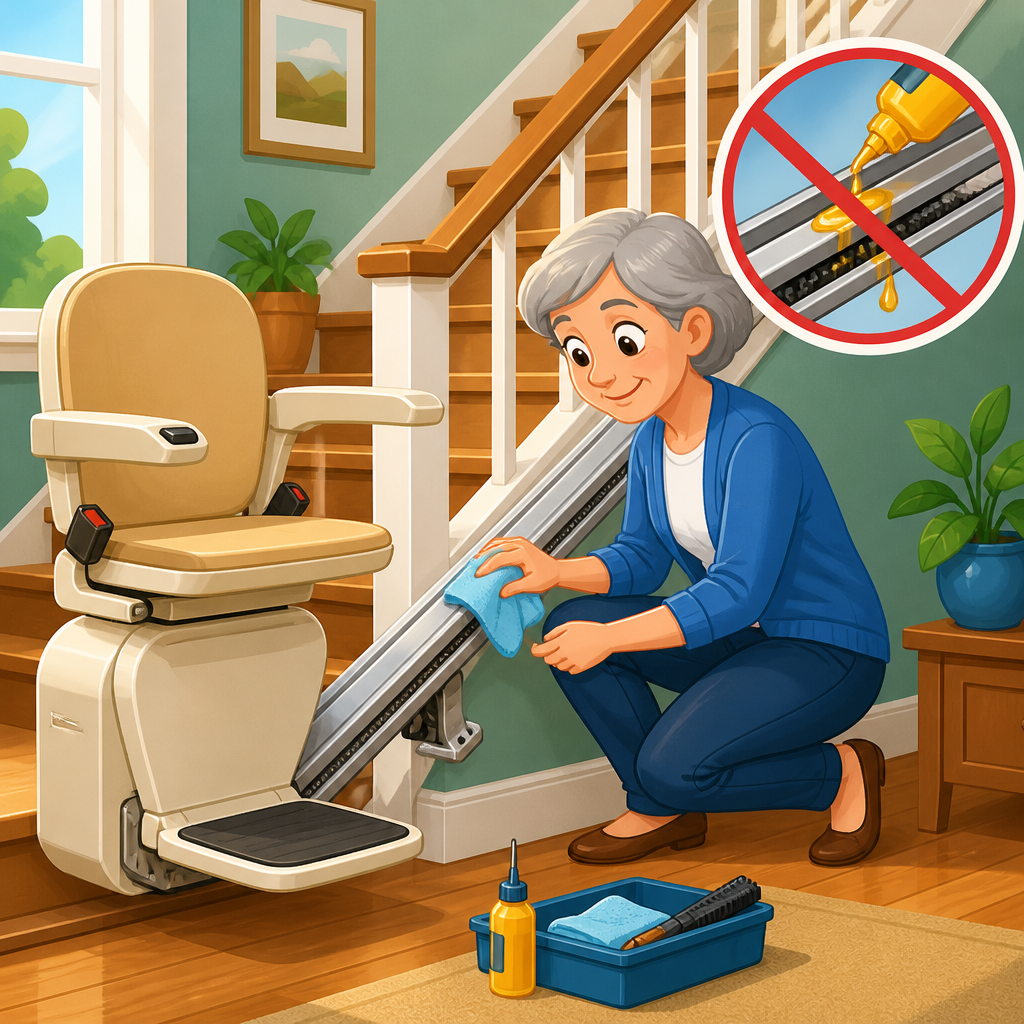
A final safety rule: never lubricate the rail unless the manufacturer explicitly specifies a product and procedure. Many stair lifts use rollers or a rack-and-pinion arrangement designed to run dry. Household oils can attract dirt, interfere with charge contacts, and worsen performance. After cleaning, the safest mindset is inspection first, reset second, movement test last.
Why Cleaning Triggers Stair Lift Error Codes
Cleaning introduces three common variables: moisture, misalignment, and accidental switch activation. Moisture is the most frequent. Even a lightly damp cloth can leave water film on charging strips, overspeed governor housings, joystick surrounds, call stations, or seat wiring connectors. Some cleaners also leave residue. Glass sprays, furniture polish, and disinfectants often contain surfactants or solvents that create a conductive film, making sensors report a fault or preventing reliable charging.
Misalignment happens when parts are folded, bumped, or left not fully latched after wiping. A seat that is not locked in the travel position, a footrest folded one click short, or a swivel seat left engaged at the top landing can all trigger a no-run condition. I see this often after careful cleaning because people move every component for access, then miss one final lock point. The lift is not broken; it is doing exactly what its safety circuit is designed to do.
Accidental switch activation is the third cause. Pressing a pressure edge while vacuuming, nudging a remote control repeatedly, turning the keyed switch off, or unplugging the charger to reach an outlet can all produce a warning display. In homes with outlet strips, the stair lift charger may also share power with lamps or vacuums; resetting the strip or tripping a GFCI can silently cut charger power. Then the user sees an error later because the batteries have dropped below operating voltage.
Step-by-Step Safe Troubleshooting for a Lift Not Working
Use this sequence in order. First, check the obvious mechanical positions: seat fully lowered, arms down if required by the model, footrest fully down or fully folded as designed, and seat swivel locked in the riding position. Second, confirm the main power switch is on and the key switch, if fitted, is enabled. Third, look at the display or listen for beeps and write down the exact code, pattern, and whether it changes when you press the armrest control. Fourth, verify the stair lift is parked on a charging point and that the charger is powered.
Next, inspect only exposed areas for signs of cleaning residue. Wipe charging contacts and the rail contact area with a dry microfiber cloth, not a wet one. If visible moisture remains around buttons, under the seat edge, or on the footrest sensors, let it air dry completely. On some units, waiting fifteen to thirty minutes resolves a temporary fault after cleaning. Then try the remote call/send control first. If the lift responds one direction but not the other, that detail is useful because it often points to a directional limit, obstruction edge, or charge-point issue rather than total power loss.
If the unit still will not move, park it on a known charge point if possible, leave it connected, and check whether charger lights indicate normal operation. Battery stair lifts can show low-voltage errors even when household power is present if the charger was unplugged or contacts were dirty. A charger that is warm and has its indicator lit is a good sign, but the exact meaning depends on the brand. When in doubt, stop after these user checks and provide the technician with the model number, exact error, and what changed during cleaning.
| What to check | What you may notice | Safe action | Likely issue |
|---|---|---|---|
| Seat swivel lock | Chair powers on but will not travel | Rotate seat fully back until it clicks into travel position | Interlock open after cleaning around seat |
| Footrest and arms | Beeping or no movement after folding parts | Refold and reopen each section firmly | Component not fully latched |
| Charging contacts | Low battery message, intermittent display, weak movement | Dry contacts with microfiber cloth and confirm charger power | Moisture, residue, or unplugged charger |
| Safety edges | Lift moves only one way or stops immediately | Check for trapped cloth, pet hair, or debris under footrest and carriage edges | Obstacle sensor engaged |
| Outlet or GFCI | Charger lights off | Reset outlet or restore plug if safe to access | No charger power after vacuum or unplugging |
Most Common Post-Cleaning Faults and What They Mean
The most common issue is charger-related. Stair lifts rely on batteries even when plugged into household power, and those batteries need consistent charging. If the charger is unplugged, switched off at the outlet, or unable to make contact because moisture or polish reached the terminals, the display may show low battery, charging fault, or a generic service code. In plain terms, the lift may still be healthy but lacks usable battery voltage. This can happen within hours on older batteries and may appear immediately on models that self-check charger status continuously.
The next frequent cause is a seat or footrest interlock. These are deliberate no-run conditions, not failures. When the seat is swiveled for safe boarding at the top landing, many lifts block travel until the seat rotates back and locks. The same logic applies to footrests or armrests on certain models. After cleaning, even a slight misposition can prevent operation. Users often report, “The display is on, but nothing happens,” which strongly suggests an open safety circuit rather than a dead unit.
Obstacle sensors are another common trigger. Dusting underneath the carriage or footrest can press the safety edge or leave fibers wedged against it. The result may be a single-direction stop, repeated beeping, or immediate shutdown when travel begins. Finally, some codes indicate overspeed, final limit, or board communication faults. These are less likely to be caused by normal cleaning alone unless liquid entered the chassis. If the code remains after drying and basic checks, professional service is the right next step.
Brand, Model, and Error Code Nuance
There is no universal stair lift error code chart. Manufacturers use different numbering systems, LED colors, and beep patterns, so accuracy matters. For example, what one brand labels as a charging fault another may describe as a park-point or battery issue. Some premium units with diagnostic displays show alphanumeric codes, while others rely on audible chirps or a small set of indicator lights. Always record the exact brand, model, and whether the lift is straight or curved before searching for an explanation.
Owner manuals are the best first source because they distinguish user actions from technician-only repairs. Bruno manuals often explain parking and charging status clearly. Stannah and Handicare units may emphasize seat lock and swivel conditions. Harmar and Access BDD models commonly provide troubleshooting sections that help interpret tones or basic display messages. Acorn lifts are widely installed, and many service calls stem from charge-point alignment or seat position after routine cleaning. The pattern across brands is consistent: user-resettable issues involve position, power, or charging; persistent board or drive faults require service.
If you manage a home care setting or support a family member remotely, keep a small record near the lift: model number, serial number, installer phone number, battery replacement date, and charger location. That information shortens service calls significantly. In practice, having the exact code and model can save a technician from bringing the wrong charger, PCB, or seat switch assembly.
When to Call a Professional Instead of Continuing
Call for service immediately if the stair lift shows signs of liquid intrusion inside covers, trips a breaker repeatedly, emits a burning smell, displays a fault that returns after drying and repositioning checks, or stops abruptly with a rider aboard. The same applies if the rail has been cleaned with a product that leaves a heavy wax or silicone film, because that residue can affect contact surfaces and may require proper cleaning by a technician using manufacturer-approved methods.
Battery age also changes the decision. Most stair lift batteries last roughly three to five years, depending on charge cycles, ambient temperature, and charger health. If the unit was already slowing down, beeping at the park point, or failing to hold charge before cleaning, the cleaning event may be coincidental rather than causal. In those cases, continued home troubleshooting wastes time. A technician can load-test the batteries, verify charger output with a meter, inspect limit circuits, and confirm board diagnostics safely.
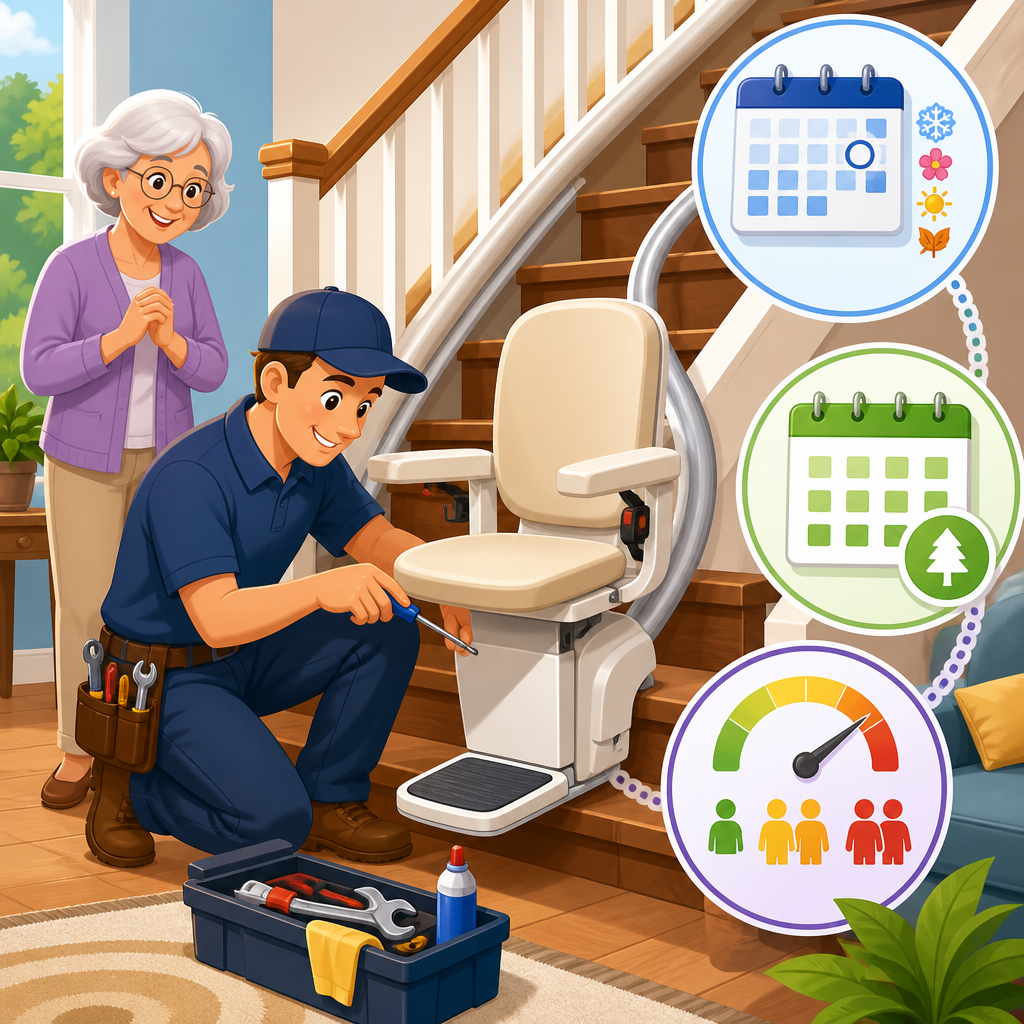
For accessibility equipment, reliability is the priority. If the stair lift is a daily mobility necessity, schedule preventive service rather than waiting for another outage. Annual inspection is a sensible baseline, and high-use lifts may justify more frequent visits. A trained technician can clean internal areas correctly, check torque on mounting points, inspect harness routing, test obstruction circuits, and verify charge voltage at the rail contacts. Those are not homeowner tasks, but they directly reduce future error codes and no-run complaints.
Preventive Cleaning and Maintenance That Avoid Future Errors
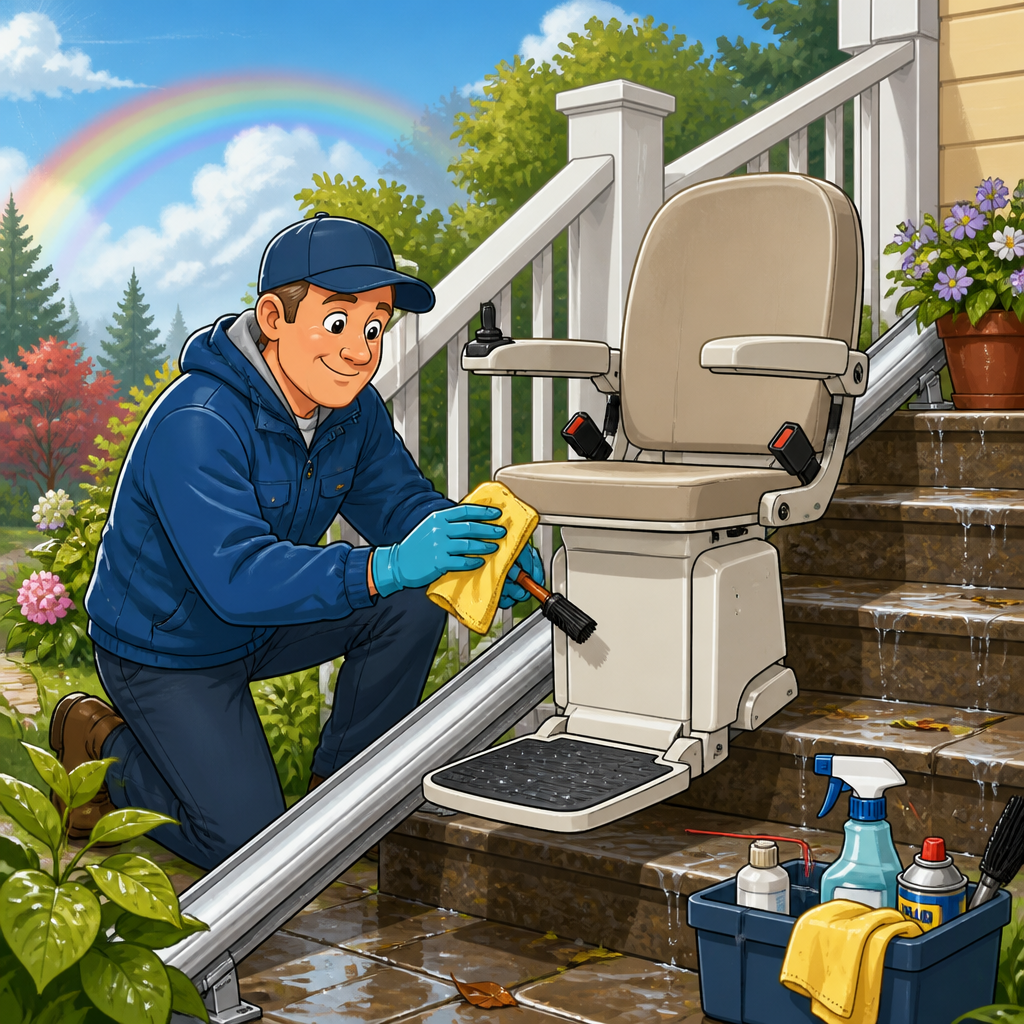
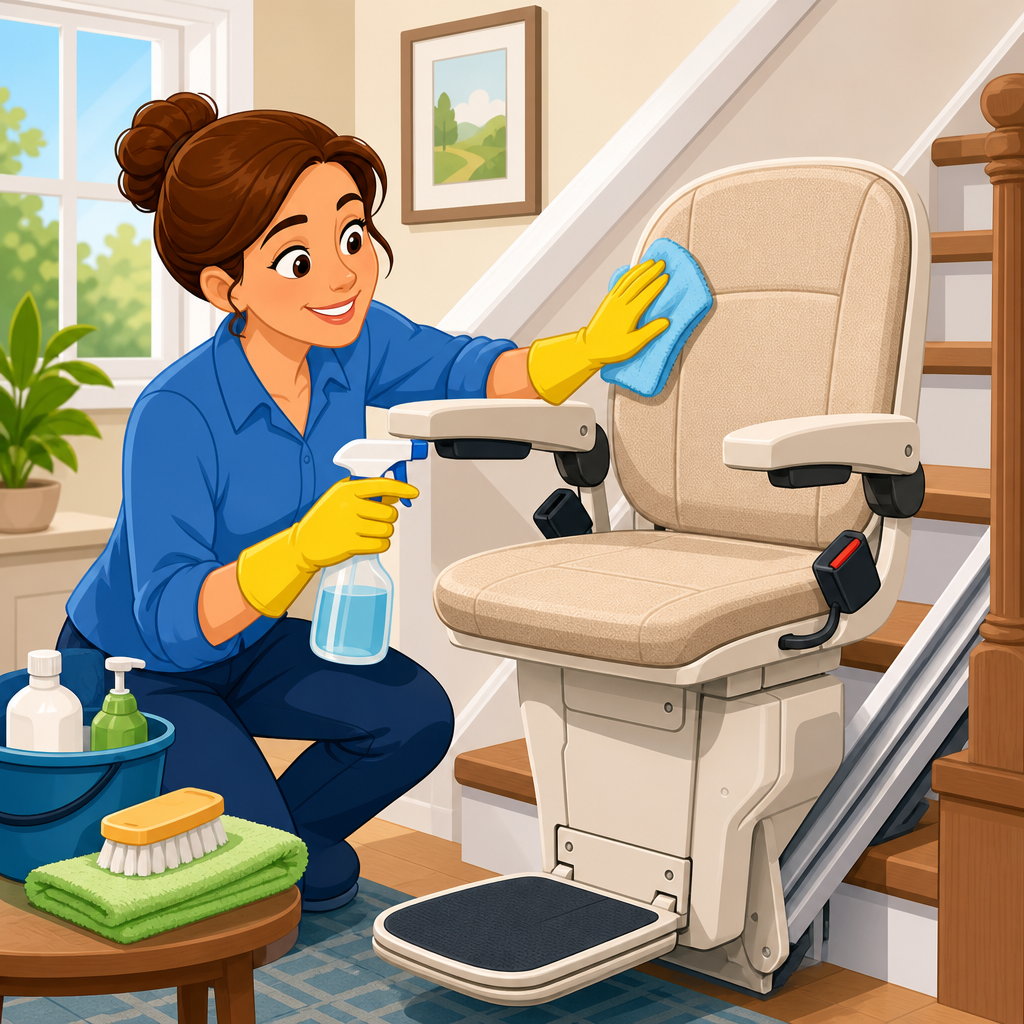
The safest cleaning method is dry or nearly dry. Use a microfiber cloth for the seat, arms, and exposed plastic covers. If a manufacturer permits mild soap, apply it to the cloth, not directly to the lift. Keep liquids away from the joystick, call/send controls, display window, charge strips, and seams around covers. Vacuuming around the rail is fine if you avoid striking the carriage or snagging wiring. For the rail itself, follow the manual exactly; many models require only dust removal, not polish or lubricant.
Create a simple maintenance routine. Weekly, check that the lift parks correctly and the charger indicator shows normal status. Monthly, inspect the seat swivel lock, footrest edges, remote controls, and outlet powering the charger. After any deep cleaning, perform a short empty travel test in both directions before the next user ride. If the home has frequent power interruptions, consider marking the charger outlet clearly so it is not unplugged for a vacuum or holiday lights.
The key takeaway is straightforward: when a stair lift error code appears after cleaning, the cause is often minor, but the response must be disciplined. Start with safe position checks, confirm charger power, dry exposed contacts, and note the exact code. Stop before disassembly or improvised fixes. A well-maintained stair lift is dependable mobility equipment, and careful troubleshooting protects both safety and uptime. If your lift is still not working after these steps, contact the installer or manufacturer-authorized service provider with the model and error details so the right fix happens quickly.
Frequently Asked Questions
Why did my stair lift show an error code immediately after cleaning?
If the error code appeared right after cleaning, the timing strongly suggests that something small was changed during the cleaning process rather than a sudden major failure. In many real-world cases, the lift was operating normally beforehand, then stopped after a cloth, spray bottle, vacuum attachment, or polish was used around the seat, rail, footrest, or charge points. That usually points to moisture on a sensor, slightly shifted charging contacts, a safety edge being pressed or stuck, or the seat, armrest, or footrest not being fully returned to its locked travel position.
Stair lifts rely on a chain of safety circuits to confirm everything is safe before movement is allowed. If even one component reports an unsafe condition, the lift may stop and display an error code. Cleaning can interrupt that chain in simple ways. A damp cloth can leave a thin film of moisture on contact points. A vacuum can bump a footrest edge or swivel seat lever. Polish or cleaner overspray can create residue on the rail or charging strips. Even folding and unfolding the seat to clean underneath can leave it just slightly out of position. The lift then interprets that as a safety issue and prevents operation.
The safest first step is to avoid repeated attempts to force the lift to run. Instead, check for obvious cleaning-related causes: dry any damp surfaces, make sure the seat is locked in the forward travel position, unfold the footrest fully, confirm the armrests are properly set, and inspect for anything touching the safety edges. If your model has charging contacts at the top or bottom landing, make sure they are clean, dry, and aligned. If the code remains after these checks, turn the lift off using the main power switch, wait briefly, then restore power and test again only if the manufacturer’s instructions allow it. If the lift still shows the error, it is time to consult the owner’s manual or call for professional service.
What should I check first before calling for service?
Start with the simplest and safest items that are commonly disturbed during cleaning. First, verify that the stair lift is parked correctly and fully on a charging point if your unit normally charges at the top or bottom of the stairs. A lift that is slightly off the charge position may beep, show a fault, or refuse to move. Next, check that the seat is completely locked in the normal riding position. On many models, a seat left slightly swiveled after cleaning will trigger an error or disable travel. Do the same with the footrest and armrests, making sure they are fully unfolded or folded as required by your specific lift design.
Then inspect the safety edges and obstruction sensors around the footrest and carriage. These are designed to stop the lift if something is in the way. During cleaning, a cloth can snag, debris can get pushed into an edge, or a panel can be pressed and left partially engaged. Look carefully for anything trapped, bent, sticky, or damp. If you used spray cleaner, wipe away any visible residue with a dry, soft cloth. Also check the rail and charging contacts for moisture, polish buildup, or anything that could interfere with contact. If the lift has a remote call/send control, verify that the batteries in the remote are not the issue if the unit seems unresponsive from the landing controls only.
Finally, check the main power situation. Confirm the stair lift’s power switch is on, any nearby wall outlet is live if the charger plugs into one, and no breaker or plug was disturbed while cleaning. You should not remove covers or reach into internal electrical components. Safe troubleshooting means staying with user-accessible checks only. If the code remains after confirming dry surfaces, proper seat and footrest position, clear sensors, and good charging contact, stop there and arrange service. That approach prevents accidental damage and keeps the lift’s safety systems intact.
Is it safe to wipe sensors, charging contacts, or the rail after an error code appears?
Yes, but only if you do it carefully and with the power of the user controls in mind. In most cases, it is safe to wipe accessible external surfaces such as visible charging contacts, the rail, seat base edges, and sensor areas using a clean, dry, lint-free cloth. The goal is to remove moisture, residue, or dust left behind by the cleaning process, not to “repair” the unit. Avoid soaking anything, avoid spraying cleaner directly onto the stair lift, and do not use abrasive pads, solvent-based products, or excessive pressure. Many post-cleaning faults come from residue or dampness, and a gentle dry wipe is often enough to restore normal operation.
Charging contacts deserve special attention because they are a common trouble point after cleaning. If contacts are wet, coated with polish, or slightly contaminated, the batteries may not charge correctly or the lift may fail to recognize its parked position. Wipe only the exposed contact surfaces you can reach easily without tools. The same rule applies to the rail: remove any slippery polish or cleaner overspray, because some products leave a film that can affect sensors or simply create unsafe conditions. If your owner’s manual lists approved cleaning methods, follow those rather than improvising.
What you should not do is open panels, scrape contact surfaces with metal objects, flood parts with electronic cleaner, or bypass a sensor that seems “too sensitive.” Stair lifts are designed to stop for safety reasons, and overriding that system can create a serious hazard. If a dry wipe of user-accessible parts does not clear the problem, or if you see corrosion, damage, frayed wiring, or a contact assembly that looks loose, stop troubleshooting and call a qualified technician. Safe cleaning and safe troubleshooting both depend on knowing where the homeowner’s role ends and professional service begins.
Can moisture from a cloth or spray cleaner really trigger a stair lift fault?
Absolutely. Even a small amount of moisture can interfere with normal stair lift operation, especially on components that depend on clean electrical contact or accurate sensor readings. Many owners assume that because they used “only a little spray” or a slightly damp cloth, moisture could not be the issue. In practice, a fine mist can settle into seams around buttons, seat switches, swivel locks, footrest edges, or charging assemblies. A thin film of moisture may not be visible, but it can still change how a safety circuit behaves and cause the lift to display an error code or refuse to move.
This is one reason the sequence of events matters so much. If the lift worked before cleaning and failed right after, moisture becomes a leading suspect. Spray cleaners can also carry detergents, waxes, or polish agents that remain after the water evaporates. That residue may make a switch sticky or reduce the quality of an electrical connection. In service situations, I have seen lifts stop because a charging strip was wiped and left slightly damp, because cleaner pooled near a seat pivot, or because a footrest safety edge remained pressed after residue built up around it. These are often minor issues, but they need to be handled safely.
If you suspect moisture, turn off the lift using the normal power switch if the manufacturer allows, leave the unit parked securely, and let accessible surfaces dry fully. Wipe visible moisture from external parts only. Do not use a hair dryer, heat gun, or space heater on the unit, since concentrated heat can damage plastics, wiring, and electronics. Once everything is dry, restore power and test the lift according to the manual. If the fault remains, the issue may be deeper than surface dampness, and a technician should inspect it. The key point is that yes, moisture can trigger a real fault, and treating it carefully is much safer than repeatedly trying to run the lift.
When should I stop troubleshooting and call a stair lift professional?
You should stop as soon as troubleshooting moves beyond simple user checks or if there is any sign the problem could involve wiring, internal switches, the drive system, or battery charging hardware. It is reasonable to confirm obvious items such as seat position, footrest position, charging contact cleanliness, dry surfaces, and whether anything is pressing a safety edge. It is not reasonable or safe for most owners to remove covers, test live electrical components, reset hidden boards, or force the carriage to move when the lift is reporting a fault. Stair lifts combine mechanical motion with electrical controls, and those systems are designed to shut down when something is not right.
Call for professional help immediately if the error code persists after basic checks, if the lift makes unusual noises, if you smell overheating or see signs of sparking, if the unit starts and stops unpredictably, or if it will not hold a charge after cleaning-related contact issues are ruled out. You should also call if a user depends on the lift daily and safe operation is critical, because extended trial-and-error can waste time and increase risk. If the owner’s manual identifies the code as one requiring service, treat that as the deciding factor. The same applies if the stair lift is under warranty or service contract, since unauthorized disassembly can create complications.
A good service call is faster and more effective when you provide the technician with the full sequence: the lift worked normally, you cleaned a specific area, and the error appeared immediately afterward. Mention whether you used a spray, damp cloth, vacuum, or polish, and whether the seat, footrest, or charging area was moved during cleaning. That timing often helps pinpoint the fault quickly. In many