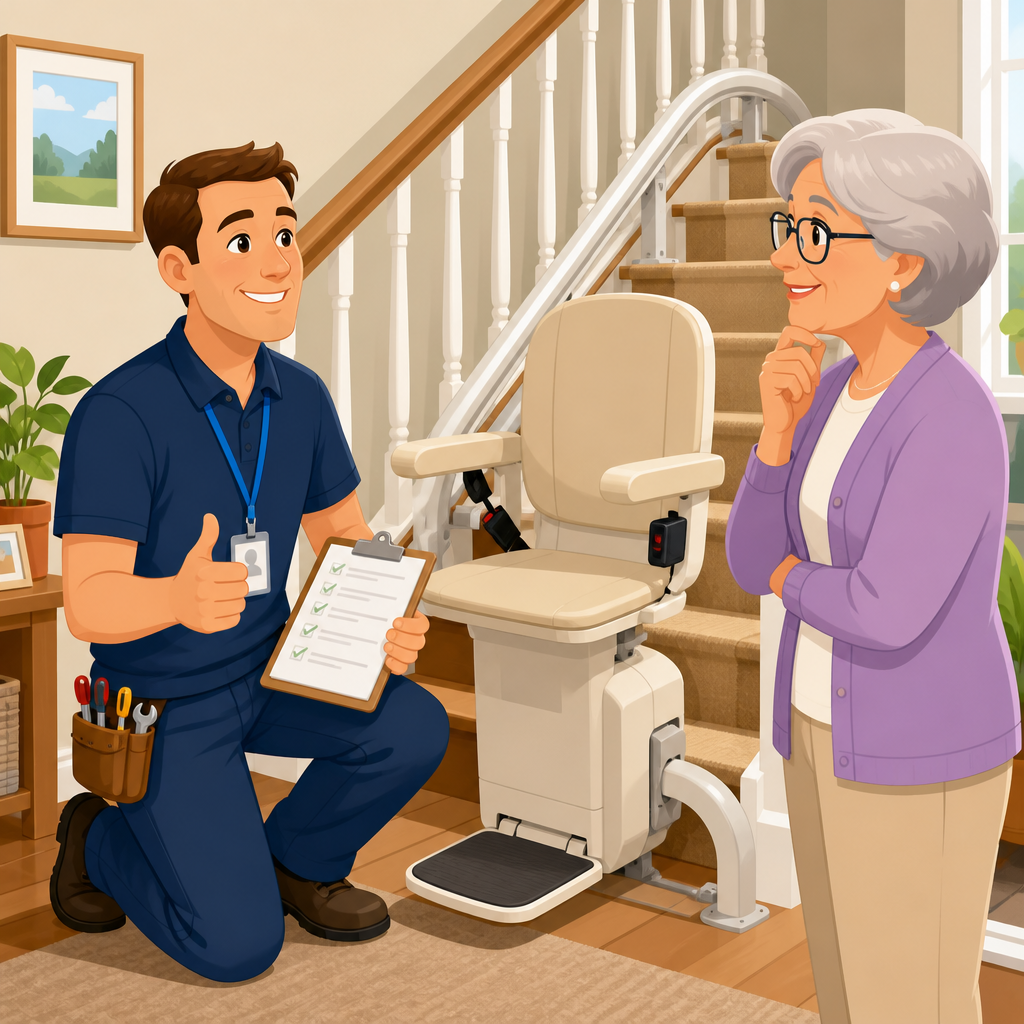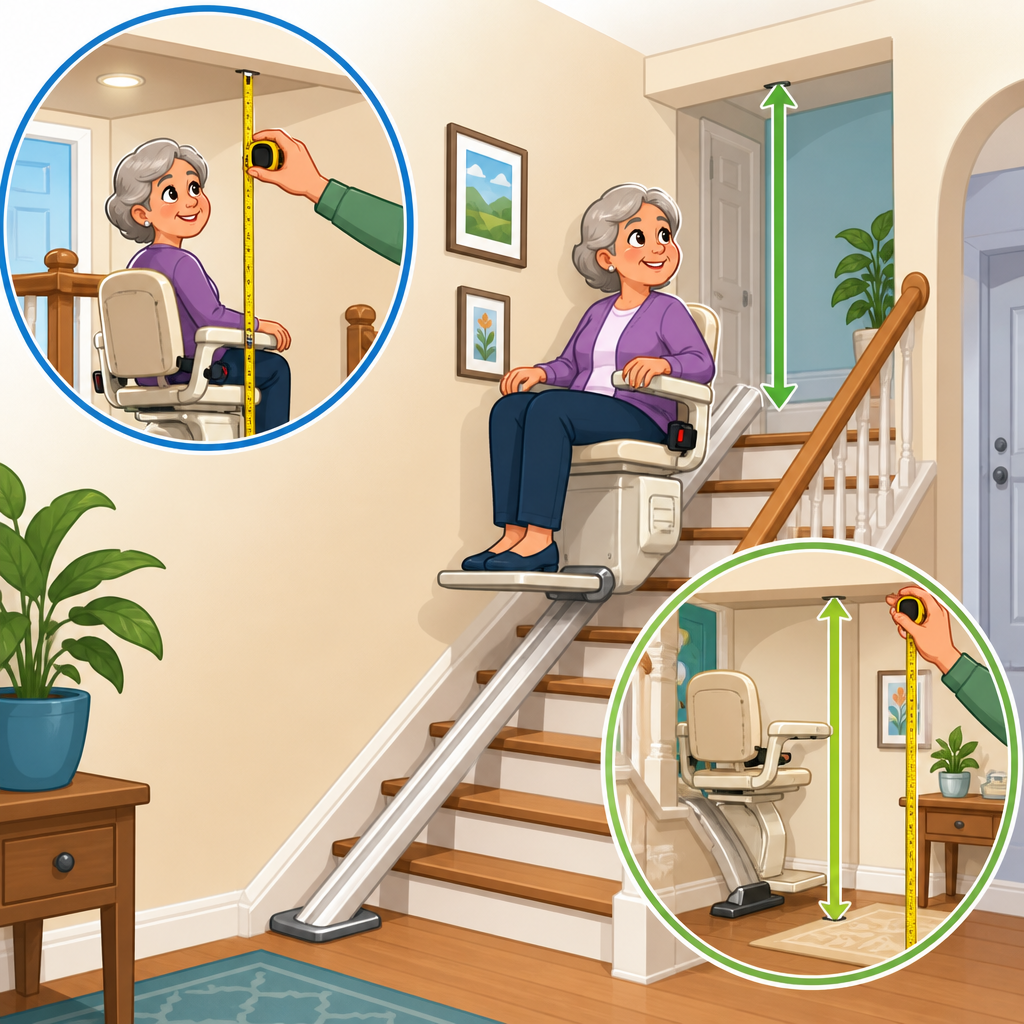
Measuring stair lift headroom at the top and bottom landings is one of the most important parts of a pre-installation assessment because it determines whether a user can travel, mount, and dismount safely without striking their head or being forced into an awkward posture. In stair lift planning, headroom means the clear vertical space above the rider and the chair along the travel path, especially where the staircase meets each landing. Landings are the flat floor areas at the top and bottom of the stairs, and they often create the tightest clearance because of sloped ceilings, bulkheads, door frames, loft conversions, or overhanging trim. I have seen many staircases that looked suitable at first glance but failed a proper survey once exact headroom measurements were taken.
This topic matters because a stair lift is not judged only by whether the rail fits on the treads. It must also allow safe seated travel for the intended user, including taller users, users with limited trunk control, and people who transfer slowly. Manufacturers publish minimum clearance requirements, but those figures vary by model, seat height, swivel arrangement, and whether a hinged rail or powered overrun is used. Building conditions also vary. A narrow terraced house, split-level home, converted bungalow, or apartment stairwell can all present different clearance risks at the top and bottom landings. Measuring accurately prevents expensive redesign, avoids failed installations, and helps determine early whether a straight stair lift, curved stair lift, standing stair lift, perch seat, or alternative access solution is more appropriate.
Pre-installation assessments go beyond a single measurement. A complete survey reviews headroom, staircase width, tread depth, nosing profile, landing size, electrical supply, obstructions, user body dimensions, transfer space, parking position, and emergency egress. This article serves as the hub for that assessment process, with special focus on how to measure stair lift headroom at the top and bottom landings in a way that leads to a reliable installation decision.
What headroom means in a stair lift survey
In practical terms, headroom is the unobstructed vertical and diagonal space available for the rider’s head and upper body as the chair approaches, reaches, and leaves each landing. Installers do not rely on a single floor-to-ceiling dimension because the rider travels on an incline. The critical zone is usually the moving envelope above the seated user, which changes depending on rail angle, seat-to-footrest geometry, and the user’s height when seated. During surveys, I measure not only static ceiling height at each landing but also the clearance line above the stair pitch, because a low soffit can be safe at one point and hazardous half a metre later.
For most domestic lifts, the top landing is the most sensitive area. The chair rises toward the landing while the user’s head moves toward any sloped ceiling or overhang. A top overrun can improve dismounting onto a flat area, but it can also move the user under a bulkhead if the design is wrong. Bottom landings can be just as restrictive where a doorway, cupboard return, radiator shelf, or under-stair construction crosses the boarding position. Good measurement identifies all of these conflict points before equipment is ordered.
Tools and reference points for accurate measurement
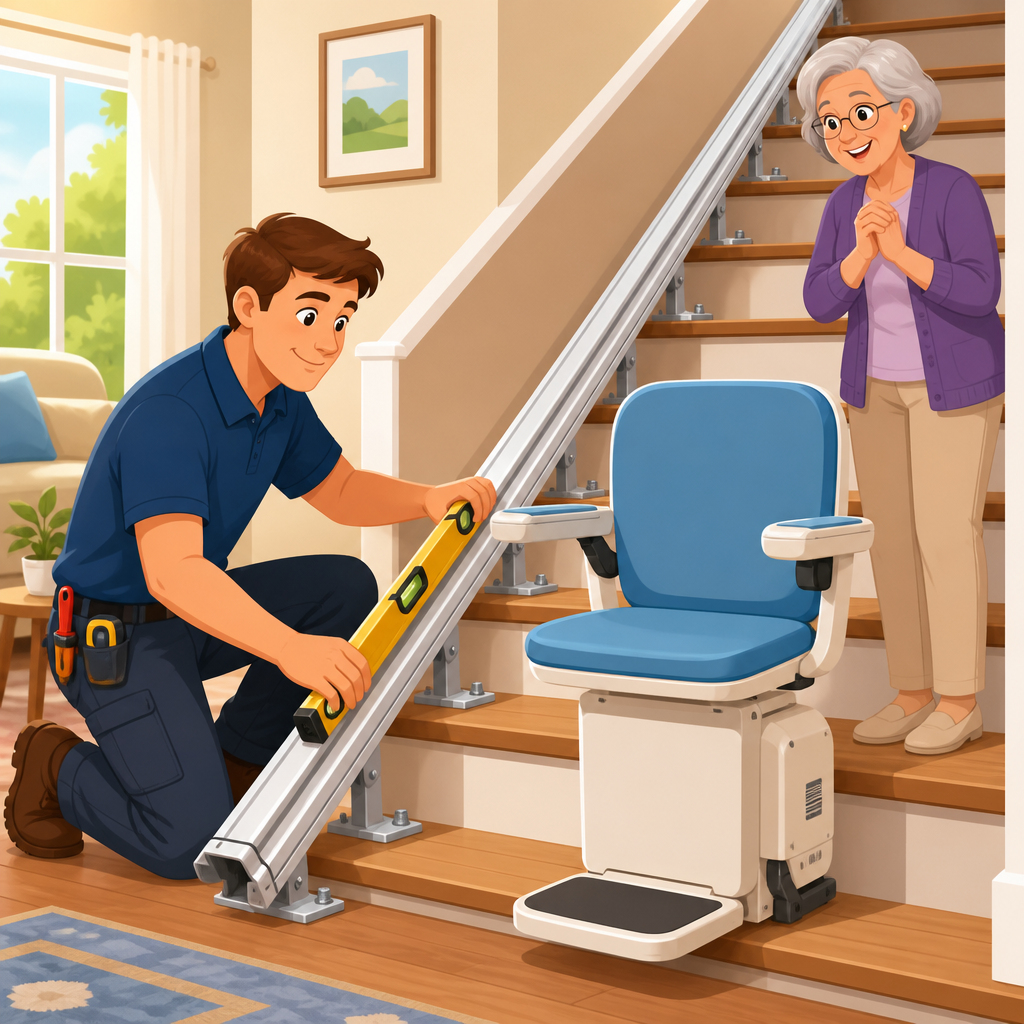
The best headroom assessments use more than a tape measure. My standard kit includes a 5 metre steel tape, laser distance meter, digital angle finder or inclinometer, spirit level, straightedge, notebook or survey app, and a camera or phone for annotated photos. A laser is useful for capturing floor-to-ceiling dimensions quickly, but a tape and straightedge are still necessary because old homes often have irregular plaster, bowed ceilings, and out-of-level landings that can mislead a laser reading. If the staircase is carpeted, measure from the finished walking surface, not the structural tread below, because the rail brackets and user position are referenced to the finished staircase.
Reference points must stay consistent. At the bottom landing, start from the finished floor where the user will board. At the top landing, measure from the finished floor where the user will step off after swiveling the seat. Along the staircase, use the tread nosings to establish the stair pitch line. If the manufacturer provides a survey form, follow it exactly. Bruno, Handicare, Acorn, Stannah, and Access BDD all use slightly different templates, and small differences in how they define overruns or seat height can affect whether a job passes engineering review.
How to measure headroom at the bottom landing
Begin at the intended boarding position with the chair parked at the lowest usable point. Measure the clear vertical height from the finished floor to the lowest obstruction above, such as a ceiling return, beam, light fitting, smoke alarm, shelf, or door head. Then measure the horizontal depth of the landing from the first riser to the nearest obstruction in front of or above the user. This matters because the rider does not stay still at one point; the chair starts moving and the head traces a path upward and backward relative to the rail. If there is a doorway near the lower post, note door swing direction and handle projection, since both can conflict with the armrest or knees.
Next, assess the clearance envelope along the first metre of travel. Hold a straightedge parallel to the stair pitch or use a laser line to represent the rider’s path. Then measure vertically from that line to any overhead obstruction. If the stair starts under an enclosed under-stair cupboard or soffit, take readings every 150 to 200 millimetres until the space opens up. I have found that a single reading can miss the true pinch point, especially in homes where decorative trim hangs lower than the plaster ceiling. If the user is tall or has a high seated posture due to cushion thickness or limited hip flexion, add that note to the survey because nominal manufacturer dimensions may be too optimistic.
How to measure headroom at the top landing
At the top landing, first identify where the user will dismount. On a standard installation, that may be at the last riser with a manual or powered swivel seat. On a safer layout, it may be on a top overrun that places the user fully onto the landing away from the stair edge. Measure the clear height directly above the dismount point, then along the final section of incline where the chair approaches the top stop. Pay special attention to loft conversion slopes, dormer cheeks, attic beams, and ceiling angles that descend toward the stair opening. These are common reasons a top landing appears clear from the floor but fails when the rider’s head arc is considered.
Take multiple readings from the top nosing backward along the stair pitch. I typically record measurements at the top nosing, one tread down, two treads down, and at the point where any ceiling slope changes. If there is a half landing or a turn in the staircase, note the inside and outside headroom separately because the seated position on a curved rail can shift laterally. Also measure the landing depth and transfer space. A person who needs to stand slowly with a walking frame may need more clear area than the minimum engineering drawing suggests, and headroom is only useful if the dismount posture is stable and unhurried.
Common headroom obstacles and what they mean for design
Several recurring site conditions affect top and bottom landing clearance, and each has design implications. The table below summarizes the issues I encounter most often during pre-installation assessments.
| Obstacle | Where it appears | Risk created | Typical design response |
|---|---|---|---|
| Sloped ceiling or loft bulkhead | Top landing | Head strike near final approach or dismount | Use top overrun, change parking point, or reject unsuitable model |
| Door frame or low lintel | Bottom landing | Impact when boarding or during first travel section | Reposition lower stop, use hinge rail, or revise boarding side |
| Under-stair soffit | Bottom landing | Restricted startup envelope | Move lower park position or specify folding rail section |
| Light fitting, alarm, or shelf | Top or bottom | Local obstruction above head or armrest | Relocate obstruction if permitted or alter stop location |
| Narrow landing with low ceiling | Top landing | Unsafe transfer posture and poor swivel space | Consider curved rail, perch seat, or alternative access method |
These obstacles do not always make an installation impossible, but they should trigger a wider review. A low bulkhead might be solved by extending the rail onto the landing. A low doorway at the bottom may require a hinged rail so the route remains clear when the lift is parked. In some cases, however, the safest recommendation is not a stair lift at all. Through-floor lifts, step lifts, or relocating sleeping space to the ground floor can be more appropriate when headroom is persistently inadequate.
User factors that change the required clearance
Manufacturers publish technical dimensions, but the real user often sits differently from the test geometry. A tall person with a long torso may need significantly more headroom than a shorter person with the same inseam. Someone with kyphosis may project forward, changing head position under a low soffit. A user with Parkinson’s disease or post-stroke weakness may need extra time and more upright stabilization during transfer. In practice, I always assess the intended user’s seated height, shoulder width, transfer method, and ability to lean safely. This is especially important in occupational therapy referrals and hospital discharge cases where the time window is short but safety standards cannot be relaxed.
Seat choice also matters. Perch and standing stair lifts alter body position and usually demand greater vertical clearance, not less. Powered swivel seats improve dismounting for some users but can change the final parked geometry at the top landing. Heavy-duty stair lifts often have wider seats and different arm profiles, which can affect where the user’s shoulders and head sit relative to adjacent walls. If more than one person will use the lift, survey for the tallest and least mobile user unless the manufacturer states a stricter rule.
How headroom fits into the full pre-installation assessment
Headroom is one part of a structured pre-installation assessment, and it should be documented alongside every other variable that influences safe setup. Start with staircase type: straight, quarter-turn, half-turn, spiral, or split-level. Record staircase width at narrowest points, tread dimensions, total rise, number of steps, handrail projections, and any radiator, window sill, or newel post that may affect rail line. Confirm power requirements and charging points. Check whether the bottom rail or footrest would obstruct a hallway, final exit route, or internal fire door. In the UK, for example, maintaining a usable escape path is often a key client concern even where domestic code does not prescribe the same standards as public buildings.
Document transfer space at both landings, because safe boarding depends on wheelchair, walker, or caregiver positioning. Evaluate whether doors can open fully with the lift parked. Review seat belt type, controls, call stations, and folding clearances. Take photos from above and below the staircase and mark all headroom readings on a sketch. Good survey records reduce ordering errors, speed up technical approval, and make later service calls easier because engineers can see exactly what constraints were present on day one.
When measurements show the staircase is borderline
Borderline cases are common, especially in older housing stock. If your measurements are within a small margin of the manufacturer’s minimum requirement, do not guess. Contact the technical department with exact dimensions, photos, stair pitch, and proposed rail layout. Many reputable suppliers will review a scaled drawing before approval. If possible, use a cardboard or timber mock-up to represent the seated envelope at the top or bottom landing. I have used this method on site to show families why an installation that “looks fine” would actually force the rider’s head under a bulkhead during travel.
Where space is marginal, small changes can make a large difference. Moving the lower park point by one tread, specifying a top overrun, choosing a different seat height, or relocating a shelf may resolve the issue. But if the user must duck, twist, or lean toward the stair void, the installation is not acceptable. A safe stair lift should support neutral, predictable movement, not require compensations from a person whose mobility is already limited.
Best practices for documenting and validating measurements
The most reliable surveys are repeatable. Measure each critical headroom point at least twice and note whether the reading was taken vertically from floor level or from the stair pitch line. Photograph the tape in place where possible. Include ceiling slopes, trim details, door swings, and any temporary items that should be ignored, such as hanging coats or movable furniture. If a landlord, family member, or contractor plans to alter the area before installation, record both current and proposed conditions so assumptions do not become mistakes.
Validation should include the installer, supplier, and where relevant the occupational therapist or case manager. For complex jobs, ask for a pre-fit technical check before manufacture, particularly with curved rails. This extra step prevents expensive remakes and, more importantly, protects the user from being presented with equipment that cannot be used safely on day one.
Measuring stair lift headroom at the top and bottom landings is not a minor detail; it is a core safety decision within every pre-installation assessment. Accurate headroom measurement defines whether the rider can travel without head strike, transfer confidently, and use the lift as intended over the long term. The process starts with clear definitions and proper tools, then moves through disciplined measurement at both landings, review of obstacles, and adjustment for real user needs. It also connects to the broader installation and setup picture, including landing space, rail position, electrical planning, and emergency access.
The central benefit of doing this work thoroughly is simple: you avoid unsafe assumptions. A staircase can be wide enough for a rail and still be wrong for a person if overhead clearance is poor. By measuring from consistent reference points, checking the travel envelope rather than a single ceiling height, and validating borderline cases with the manufacturer, you can make sound decisions before equipment is ordered. If you are planning a stair lift installation, use this article as your hub for pre-installation assessments and build your next step around a documented site survey, not a visual guess.
Frequently Asked Questions
What does headroom mean when measuring for a stair lift at the top and bottom landings?
Headroom is the clear vertical space available above the stair lift user and the chair as the lift travels and as the rider gets on or off at each landing. In practical terms, it is the distance from the riding position up to any ceiling, bulkhead, soffit, sloped wall, door frame, overhang, or other overhead obstruction that could interfere with safe use. This matters most at the top and bottom landings because those are the transition points where the user mounts, dismounts, turns, and shifts posture. If the rider has to duck, lean forward, or twist awkwardly to avoid hitting their head, the lift may not be safe or comfortable to use.
When installers assess headroom, they are not just looking at the staircase in general. They focus on the full travel path of the chair and the rider’s body, especially near the upper and lower ends where the rail may level out, overrun onto a landing, or stop close to a ceiling feature. A staircase can seem open and usable at first glance but still present a problem if there is limited clearance at a landing. That is why accurate headroom measurement is a core part of pre-installation planning and should always be considered alongside stair width, rail position, and safe boarding space.
How do you measure stair lift headroom at the top and bottom landings correctly?
The most reliable approach is to measure the clear vertical distance at the points where the user will be seated, traveling, and getting on or off the stair lift. Start by identifying the likely path of the rail and the chair near the bottom landing, along the staircase, and at the top landing. Then look directly above that path for anything that could reduce clearance, such as low ceilings, sloped plaster, exposed beams, door headers, attic conversions, or upper-floor projections. Use a tape measure to record the vertical distance from the stair nosings or landing floor up to the nearest overhead obstruction, but do not stop there. Because the rider sits above the stair line, a professional will also consider the seated height of the user and the geometry of the chair in motion.
At the bottom landing, measure where the chair will start and where the user will sit to mount the lift. At the top landing, measure where the chair will stop and where the user will stand up to dismount. If there is a rail overrun or a powered swivel seat planned, headroom must be checked in those exact positions as well. It is also wise to take measurements at several points rather than relying on one number, especially if the ceiling slopes or the overhead structure changes as the lift approaches a landing. Even a small reduction in clearance at a critical point can affect whether the installation is feasible or whether a different rail configuration is needed.
Why is headroom at the landings more important than it first appears?
Many people assume a stair lift only needs enough room to travel up and down the stairs, but the landings are where safety issues often become most apparent. At the bottom landing, the user needs enough upright space to approach the chair, turn, sit down, and settle into a secure riding position without stooping. At the top landing, the user must be able to rise from the chair and step away with confidence. If headroom is tight at either end, the rider may instinctively bend or shift their weight at the wrong moment, which can increase the risk of losing balance.
Headroom at the landings also affects comfort, confidence, and long-term usability. A stair lift that technically fits but forces a taller rider into a cramped posture may not be acceptable in everyday use. The issue becomes even more important for users with limited mobility, reduced neck or back flexibility, or conditions that make bending difficult. In those cases, proper clearance is not just a convenience; it is essential to safe transfers. This is why installers treat landing headroom as a functional safety measurement rather than a simple structural dimension.
What overhead obstructions should be checked when assessing stair lift headroom?
You should check any feature that projects into the space above the stair lift user’s head or upper body. Common examples include low ceilings at the top or bottom of the stairs, boxed-in ductwork, soffits, beams, pendant light fixtures, smoke detectors mounted on dropped ceilings, sloped walls in loft or attic conversions, and the underside of another staircase. Door frames near the top landing can also create a problem if the chair stops or overruns beneath them. In some homes, decorative trim, shelving, or storage cupboards beside or above the staircase can reduce the usable space more than expected.
It is also important to look beyond obvious fixed obstacles. A lift may pass beneath an area that seems clear until you account for the user’s seated height, the chair back, and the angle of approach to the landing. Some obstructions only become relevant when the seat swivels for dismounting or when the rail extends beyond the top or bottom step. Because of that, a good assessment considers not only the staircase itself but also the way the equipment will operate once installed. Anything that could cause the rider to make contact, even lightly, should be evaluated before a lift model or rail layout is chosen.
Can a stair lift still be installed if headroom is limited at the top or bottom landing?
In many cases, yes, but the answer depends on how limited the space is, where the restriction occurs, and which stair lift options are available. A professional installer may be able to recommend a different rail stop position, a shorter or longer overrun, a hinged rail, or a seat configuration that improves boarding and dismounting clearance. Sometimes moving the parking position of the chair or adjusting where the user gets on and off can solve the problem. In other situations, a compact model or a customized rail layout may help the lift avoid a low overhead feature while still remaining practical to use.
However, there are limits. If the user would need to duck significantly, if the chair would stop under a dangerously low obstruction, or if safe transfer at the landing cannot be achieved, the space may not be suitable for that particular stair lift design. That is why accurate measurement and a proper site survey matter so much. The goal is not simply to install a lift that fits on the stairs, but to ensure the user can ride, mount, and dismount safely every time. If headroom is borderline, the best next step is always to have a qualified stair lift specialist verify the measurements and recommend the safest solution.