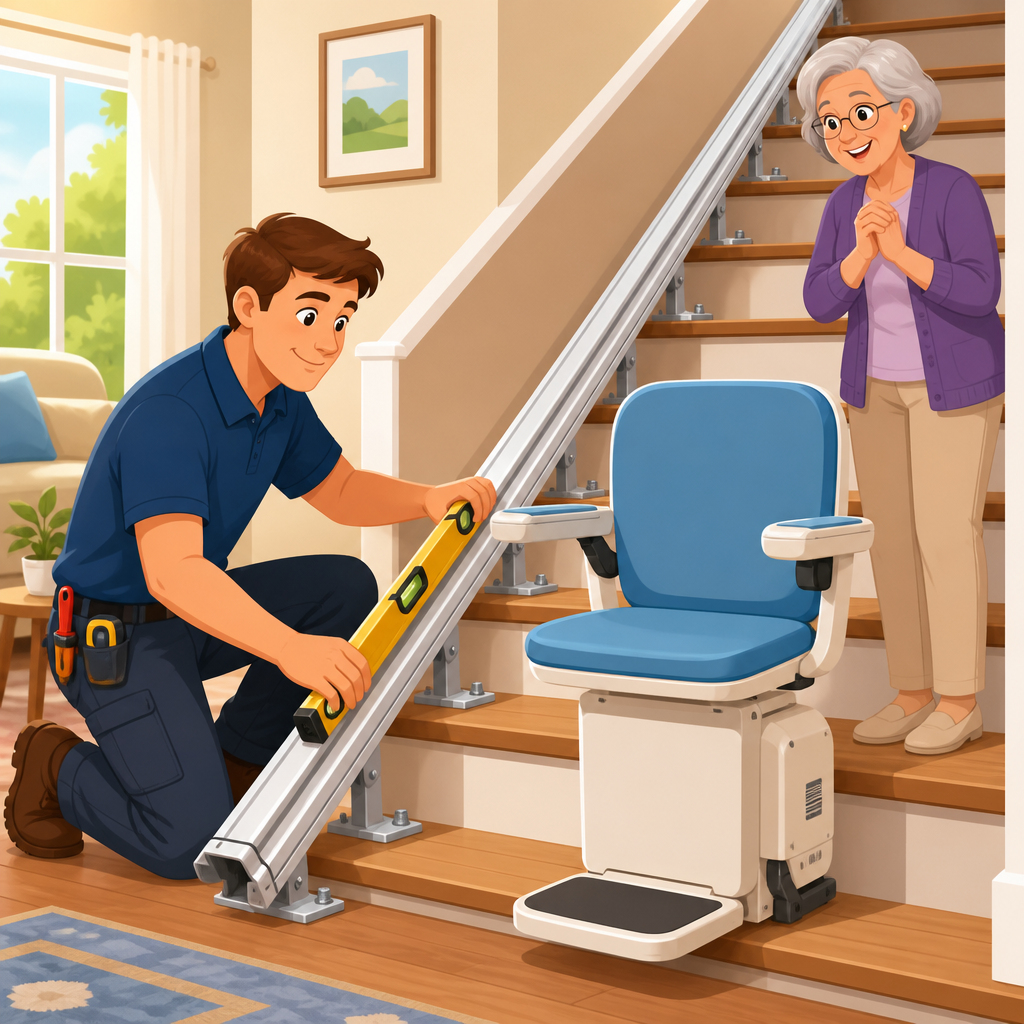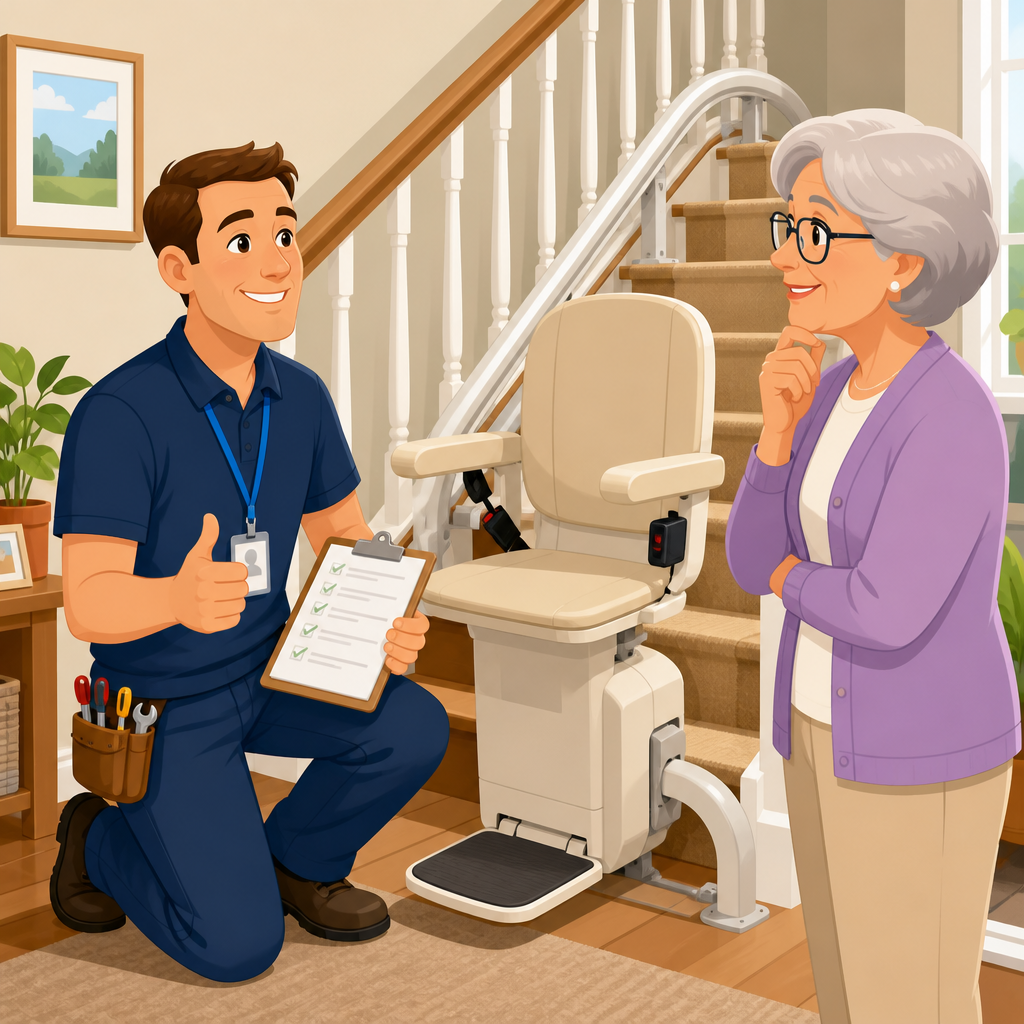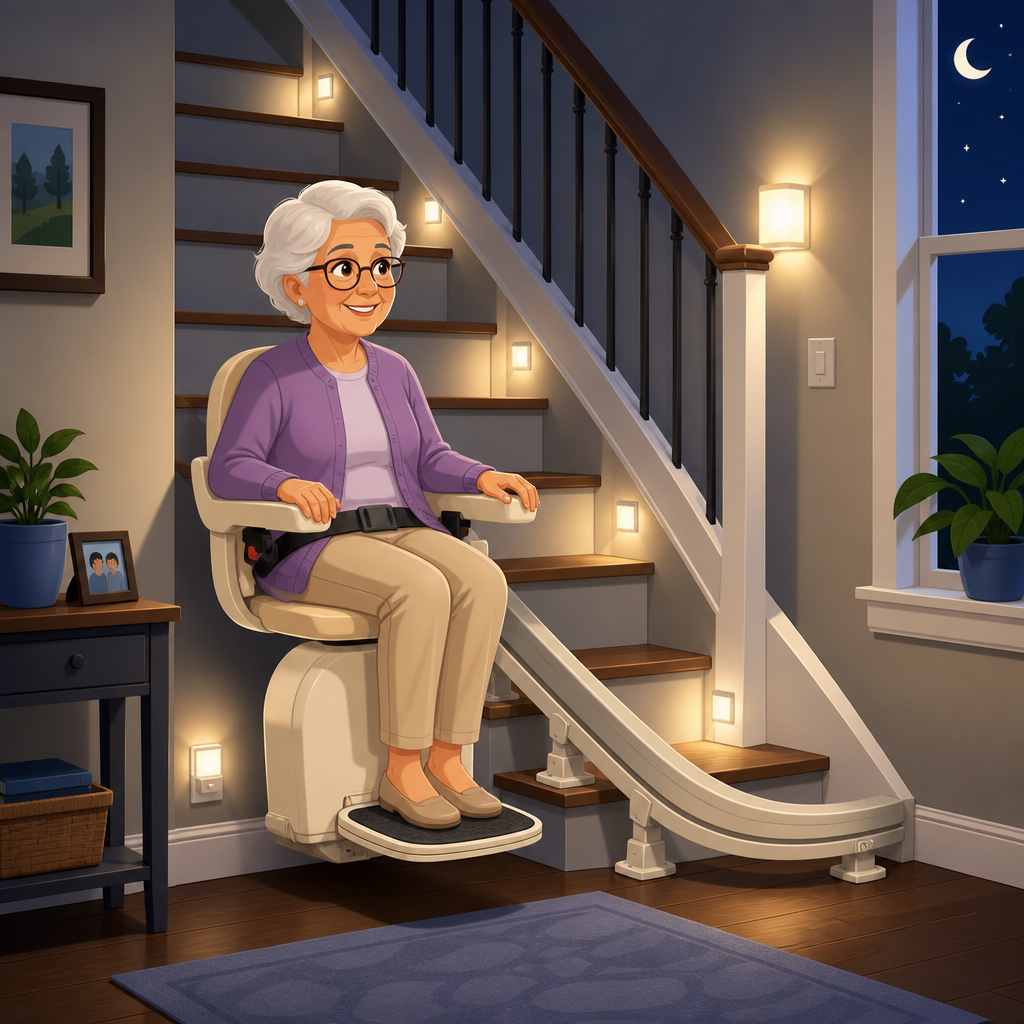
Adding lighting around a stair lift for safer nighttime use is one of the most practical home modifications you can make when improving accessibility, because visibility problems compound every risk that already exists on stairs. In installation work, I have seen otherwise well-fitted stair lifts undermined by dim landings, shadowed armrests, and switches placed where users cannot easily see them after dark. A stair lift is a motorized chair that travels along a rail fixed to the staircase, while task lighting refers to light focused on a specific activity area such as the seat, footrest, call controls, or transfer point. Ambient lighting lights the room more generally, and pathway lighting helps define edges and movement routes. These distinctions matter because safer nighttime use depends on layering light correctly, not just making the staircase brighter.
This topic sits at the center of modifying the home for stair lift installation and setup. Lighting interacts with electrical access, wall finishes, handrails, carpeting, switch locations, charger positions, and the way a user approaches the lift from both landings. It also affects caregivers, visiting family, and emergency responders who may need to use the stairs quickly. Poor visibility contributes to missed foot placement, unsafe transfers, and difficulty locating the seat belt or swivel lever. For older adults, contrast sensitivity often declines before visual acuity does, meaning shadows and glare become more hazardous than many homeowners realize. Good stair lift lighting reduces hesitation, shortens transfer time, and supports confidence without major structural work.
As a hub within installation and setup, this guide covers the full modifying-the-home picture: where to place lighting, what fixtures work best, how to avoid glare, when wiring changes are needed, how battery-powered products compare with hardwired options, and what building and product standards should inform decisions. It also connects to related upgrades such as rail placement, outlet planning, parking positions, and obstruction clearance. If you are planning a new lift or improving an existing one, lighting should be treated as part of the installation scope rather than an afterthought added after the first nighttime near miss.
Why lighting is essential for stair lift safety
Nighttime stair lift use creates a chain of visual tasks. The user must find the first switch, judge the floor edge, approach the chair, read its orientation, lower the seat or arms if folded, sit safely, place both feet on the footrest, fasten the belt, and operate the control. At the top landing, the process reverses, often with an added swivel movement before standing. Each step becomes harder when the only light source is a ceiling fixture behind the user or a lamp in an adjacent room. I have inspected installations where the chair itself worked perfectly, yet the transfer area remained the true hazard because the user dismounted into darkness.
Better lighting improves safety in four measurable ways. First, it increases contrast at stair nosings, landing edges, and the footrest. Second, it reduces reaction time because controls and obstacles can be seen immediately. Third, it helps caregivers verify seat belt placement and posture. Fourth, it supports routine use, which matters because people avoid safety equipment that feels awkward at night. This is especially relevant for users with cataracts, macular degeneration, diabetic retinopathy, or reduced depth perception. In those cases, a modest increase in targeted light often produces a larger functional benefit than a brighter overhead fixture alone.
Key areas to illuminate around a stair lift
The safest approach is to think in zones rather than in single fixtures. The bottom landing needs clear light on the approach path, floor surface, first step edge, and parked chair position. The seat should be bright enough that the user can identify armrests, controls, and the buckle without bending close. The footrest needs its own visibility because missed placement is common, especially if flooring and the footrest are similar in color. Mid-stair illumination is useful mainly to reveal obstructions and maintain orientation, but it is less critical than the transfer zones at both ends.
The top landing deserves even more attention because standing up after travel places the user near the stair edge. If the lift includes a manual or powered swivel seat, the lighting should make the locked position obvious. Hallway lighting at the upper floor should also extend several steps beyond the dismount point so the user is not stepping from a bright seat into a dark corridor. In straight staircases, simple layered fixtures often cover these zones well. Curved staircases may require more careful positioning because turns create shadows along the rail and can obscure controls depending on parking location.
| Area | What to Light | Best Fixture Type | Main Safety Benefit |
|---|---|---|---|
| Bottom landing | Approach path, first step, parked chair | Wall sconce or motion-sensor low-glare fixture | Safer approach and easier seated transfer |
| Seat and controls | Armrests, joystick or rocker switch, belt buckle | Integrated LED or focused wall light | Faster setup and fewer handling errors |
| Footrest | Platform edge and shoe placement area | Integrated LED or low-angle task light | Better foot positioning before travel |
| Stair run | Rail path and obstructions | Wall washers or step lights | Improved orientation during travel |
| Top landing | Dismount point, swivel zone, hallway | Ceiling light plus directional task lighting | Safer exit away from stair edge |
Choosing the right type of lighting
For most homes, warm-to-neutral LED lighting in the 2700K to 3500K range gives the best balance of comfort and clarity. Very cool light can feel harsh and may increase glare on painted walls, polished rails, or vinyl flooring. The goal is even illumination, not spotlight drama. Wall sconces placed slightly above seated eye level work well at landings because they brighten faces, switches, and chair surfaces without shining directly into the user’s eyes. Recessed step lights can define tread edges, but they should complement rather than replace landing lights. Adhesive LED strips may help under handrails or beneath the rail in some layouts, though only quality products with stable diffusers and safe power supplies should be considered.
Integrated lighting on the stair lift itself can be useful when offered by the manufacturer, especially for the footrest or carriage area. Brands such as Stannah, Bruno, Handicare, and Acorn vary by model, so accessory availability should be confirmed before installation. In my experience, built-in lights are best treated as supplemental task lighting, not the primary system, because they move with the chair and may not illuminate the standing area well enough during boarding. Motion-sensor night lights can be effective too, but their trigger range must be tested from both landings. A sensor that activates only after the user is already at the stair edge is badly placed, no matter how bright it is.
Placement, wiring, and power planning during installation
The best time to add stair lift lighting is before the rail is fitted or during any related decorating, electrical, or flooring work. Installers need to know where the lift will park, where the user normally approaches from, and whether the charge points are at the top, bottom, or both. That information changes the ideal location for switches and fixtures. Hardwired lighting is generally the most reliable long-term option because it avoids battery maintenance and tends to deliver steadier output. If walls are being repaired or repainted, concealing cable runs for sconces or step lights is usually straightforward. Where rewiring would be too disruptive, surface-mounted conduit, plug-in fixtures, or battery units may still improve safety significantly.
Electrical planning should also consider outlet availability for the stair lift power supply and any connected lighting accessories. Most modern stair lifts use battery-powered operation with charging points on the rail, but they still require a mains outlet for charging. Lighting circuits should not interfere with charger placement, and extension cords should never be used as a workaround on a staircase. If you are upgrading switches, choose large rocker styles, illuminated switches, or smart controls with simple scenes such as “stairs night.” In older homes, I often recommend an electrician verify circuit capacity, grounding, and switch-leg wiring before adding multiple fixtures, particularly if the staircase area has only one aging ceiling light.
Avoiding glare, shadows, and contrast problems
More light is not automatically better. Glare can be just as dangerous as dimness, especially for older users with eye conditions. The most common mistakes are exposed bulbs at eye level, glossy wall paint that throws back reflections, and directional spotlights aimed across the user’s line of sight. I have seen beautifully renovated hallways where decorative fixtures created a bright halo but left the seat belt and footrest in shadow. Diffused lenses, matte finishes, and shielded fixtures usually perform better in real homes than highly stylized fittings. If the staircase has framed pictures or mirrors nearby, check whether they reflect lamp brightness into the chair position.
Contrast deserves equal attention. If the footrest is dark and the flooring is dark, a user may struggle to judge where to place shoes. If the landing edge blends into the hallway carpet, standing up safely becomes harder. Simple modifications help: a contrasting nosing strip, a matte light-colored wall behind dark controls, or a seat upholstery color that stands out from its surroundings. Good lighting reveals these contrasts; it cannot create them on its own. That is why modifying the home around a stair lift should be treated as a coordinated design and safety project, not just a mobility equipment purchase.
Related home modifications that support safer nighttime use
Lighting works best when paired with other practical changes around the staircase. Handrails should remain easy to see and grasp, especially if one side is retained after the lift is installed. Landings need clear turning space for walkers or canes. Loose rugs, narrow console tables, and decorative baskets often migrate into approach areas and should be removed. If the lift folds when parked, confirm that folded components do not cast confusing shadows that make the stair width look different at night. Wall repairs after rail installation are also an opportunity to improve finish reflectance with low-sheen paint that brightens the space without glare.
Controls are another overlooked part of home modification. Call-send stations should be mounted where they are visible from the natural approach path and at a height the user can reach comfortably. If the user has arthritis or reduced dexterity, larger controls matter as much as better illumination. In some houses, adding a two-way switch arrangement for the stair area is more beneficial than adding another fixture, because it lets a user light both landings without walking into darkness. For households planning long-term aging in place, I also advise reviewing smoke alarm placement, emergency egress routes, and backup lighting options so the staircase remains usable during outages or urgent nighttime movement.
Maintenance, testing, and when to call a professional
Once lighting is installed, test it with the actual user at the times it matters most: after dark, when tired, while carrying a phone, or when wearing bifocals. Verify that they can see the parking position, seat edge, belt buckle, footrest, arm controls, and top landing exit without squinting or leaning. LEDs last a long time, but fixtures still collect dust, diffusers yellow, batteries fail, and sensors drift out of adjustment. Include stair area lighting in the same maintenance routine as stair lift servicing. Many lift manufacturers recommend regular inspections, and it makes sense to review lighting at the same visit because travel vibration, redecorating, or moved furniture can change performance over time.
Call a qualified stair lift dealer, occupational therapist, or licensed electrician when any part of the setup creates uncertainty. Professional input is especially important if the user has low vision, if the staircase is unusually narrow, if the home has split levels, or if there are signs of electrical problems such as flicker, warm switches, or overloaded circuits. Follow applicable local electrical code and manufacturer instructions, and never attach third-party lighting in a way that obstructs the rail, carriage, folding mechanisms, or service access. The main takeaway is simple: adding lighting around a stair lift is not cosmetic. It is a core safety upgrade and a cornerstone of modifying the home for reliable nighttime access. Review your staircase, identify dark transfer points, and make lighting part of your installation plan now.
Frequently Asked Questions
Why is extra lighting around a stair lift so important for nighttime safety?
Adding lighting around a stair lift improves much more than general visibility. At night, even a properly installed lift can become harder to use safely if the seat edges, footrest, arm controls, call/send switches, and top or bottom landings are left in shadow. Most stair lift users rely on clear visual cues to judge where to sit, where to place their feet, and when they are fully on or off the chair. When lighting is poor, the risk of missteps, awkward transfers, hesitation, and loss of balance increases significantly.
Good lighting also helps users operate the lift with more confidence and less strain. They can see whether the seat is folded or unfolded, whether the rail area is clear, and whether clothing, blankets, or walking aids are positioned safely before travel. For family members and caregivers, better lighting makes it easier to assist without crowding the staircase or missing potential hazards. In practical terms, the goal is not simply to make the stairs brighter. It is to create consistent, glare-free illumination that makes every part of the stair lift easier to approach, board, ride, and exit after dark.
What type of lighting works best around a stair lift?
The best lighting setup is usually layered rather than relying on one bright fixture. A combination of overhead lighting, targeted stair illumination, and low-level night lighting tends to provide the safest results. Overhead fixtures help brighten the staircase as a whole, while wall-mounted lights, step lights, or LED strip lighting can define individual treads and landings more clearly. This is especially useful in homes where shadows fall across the rail, footrest, or seat base.
For many homes, motion-activated lights are an excellent option because they automatically switch on when someone approaches the stairs or lift. This removes the need to search for a switch in the dark. Plug-in night lights can help at the top and bottom landings, while battery-backed or hardwired options may be preferable in critical access areas. It is generally best to choose lights that produce even, soft illumination rather than harsh spotlights. Excessive brightness can create glare on polished floors, glossy walls, or lift surfaces, which may make things harder to see rather than easier. Warm or neutral white light is often more comfortable for nighttime use, but the priority should always be clear visibility of the seat, controls, footrest, rail path, and transfer area.
Where should lighting be placed to make a stair lift easier and safer to use?
Lighting should be focused on every point where a user makes a decision or transition. That means the bottom approach to the lift, the chair itself, the footrest area, the control locations, the rail path, and the top landing where the user stands up and steps away. In many homes, the biggest problem areas are not the middle of the staircase but the entry and exit points. A dark lower hallway, a shadowed top landing, or a poorly lit switch location can create more danger than the stairs themselves.
In practical installation terms, the most effective placements are often at the top and bottom landings, along the wall beside the staircase, and near any call/send controls. If there is a turn, narrow passage, or doorway close to the lift, that area should also be illuminated clearly. The user should be able to see the seat orientation, confirm the footrest is down, and identify where to place hands before sitting. At the top landing, lighting should make it easy to see the floor edge and any nearby obstacles such as rugs, baskets, or furniture. The best layout creates a continuous visual path so the user never moves from one bright spot into a dark gap while using the stair lift.
Can I add lighting around a stair lift without interfering with the lift installation or creating new hazards?
Yes, but the lighting should be planned carefully so it supports the lift rather than complicating it. Any added lighting must avoid obstructing the rail, chair movement, folding components, charging points, or the user’s path on and off the lift. Cords should never trail across landings or stairs, and light fixtures should not project into the travel area where they could be bumped or damaged. If adhesive LED strips or plug-in lights are used, they should be secured neatly and placed away from moving parts and foot traffic.
It is also important to think about maintenance and reliability. Lights near a stair lift should be simple to operate, dependable, and positioned so bulbs or batteries can be changed safely. If hardwired lights are being installed, a qualified electrician is the right choice, particularly when adding switches, upgrading fixtures, or tying lighting into existing circuits. In many cases, a stair lift installer, occupational therapist, or accessibility professional can also help identify where added lighting will have the most benefit. The safest result comes from treating lighting as part of the overall accessibility plan, not as an afterthought. Done properly, it should reduce risk without introducing glare, clutter, or trip hazards.
What should I avoid when choosing nighttime lighting for a stair lift area?
The most common mistake is assuming brighter always means safer. Overly intense lighting can create glare, wash out contrast on stair edges, and make controls harder to read, especially for older adults or users with reduced vision. Another frequent problem is uneven lighting, where one area is brightly lit but the adjacent landing or control point remains dim. This forces the eyes to constantly adjust and can make transfers feel uncertain. Lighting that leaves deep shadows under the armrests, around the footrest, or at the top landing should be corrected.
You should also avoid relying on difficult-to-reach switches, decorative fixtures that do not direct light where it is needed, or temporary setups with loose extension cords. Colored bulbs, highly reflective surfaces, and lights placed directly at eye level can reduce clarity rather than improve it. Motion sensors should be set thoughtfully so they activate early enough and stay on long enough for the full stair lift journey, including getting seated and stepping off. Finally, do not ignore the user’s specific needs. Someone with low vision, balance concerns, or slower transfers may need more consistent lighting and better contrast than the average person. The safest lighting plan is one that matches the stair layout, the lift design, and the individual using it every day.