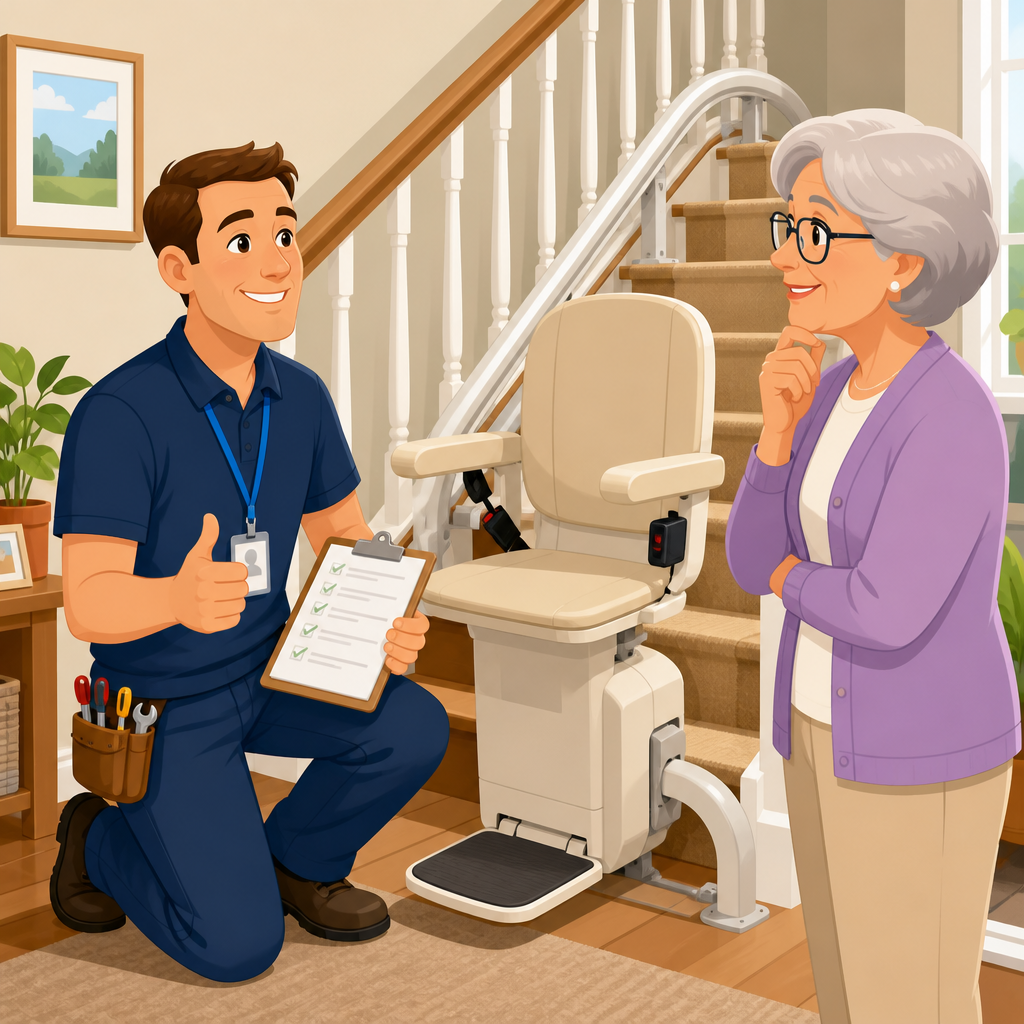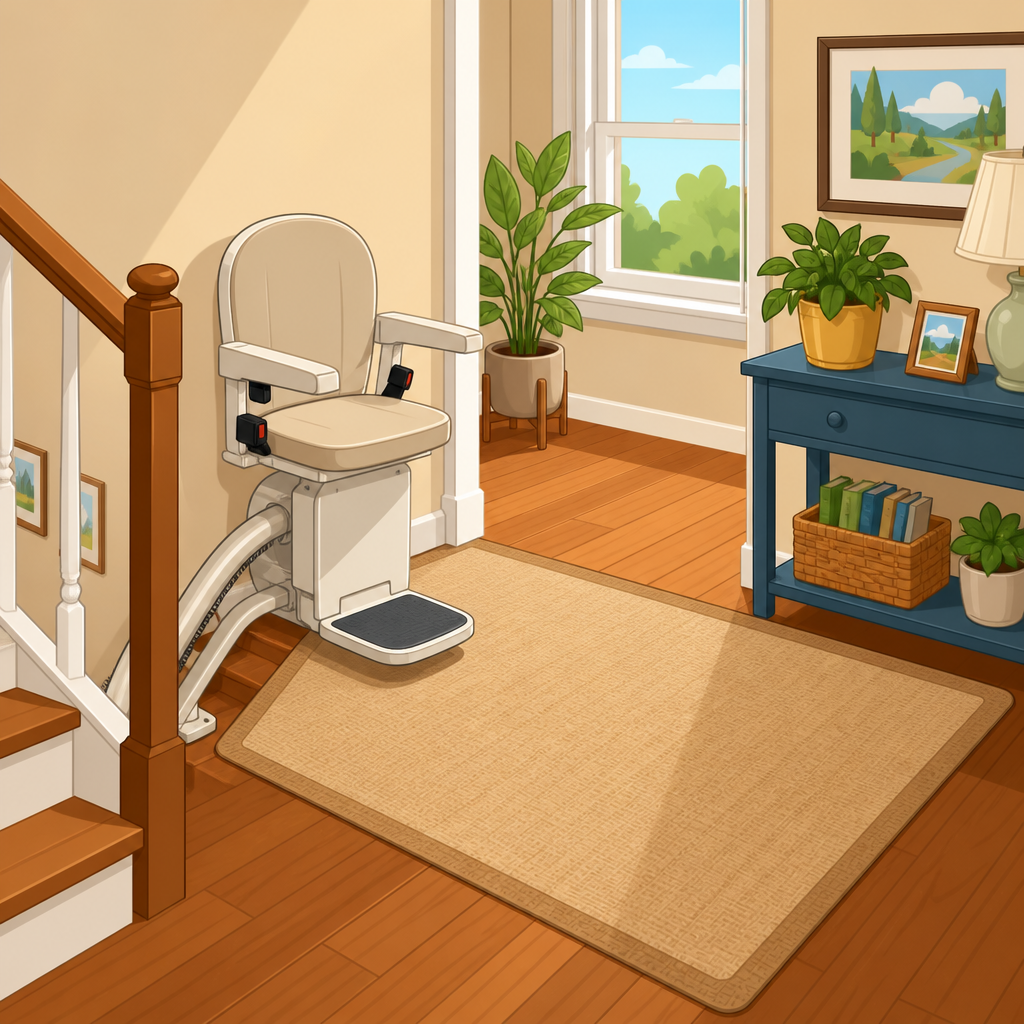
A safe top-landing transfer area for a stair lift is the flat, obstruction-free space where a rider exits the chair at the upper floor, turns, stands securely, and moves into the hallway or room without losing balance. In real installations, this area matters as much as the rail, motor, or seat belt, because most stair lift incidents happen during mounting and dismounting rather than while the chair is traveling. When I evaluate homes for stair lift installation and setup, I look first at the top landing, not the staircase itself, because a powerful lift cannot compensate for poor clearance, weak flooring, awkward door swings, or bad lighting. Creating a safe top-landing transfer area often requires modifying the home in small but important ways: adjusting doors, improving handholds, changing flooring transitions, widening the clear path, or selecting a rail option that positions the user away from the stair edge.
For homeowners, family caregivers, and contractors, understanding this space is essential because it affects independence, fall prevention, code awareness, and long-term usability. A top landing is not simply a spot where the chair stops. It is a transfer zone with measurable dimensions, human-factor risks, and product-specific requirements. If the user has arthritis, limited trunk control, Parkinsonian freezing, stroke-related weakness, or uses a walker at the upper level, the transfer area must support those realities. If the home has a narrow hall, a closet door opening toward the landing, plush carpet, or a radiator near the exit point, those features directly shape the safest design. The goal is straightforward: let the rider stand up on a stable surface, face a secure direction, and move away from the stairs in one controlled sequence.
This hub article covers how to create that outcome by focusing on home modifications tied to stair lift installation. It defines the core design principles, explains the measurements installers assess, and shows how to solve common top-landing problems in plain terms. It also serves as a central guide to the broader “Modifying the Home” subtopic, because nearly every related project connects back to transfer safety. Flooring, lighting, door hardware, handrails, hallway clearance, electrical placement, and rail overruns all influence the final landing design. By the end, you should know what a safe top-landing transfer area requires, what changes are usually worth making, and which decisions should be reviewed with a qualified stair lift dealer, occupational therapist, or contractor before installation begins.
What a Safe Top-Landing Transfer Area Must Accomplish
A safe top-landing transfer area has one job: reduce fall risk during exit. In practice, that means giving the rider enough room to swivel, place both feet on a level surface, stand with support if needed, and walk away without stepping sideways toward the stair opening. Most reputable manufacturers, including Bruno, Harmar, Handicare, and Stannah, publish model-specific clearance guidance, but the principle is consistent across brands. The user should dismount onto the upper floor, not onto a step, and the chair should stop where the rider is protected from the exposed stair edge whenever possible. That is why many installations use a manual or powered swivel seat at the top station, combined with a top overrun or parking position that carries the chair beyond the last riser.
The transfer area must also match the rider’s actual movement pattern. A relatively mobile user may only need a clear patch of floor and a nearby wall for light support. A user with poor balance may need a fixed grab bar, a walker staged within reach, and enough turning space to pivot slowly. In homes with two users, one ambulatory and one with significant weakness, I usually plan for the less stable rider first. Designing to the most vulnerable user prevents future retrofits and avoids the common mistake of assuming today’s mobility level will remain unchanged.
Surface stability matters more than many people realize. Thick carpet, loose runners, glossy flooring, and abrupt thresholds all increase slip or trip risk during transfer. The safest top-landing surface is firm, level, and predictable underfoot. Lighting is equally important. Older adults need more illumination to detect edge changes and obstacles, so a bright, shadow-free fixture at the landing often improves safety immediately. If a rider reaches the upper floor at night and steps into a dim hallway, the transfer becomes much riskier even when the lift itself functions perfectly.
How Installers Assess the Landing During Stair Lift Installation
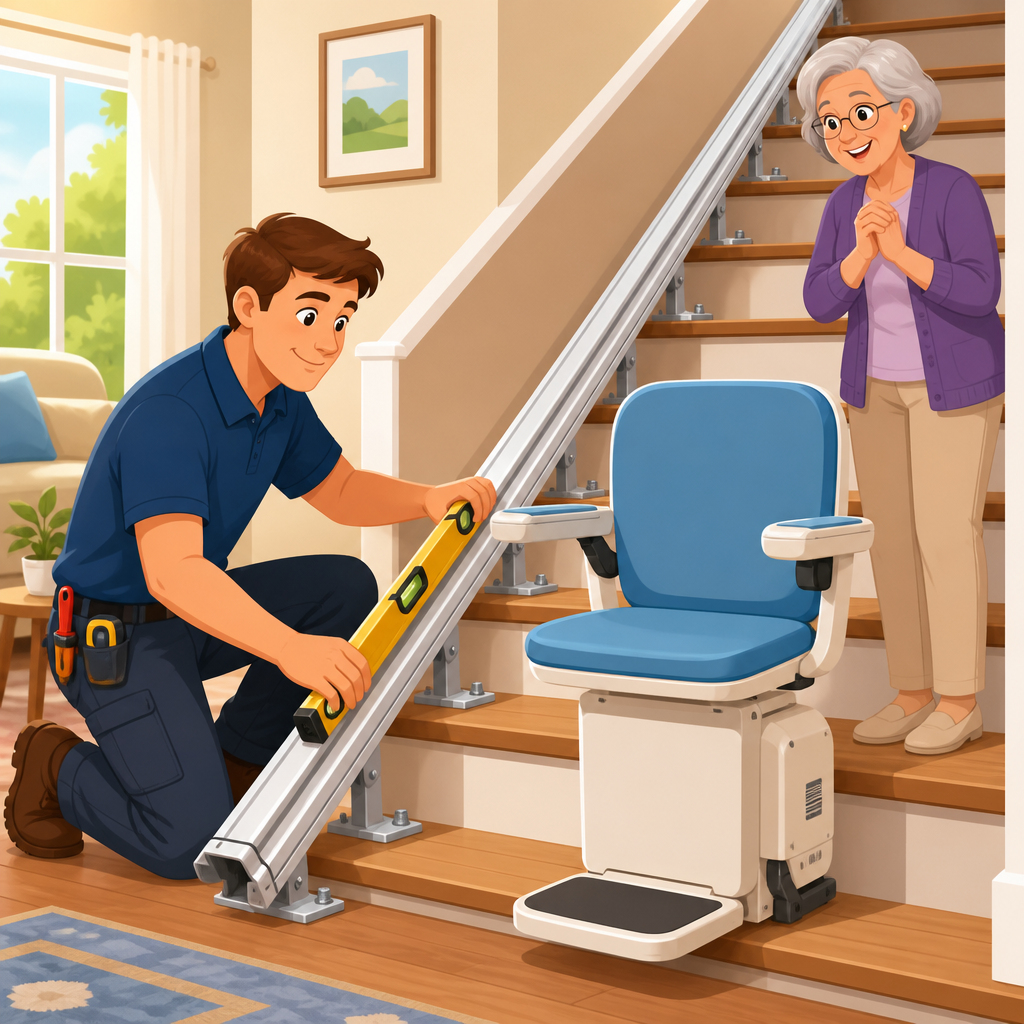
A proper assessment starts with measurements, but it should not end there. Installers typically measure the staircase angle, tread depth, track length, and available clearance at the top and bottom stations. For the top landing specifically, they check the distance from the nose of the top step to nearby walls, doors, and hallway obstructions; the amount of flat floor available for foot placement; and the route the user will take after standing. They also confirm whether the seat can swivel fully without hitting trim, a newel post, a radiator, or a door casing. On several homes I have reviewed, the staircase could technically accept a lift, but the top landing was unsafe until a door was rehung or a cabinet was removed.
Human factors are just as important as dimensions. The installer should watch how the user approaches the chair, sits, rises, and turns. If the person pushes up with one arm only, drags one foot, or needs to brace against a wall, those details affect the final layout. Occupational therapists often add valuable insight here, especially when the user has neurological conditions or cognitive impairment. A technically correct installation can still fail in daily use if it ignores fatigue, tremor, transfer habits, or fear of heights.
The checklist below summarizes the most important landing factors and the home modifications commonly used to address them.
| Assessment point | Why it matters | Common modification |
|---|---|---|
| Clear floor space at upper exit | Allows both feet to land on level flooring and provides turning room | Remove furniture, trim protrusions, or small cabinets |
| Distance from stair edge | Reduces risk of stepping toward open stairs while standing up | Add a top overrun or choose a model with better upper dismount positioning |
| Door swing conflict | Doors can block the swivel path or force awkward sideways transfer | Reverse hinges, install pocket or outswing door, or relocate stop |
| Flooring condition | Soft, slick, or uneven surfaces increase slip and trip risk | Replace loose carpet, flatten thresholds, add non-slip flooring |
| Support point for standing | Users often need a stable handhold immediately after rising | Install a code-appropriate grab bar or secure handrail extension |
| Lighting and switches | Poor visibility hides edges and obstacles, especially at night | Add brighter fixture, motion-sensor light, or relocated switch |
| Walker or cane staging | Mobility aid must be reachable without twisting toward the stairs | Create dedicated parking spot on landing or adjacent wall area |
Home Modifications That Improve Upper-Level Transfer Safety
Most top-landing fixes are modest carpentry or finish changes, not major remodeling. Door modifications are among the most effective. If a bedroom, bathroom, or closet door opens into the landing and interferes with the rider’s exit path, reversing the swing can dramatically improve safety. In tighter homes, replacing a hinged door with a pocket door removes conflict entirely. This is especially useful when the rider needs to exit the stair lift, pause, and steady themselves before continuing.
Grab bars and handholds are another high-value upgrade, but placement matters. A bar installed too far from the standing point is almost useless. It should support the first stable reach after the rider rises from the seat. I prefer textured, high-contrast bars anchored into solid framing, not suction products or decorative towel bars. If the landing wall cannot take a conventional bar, a contractor may need to add blocking and patch the finish wall before installation.
Flooring changes deserve serious attention. Builders and families often focus on the stair lift brand while ignoring a curled carpet edge or an abrupt reducer strip at the top landing. Those small defects are common trip points. Replacing thick carpet with low-pile carpet, luxury vinyl plank with slip resistance, or a firm commercial sheet surface can improve transfer reliability. Any flooring choice should still support the user’s broader mobility needs; for example, a walker user may do better on a surface that glides predictably but is not slick.
Lighting and controls are often easy wins. A bright LED ceiling fixture, illuminated switch, motion sensor, or stair lift call/send control placed at a reachable height can reduce nighttime risk. If the user reaches the top floor and must cross a dark hall to find a switch, the transfer area is incomplete by design. In some homes, adding a dedicated outlet for charging or relocating a nearby lamp cord prevents clutter in the landing path.
Choosing Rail and Seat Features That Support a Safer Landing
Product selection directly affects how much home modification is needed. A top overrun extends the rail beyond the last step so the rider exits farther from the stair edge. In many straight-stair installations, this is the single best safety upgrade when space permits. A powered swivel seat can also help users who cannot twist their trunk easily; it turns the seat into the correct exit position at the upper landing and can lock there before standing. Folding rails, hinged rails, and compact seat designs are helpful in specific layouts, but they should not be chosen only for convenience if they compromise the best dismount position.
For curved stair lifts, the upper parking location can sometimes be customized more precisely, which is useful in older homes with irregular landings. However, custom rails cost more and require careful surveying. The safest solution is not always the one with the most features. It is the one that lets the rider get off in a stable, repeatable way, every day, without improvising. When comparing models, ask the dealer to demonstrate the final seated position at the top stop, the swivel operation, the armrest spacing, and the footrest clearance. If the user catches a toe under the footrest or cannot place a walker close enough after standing, the design is not finished.
Battery backup is also relevant to landing safety. Modern stair lifts commonly use DC power with charging points at rail ends, allowing operation during a household power outage. That matters because an outage should not strand a user on the wrong floor. In homes with frequent interruptions, reliable charging contacts and clearly indicated parking positions deserve attention during installation planning.
Common Top-Landing Problems in Existing Homes and How to Solve Them
Older homes often present the hardest top-landing challenges. Narrow upper halls, decorative newel posts, sloped plaster walls, and radiators can crowd the transfer zone. One common issue is a hall less than ideal width, where the rider exits into a pinch point between the chair and the opposite wall. Sometimes moving a thermostat, trimming back a protruding casing, or selecting a narrower seat profile solves the problem. In other cases, a contractor may need to rework part of the wall or door frame to create functional clearance.
Another frequent problem is storage creep. Homeowners place hampers, bookcases, linen towers, or small tables near the top of stairs because the area seems underused. Once a stair lift is installed, those items become hazards. The landing must remain dedicated circulation space. This sounds obvious, but maintaining that clear zone over time is part of safe setup, not an afterthought.
Multi-user households create their own complications. A stair lift may need to coexist with family traffic, pets, laundry baskets, and emergency egress needs. The top landing cannot become so optimized for one rider that it creates a hazard for everyone else. Good design balances clearances, keeps walking paths intuitive, and avoids forcing others to step around the parked chair. If parking the chair away from the top landing is practical, that can reduce congestion and preserve normal hallway use.
Best Practices for Long-Term Use, Maintenance, and Related Home Updates
Once the transfer area is created, keep it safe through routine checks. Test the swivel lock, seat height, and call/send controls regularly. Inspect flooring edges, grab bar fasteners, and lighting performance. Replace weak bulbs with consistent-output LEDs, and make sure motion sensors activate before the rider enters the upper hall. If the user’s condition changes, reassess the landing. A setup that worked after knee surgery may not work after a stroke or with progressing balance loss.
As a hub for modifying the home, this topic connects to several related projects worth reviewing during installation and setup: widening access routes, improving hallway lighting, selecting safer flooring, adding wall reinforcement for handholds, adjusting door hardware, and planning electrical access for the lift. Those changes work best as one coordinated package rather than isolated fixes. When families treat the stair lift as a single device instead of part of a transfer environment, they miss the biggest opportunity to prevent falls.
A safe top-landing transfer area makes a stair lift truly usable. It gives the rider room to exit securely, supports natural movement, and reduces the chance of falls at the moment of greatest vulnerability. The most effective solutions are usually practical: clear floor space, solid handholds, better lighting, stable flooring, and a rail configuration that positions the user away from the stair edge. Start with the top landing assessment, involve a qualified installer, and make the home modifications that turn the lift from a transportation device into a dependable daily access solution.
Frequently Asked Questions
What is a safe top-landing transfer area for a stair lift, and why is it so important?
A safe top-landing transfer area is the level, open space at the upper end of the staircase where the user gets off the stair lift, stands up, turns, regains balance, and walks away from the chair. It is not just the spot where the rail ends. It is the full movement zone needed for a person to exit the seat without twisting awkwardly, stepping backward toward the stairs, or reaching for unstable support. In practical terms, this area should allow the rider to place both feet firmly on a solid floor surface, stand upright without bumping into a wall or door, and move into the adjoining hallway or room in a natural, controlled way.
This area matters because the most vulnerable part of stair lift use is often not the ride itself, but the transfer on and off the chair. A rider may be managing reduced balance, limited leg strength, arthritis, dizziness, or the use of a cane or walker. If the landing is cramped, sloped, cluttered, poorly lit, or too close to the stair edge, the chance of a misstep increases significantly. That is why professionals place so much emphasis on top-landing layout during a home assessment. A well-designed transfer area reduces fall risk, improves confidence, and makes the lift easier to use every day. In many homes, the safety of the transfer space is every bit as important as the quality of the rail, seat, controls, and drive system.
How much space is needed at the top landing for safe stair lift dismounting?
The exact amount of space depends on the user’s mobility, body size, whether the seat swivels manually or automatically, and whether the person uses a cane, walker, or other aid. That said, the goal is always the same: provide enough flat, unobstructed floor area for the rider to exit the chair facing away from the stairs and move clear of the lift without crowding. The user should not have to pivot in a tight corner, sidestep around furniture, or stop immediately in front of a closed door. The safest transfer areas feel open, predictable, and easy to navigate.
During an installation evaluation, the key questions are practical ones: Can the rider place both feet securely on the landing? Can the seat swivel and lock in the proper exit position? Is there room to stand fully upright before taking the next step? Is the path forward free of rugs, cords, thresholds, furniture, or door swings? If a mobility aid is used, can it be positioned where the rider can reach it safely after standing? These issues matter more than any single generic measurement. Even a landing that technically meets minimum spacing can still be unsafe if the user must turn too sharply or step too close to the stair opening.
In some homes, the solution may involve adding a rail overrun, repositioning the parking point of the chair, adjusting the seat orientation, or changing nearby features such as a narrow console table or door hardware. The best approach is to evaluate the transfer as a real movement pattern, not just a tape-measure exercise. A professional stair lift assessment should look at how the specific rider will actually get on and off the lift under normal daily conditions.
What hazards should be removed or corrected in the top-landing transfer area?
The biggest hazards are anything that interferes with stable footing, upright posture, clear turning space, or a smooth walking path away from the chair. Common problems include loose throw rugs, slippery flooring, extension cords, baskets, plant stands, small cabinets, pet bowls, and decorative items placed near the stair opening. These may seem minor, but they create exactly the kind of trip and balance hazards that can cause a fall during dismounting. A rider getting off a stair lift should never have to negotiate clutter on the first step away from the chair.
Door conflicts are another frequent issue. If a door at the top landing swings into the user’s exit path, it can force a dangerous turn or leave the rider standing in an awkward position near the stair edge. Narrow hallways, protruding trim, low shelving, and poorly placed light switches can also interfere with a safe transfer. Flooring transitions deserve attention too. A raised threshold, worn carpet edge, or slick hardwood surface can be enough to destabilize someone who is already shifting from seated to standing.
Lighting is just as important as physical clearance. Shadows, dim bulbs, and poorly illuminated hallways make it harder to judge foot placement and identify obstacles. Ideally, the area should be bright and evenly lit, with a switch that is easy to reach or automatic lighting that turns on reliably. In some cases, adding a grab bar on a nearby wall may improve stability, but it must be placed carefully so it supports the transfer without encouraging the rider to pull in an unsafe direction. Every correction should be based on how the person exits the chair and where their weight shifts during the transfer.
Can a stair lift be installed safely if the top landing is small or awkwardly shaped?
Often yes, but it depends on the exact layout and on the user’s physical abilities. A small or irregular top landing does not automatically rule out a stair lift, but it does require a more careful design approach. The installer may need to use a model with a compact seat, a powered swivel, a different rail configuration, or a top overrun that moves the chair farther away from the edge of the stairs before the rider gets off. In some cases, a hinged rail, offset parking position, or customized placement can improve the exit area enough to make the transfer much safer.
However, not every difficult landing can be solved by equipment alone. If the rider would still need to step into a tight corner, twist sharply, or stand with little room to recover balance, the setup may remain risky even with modifications. This is especially true for users with poor balance, limited trunk control, significant weakness, or reliance on a walker immediately after standing. The question is not just whether the chair can fit. The real question is whether the person can transfer safely and consistently every day without being exposed to a fall hazard.
That is why an in-home assessment is so important. A qualified stair lift professional should study the landing geometry, stair width, door locations, wall clearances, flooring, and user movement pattern before recommending a system. In some situations, the best answer may involve small home modifications in addition to the lift itself. In others, a different accessibility solution may be more appropriate. Safe design starts with the user’s transfer needs, not simply with whether the rail can be mounted on the staircase.
How can homeowners improve the top-landing transfer area after a stair lift is installed?
Start by treating the area as a permanent safety zone, not as extra storage space. Keep it completely clear of furniture, laundry baskets, decorations, and anything else that narrows the path. Remove throw rugs and address slippery floor finishes if needed. Make sure the route from the chair into the hallway, bedroom, or bathroom stays open at all times. If the user relies on a cane or walker, create a consistent, reachable place for that aid so it can be accessed easily after standing. Consistency matters because stair lift users often build routines around familiar positioning and movement.
Lighting upgrades are one of the most effective improvements. Install bright, even lighting at the top of the stairs and along the first few feet of the walking path. Motion-sensor lights, illuminated switches, or smart lighting can help if the user has trouble reaching switches. If balance is a concern, consider whether a professionally placed grab bar on an adjacent wall would provide useful support during the first step away from the chair. Any grab bar should be selected and positioned for actual transfer use, not installed casually.
It is also wise to review how the rider uses the lift over time. A setup that worked well at installation may need adjustments if the user’s mobility changes. Seat height, swivel function, footrest clearance, remote placement, and parking position can all affect transfer safety. Homeowners should schedule service if the seat does not lock cleanly, the swivel is stiff, the chair stops in an inconsistent position, or the rider reports feeling unstable when getting off. Routine maintenance keeps the equipment reliable, but regular observation of the transfer area keeps the whole system safe. The safest homes combine a properly installed stair lift with an upper landing that remains clear, stable, well lit, and easy to navigate every day.