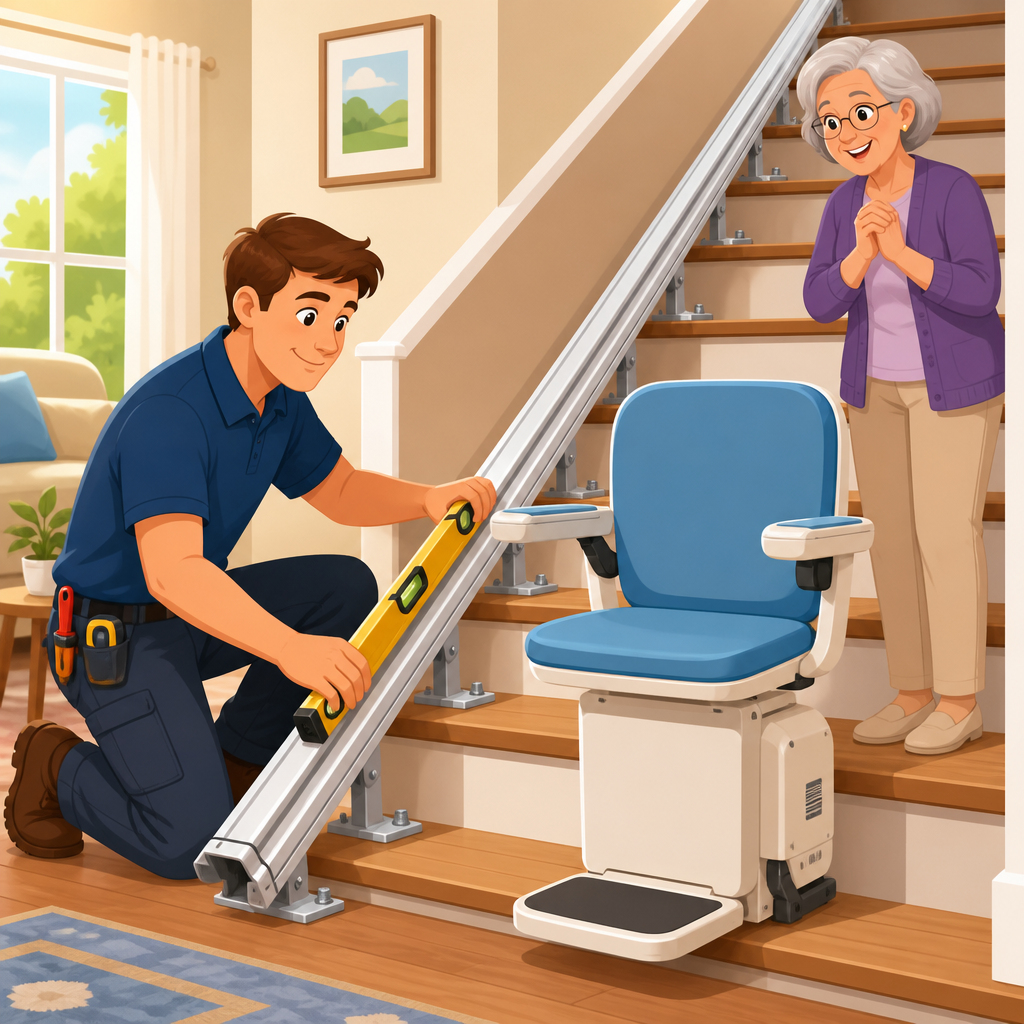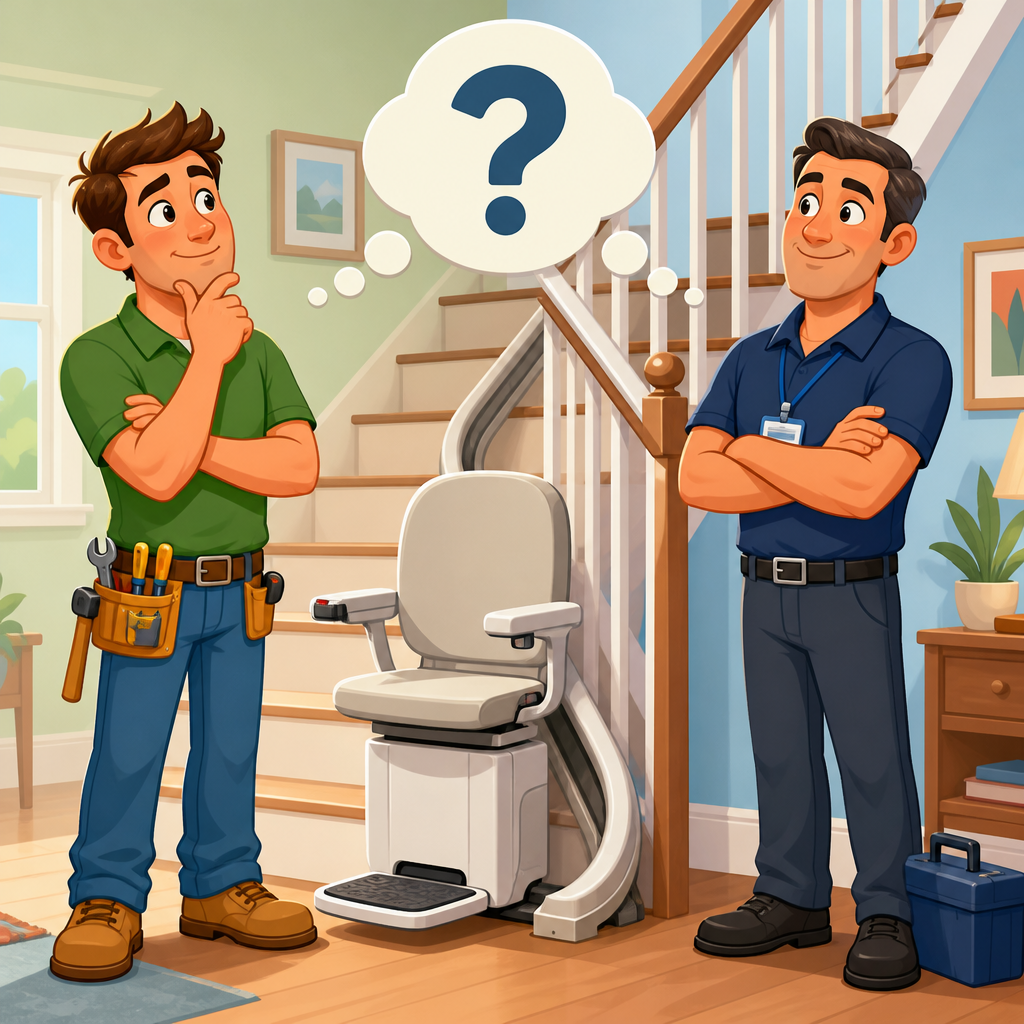
Planning furniture placement around stair lift entry and exit points starts with one goal: preserving safe, predictable movement where a rider gets on and off the chair. In homes with narrow halls, busy landings, or favorite pieces of furniture anchored by habit, that sounds simple but becomes highly technical once a stair lift is added. The entry point is where the user sits down and secures the seat belt; the exit point is where the rider stands, turns, and steps away. Those few seconds are the highest-risk moments in the entire trip because they combine transfer, balance, reach, and visibility. I have walked through many homes after installation and found that the lift itself was working perfectly while the surrounding layout created avoidable hazards.
This matters because a stair lift is not just a moving chair on a rail. It changes circulation patterns, standing clearances, sightlines, and the way furniture supports daily life. A sofa arm that once helped with balance may now block a footrest. A console table that looked harmless can force an awkward sideways pivot at the top landing. Good planning protects usability for the lift rider while keeping the staircase functional for everyone else. It also helps families avoid costly rework after installation. In the broader installation and setup process, modifying the home means more than electrical supply or rail measurements; it includes intentional furniture placement, removal of obstacles, and strategic support around transfer zones. This hub article explains how to assess those zones, what dimensions matter, which furniture choices work best, and how to create a room layout that supports safety without making the home feel clinical.
Understand the transfer zone before moving anything
The best way to plan furniture placement is to think in terms of a transfer zone rather than a staircase alone. The transfer zone includes the seat position at the lower and upper stops, the rider’s foot placement as they stand, the turning arc needed to face away from the stairs, and the first two or three steps after dismounting. Manufacturers such as Stannah, Bruno, Harmar, and Acorn vary in seat width, footrest size, armrest length, and swivel operation, so there is no single universal clearance. However, the planning principle is consistent: the rider needs a stable, obstruction-free area where they can pause, stand fully upright, and move away from the stair edge.
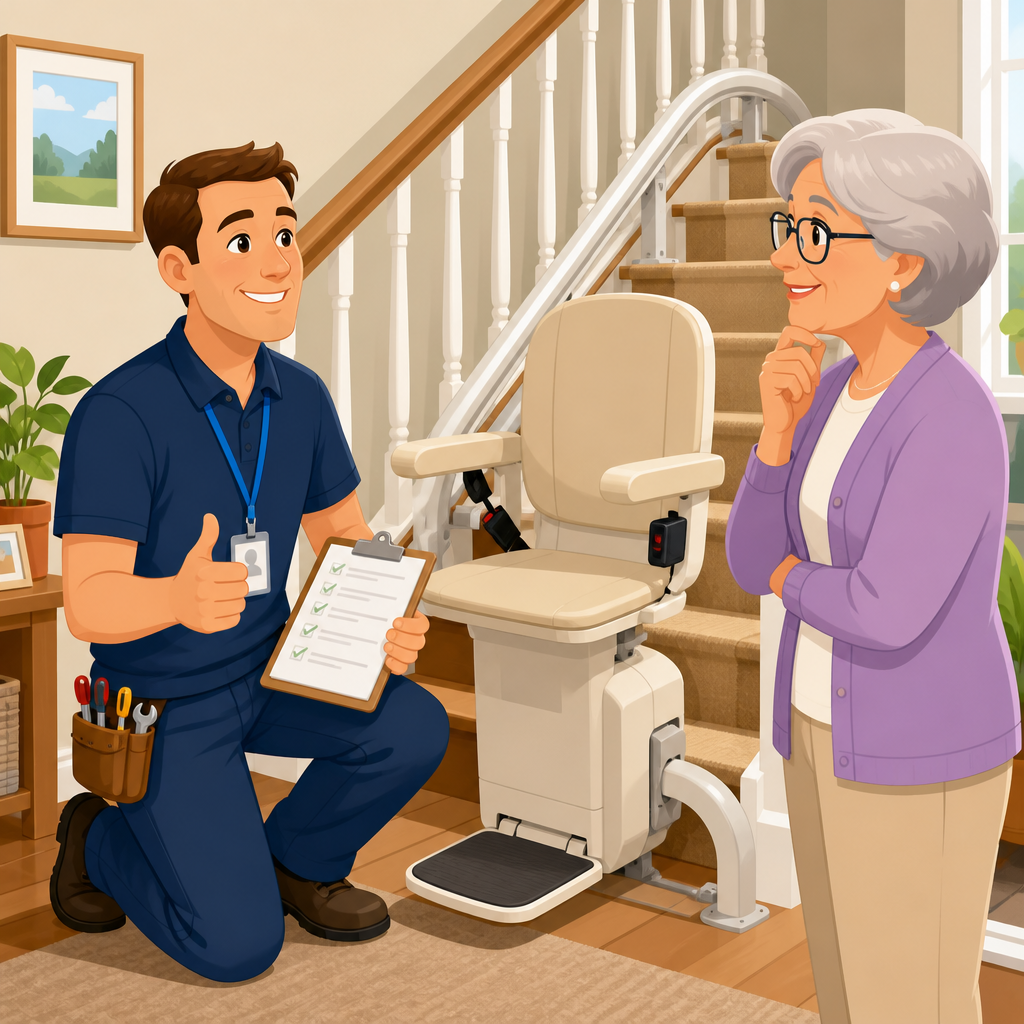
In practical terms, start by identifying whether the unit has a manual or powered swivel seat at the top, a folding rail at the bottom, and call/send controls that may affect where the chair parks. A top overrun, for example, carries the rider farther away from the open stairwell before exit, which can significantly improve safety and widen furniture options on the landing. A hinged rail at the bottom can preserve a doorway or walkway, but only if furniture is not positioned where the rail folds. I advise homeowners to review the exact model specifications before finalizing room layout. A general contractor or installer can mark the parked chair footprint on the floor with painter’s tape so everyone can see where the true no-furniture zone begins and ends.
Another critical point is that safe transfer space depends on the user’s body mechanics, not only on code-style measurements. A person with limited knee flexion may need more forward room to stand. Someone using a cane may need a landing spot for the cane within easy reach but outside the footrest sweep. A rider with one-sided weakness may consistently mount or dismount on the stronger side, making asymmetrical room arrangement important. These are not minor details. They determine whether the lift becomes a daily support or a daily struggle.
Measure clearances at both landings and along the travel path
Once the transfer zone is defined, measure the lower landing, upper landing, and adjacent room circulation. Use a steel tape, not estimates. Record stair width, distance from the rail to the opposite wall, open floor area at the bottom stop, and usable depth at the top landing after the seat swivels. Note door swings, radiator projections, trim, vents, and thresholds because small protrusions matter when footrests fold down and legs swing outward. If the staircase serves as a primary route, also measure how much walk-by space remains for non-users when the chair is parked and folded.
Professionals often use a simple test: tape the approximate footprint of the parked chair plus a standing rectangle where the user’s feet will land. Then walk the route as if carrying laundry, using a cane, or assisting another person. This quickly reveals conflicts that basic dimensions miss. In one home I assessed, the measurements technically worked, but a decorative bench at the bottom landing forced the rider to step backward before turning. That was enough to make the setup unsafe, and moving the bench to the opposite wall solved the issue immediately.
Good measurement also prevents the common mistake of planning to the rail instead of planning to the rider. The chair body, armrests, and footrest usually project farther into the room than people expect. If there is a hinged or folding section, measure both deployed and stored positions. If the rail extends into a hallway, map out the path from nearby doors to ensure people do not collide with the chair. Accurate measuring is the foundation for every home modification decision that follows.
Choose furniture that supports access, balance, and circulation
Not all furniture belongs near stair lift entry and exit points. The best pieces are stable, have predictable edges, and do not invite clutter. A narrow console with sharp corners is usually a poor choice near a landing because it narrows the turning space and creates a strike point at hip level. Deep recliners can also be problematic if they extend into the transfer zone or encourage the user to sit too close to the rail. By contrast, a well-anchored side chair positioned outside the immediate landing can offer a useful rest point after dismounting.
Surface height matters too. If a rider needs a place for glasses, a phone, or medications, use a table located close enough to reach safely but not so close that it interrupts the standing arc. Round-edge tables generally perform better than rectangular ones in tight areas. Avoid lightweight accent tables that slide when touched; I have seen them move unexpectedly when a user reached for support. If support is needed, install a properly rated grab bar rather than relying on furniture. Furniture can complement safety, but it should never be asked to do the job of a fixed support.
Storage decisions also affect stair lift usability. Baskets, plant stands, umbrella holders, magazine racks, pet beds, and charging cords often migrate to landings because those spaces feel underused. In reality, they should remain intentionally open. Landings need disciplined simplicity. Families who treat the area around the lift like prime storage usually create the exact kind of congestion that leads to trips and awkward transfers.
| Area | Recommended furniture approach | Avoid | Why it matters |
|---|---|---|---|
| Bottom landing | Keep open floor space; place seating or table outside standing arc | Benches, baskets, shoe racks | Prevents backward steps and blocked footrest movement |
| Top landing | Use low-profile pieces away from swivel zone | Console tables, tall plants, narrow bookcases | Protects safe exit away from stair edge |
| Adjacent hallway | Maintain clear walking path with anchored décor | Runner rugs without grip, protruding cabinets | Reduces collisions and tripping after dismount |
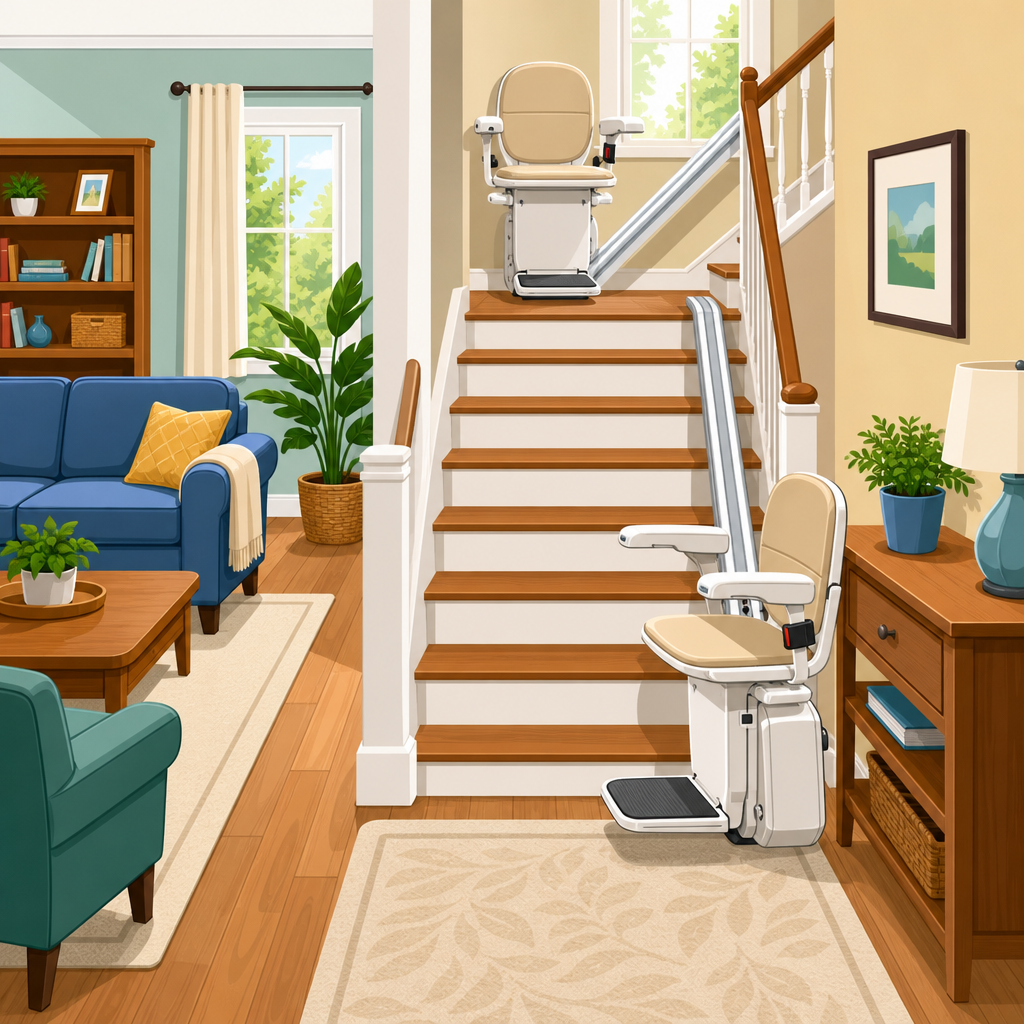
| Living room near rail | Float furniture to preserve rail fold and call/send access | Recliners blocking rail park position | Keeps lift usable without constant furniture movement |
Adapt layouts for common home types and user needs
Different house plans call for different solutions. In a narrow entry hall, the priority is often preserving a straight path from the front door while protecting the lower stair lift stop. That may mean replacing a hall tree with wall hooks and closed shoe storage located elsewhere. In a two-story colonial with a central staircase, the top landing often opens to several bedroom doors, so door swing conflicts are common. Reversing one door, changing hinges, or trimming casing can sometimes create more benefit than moving every bedroom piece around the landing.
In open-plan living spaces, the rail may terminate near a family room seating arrangement. Here, furniture should be floated to define a circulation lane rather than pushed tightly against the staircase. Area rugs require special attention. If used at all, they should be low-pile with secure backing and should never bunch under a cane, walker, or the rider’s turning feet. For users who transfer slowly, a nearby perch chair can help stage movement, but it must sit beyond the footrest path and should not reduce maneuvering space for a caregiver.
User-specific needs should drive final placement. A rider with Parkinsonian freezing may benefit from clear visual pathways and high-contrast edges, which means removing patterned rugs and avoiding visual clutter near the landing. Someone with a walker needs a parking and retrieval position that does not force twisting. A caregiver assisting from the side needs room for parallel stance and hand placement, especially at the top landing where gravity raises the stakes. These details are the essence of modifying the home well: the room must fit the person, the equipment, and the daily routine together.
Coordinate furniture planning with installation details and future changes
Furniture placement works best when coordinated early with the installer, occupational therapist if one is involved, and anyone making related home changes. Seat height, rail side, parking position, power supply, and folding options all influence the layout. If the chair will be parked upstairs to keep the lower hall open, the upper landing needs enough clear space at all times. If the family plans to add a small ramp, grab bars, brighter lighting, or new flooring, sequence those projects together so the finished arrangement remains coherent.
I also recommend planning for what happens six to twelve months after installation. Needs often change. A rider may begin with independent use and later require a walker, transfer belt, or caregiver assistance. Furniture that barely works on day one may fail as mobility declines. For that reason, leave more clearance than the minimum whenever possible. Keep heavy case goods out of areas that might later need to open up. Choose movable but stable pieces where flexibility matters. Think of this hub page as the center of a larger modifying-the-home strategy that connects to articles on lighting, flooring, doorway access, grab bars, and room-by-room accessibility improvements.
Maintenance habits belong in the plan as well. The lift’s call/send controls should remain easy to reach without leaning over furniture. Battery charging points at parked ends must stay unobstructed. Service technicians need access to the rail and power components, so a cabinet or plant placed too close can complicate routine work. When the layout respects installation realities, the equipment lasts longer and the household experiences fewer frustrations.
Prevent the mistakes that cause most post-installation problems
The most common mistakes are predictable. Families keep too much furniture because they design around sentiment instead of movement. They focus on whether the chair fits on the stairs, not whether the person can safely get on and off. They underestimate the space required for the footrest and overestimate the support a nearby table can provide. They also ignore temporary items such as delivered packages, pet bowls, or grandchildren’s toys, all of which tend to collect in precisely the wrong place.
A better approach is to establish permanent rules for the area around the lift: nothing stored on landings, no loose rugs, no extension cords across pathways, and no decorative pieces within the transfer arc. Test the setup at the time of day when the user is most fatigued, because transfers often look easier in the morning than in the evening. If possible, observe several full trips over a week and adjust based on real behavior. In my experience, small shifts of six to twelve inches can transform a layout from awkward to natural.
Finally, resist the urge to make the space visually symmetrical if symmetry undermines function. Accessibility layouts sometimes look slightly off-center because they are designed around movement patterns. That is not a flaw. It is evidence that the room serves the person who lives there.
Smart furniture placement around stair lift entry and exit points makes the lift safer, easier to use, and less disruptive to the rest of the home. The core principles are straightforward: define the transfer zone, measure accurately, keep landings open, choose stable low-risk furniture, and coordinate layout decisions with the exact lift model and the rider’s real mobility needs. When these steps are handled carefully, modifying the home becomes a practical design exercise rather than a reactive fix after installation.
As the hub page for modifying the home within installation and setup, this guide should anchor your planning before you move a single chair or table. Use it to review connected upgrades such as lighting, flooring, grab bars, doorway clearance, and hallway organization so the lift works within a fully supportive environment. Walk your space today, mark the transfer zones, and remove the first obstacle you find. That one action usually reveals the path to a safer layout.
Frequently Asked Questions
How much open space should I leave around a stair lift entry and exit point for safe furniture placement?
The most important principle is to maintain a clear, predictable transfer area where the rider can sit down, buckle in, stand up, turn, and walk away without navigating around furniture edges or decorative items. In practical terms, that means leaving enough open floor area at both the top and bottom of the staircase for the user to approach the chair straight on or from a comfortable angle, depending on the layout of the home and the specific stair lift model. While exact clearance needs vary by chair size, swivel-seat function, rail design, and the user’s mobility, the space should always allow the rider to plant both feet securely, use any armrests or grab points as intended, and step away without immediately encountering a table, cabinet, bench, or sofa arm.
It also helps to think beyond the chair itself. A stair lift entry or exit zone is not just the footprint of the seat; it includes the user’s turning radius, the path of a walker or cane if one is used, and the natural movement required to regain balance after standing. If a piece of furniture forces the rider to pivot sharply, sidestep, or back up, the arrangement is too tight. The safest layout usually feels a little more open than expected, especially at the top landing, where balance and visibility matter most. If there is any uncertainty, the best approach is to map the transfer area on the floor and test it under real-life conditions before finalizing furniture placement.
What types of furniture create the biggest safety problems near stair lift boarding and dismount areas?
Furniture becomes hazardous near stair lift entry and exit points when it interferes with movement, reduces visibility, or creates hard-to-notice obstacles at foot level. The most common troublemakers are narrow accent tables, storage benches, low coffee tables, plant stands, ottomans, magazine racks, and chairs that tend to shift or slide when touched. These pieces often seem harmless because they take up little visual space, but they can interrupt a user’s step pattern at exactly the moment stability is most important. Sharp corners are another concern, especially for riders who need extra time to stand, turn, or reach for support.
Larger furniture can also be a problem if it narrows the approach to the chair or crowds the landing after the rider stands up. A bookcase, recliner, sideboard, or console table may not physically block the stair lift, yet still force an awkward route around it. Soft furniture with wide arms can be especially limiting because it intrudes into walking space more than people realize. Rugs and movable furnishings add another layer of risk when they shift underfoot or disguise a change in floor level. In most homes, the safest solution is to remove anything nonessential from the immediate transfer zone and relocate decorative or occasional-use pieces farther away from the landing so the rider’s path remains open and consistent every time the lift is used.
Should furniture placement be different at the top of the stairs than at the bottom?
Yes, and in many homes the top landing deserves even more careful attention. The top exit point is often the more sensitive area because that is where the rider stands up after travel, turns away from the chair, and transitions onto the upper floor. If the stair lift includes a swivel seat or a powered swivel feature, the chair may position the user away from the stair edge for a safer dismount, but that only works well if the landing is free of furniture that crowds the step-away area. A dresser, chair, hamper, or decorative cabinet placed too close to the top can force the rider to pivot in place or take short, uneven steps, which increases fall risk.
At the bottom of the stairs, the planning goal is often to preserve a smooth approach and prevent traffic conflicts. This is especially important in hallways, foyers, or family rooms where other people walk by regularly. Furniture near the lower entry point should not funnel the rider into the side of the chair or require maneuvering through a narrow gap to sit down. The best arrangement usually allows enough room for the rider to line up with the seat comfortably, pause if needed, and secure the seat belt without feeling rushed by household traffic. In short, top landings usually need clean dismount space and stable walking room, while bottom landings often need a clear approach path and separation from everyday congestion. Both areas matter, but the exact furniture strategy may differ based on how each landing functions in the home.
How can I arrange furniture in a small room or narrow hallway without compromising stair lift safety?
In tighter spaces, successful furniture placement depends on prioritizing circulation over symmetry or habit. Many homeowners are used to arranging furniture according to the room’s visual balance, but once a stair lift is installed, safety has to guide every decision near the rail and transfer zones. Start by identifying the rider’s full path of travel: approach to the chair, seated transfer, belt fastening, ride, swivel if applicable, standing, and step-away movement. Then remove or reposition any furniture that interrupts that sequence, even if it has “always gone there.” In compact rooms, swapping bulky pieces for slimmer profiles can preserve function without sacrificing clearance.
For example, a deep accent chair can often be replaced with a narrower side chair, a wide console with a shallow wall-mounted shelf, or a large storage chest with built-in cabinetry elsewhere in the room. In hallways, it is usually best to avoid freestanding furniture altogether near the stair lift entry point. If storage is needed, wall-mounted options are often safer because they keep the floor open. It can also help to define the safe zone visually by keeping that area uncluttered and consistent, so the rider always knows where to step. Good lighting is part of the furniture plan as well; even a well-placed table becomes a hazard if it creates shadows near the landing. In small spaces, the goal is not to fit everything back in exactly as before, but to create a layout that supports smooth, confident movement every time the lift is used.
What is the best way to test whether my furniture layout works safely with a stair lift?
The best test is a practical one: evaluate the layout using the exact movements the rider will perform every day. Before settling on furniture placement, simulate the full use of the stair lift at both landings. Check whether the rider can approach the chair naturally, sit without twisting around furniture, fasten the seat belt comfortably, and stand up at the destination with enough room to regain balance before walking away. If the user relies on a cane, walker, or caregiver assistance, those elements need to be included in the test. A layout that looks acceptable when the chair is folded may still fail once someone is actually transferring on and off the lift.
It is also wise to test under realistic conditions, not just when the room is empty and quiet. Walk the route with everyday items in place, consider how doors swing, note where pets tend to rest, and observe what happens when more than one person is using the area. If any part of the movement feels awkward, rushed, or too close to furniture corners, revise the layout. A successful arrangement should allow the rider to use the stair lift in the same safe, repeatable way each time, without needing to improvise. When available, input from the stair lift installer, occupational therapist, or accessibility professional can be extremely valuable, because they can identify subtle clearance and transfer issues that are easy to miss. The safest furniture plan is one that supports confident use of the lift now and still works if the user’s mobility needs change later.