Before-and-after home accessibility makeovers show how targeted design changes can turn a frustrating house into a safer, more independent place to live. In practical terms, home accessibility modifications are physical improvements that help people with mobility, balance, vision, hearing, cognitive, or stamina limitations use their homes more easily. These changes range from low-cost updates, such as lever door handles and brighter lighting, to major remodeling projects like no-step entries, roll-in showers, stair lifts, widened doorways, and kitchen redesigns. I have walked clients through these projects room by room, and the biggest lesson is consistent: the best results come from matching modifications to real daily routines, not from copying a generic checklist.
This matters because most homes were built for young, able-bodied occupants, not for aging in place, disability recovery, or progressive conditions. The Centers for Disease Control and Prevention reports that falls remain a leading cause of injury for older adults, and housing barriers contribute directly to those incidents. A well-planned accessibility makeover can reduce fall risk, improve transfer safety, support caregivers, and delay or prevent a move to institutional care. It can also make a home work better for temporary needs after surgery, for parents pushing strollers, and for multigenerational families. In other words, accessibility is not a niche upgrade; it is functional design that increases usability, resilience, and long-term property value.
For homeowners researching home accessibility modifications, the challenge is usually knowing where to start. Terms overlap. Universal design aims to create spaces usable by the widest range of people without specialized adaptation. Aging in place focuses on remaining safely in one’s home over time. Accessible remodeling addresses barriers that limit entry, movement, bathing, cooking, sleeping, and communication. The most effective hub approach is to break the subject into core zones: entrances, circulation paths, bathrooms, kitchens, bedrooms, stairs, flooring, lighting, and smart home controls. Every zone should be assessed through the lens of reach range, clear floor space, turning radius, transfer method, slip resistance, and emergency access.
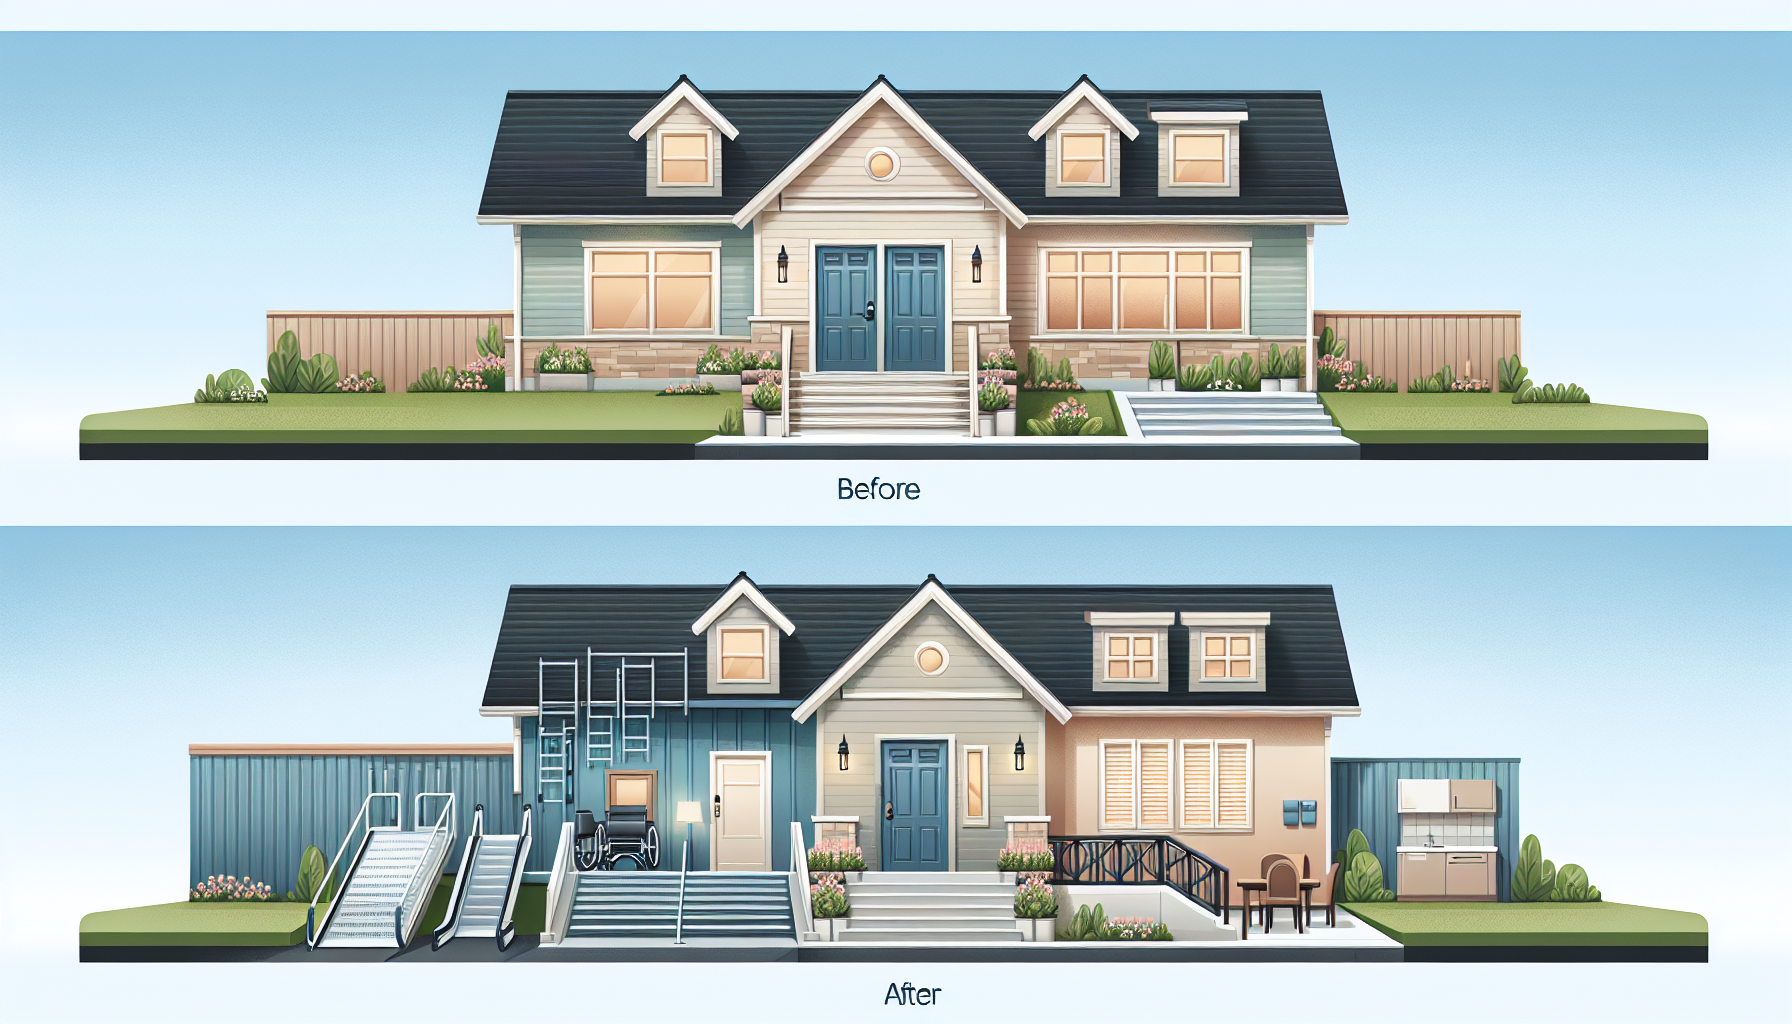
A true before-and-after perspective helps homeowners understand what these improvements look like in daily life. “Before” often means one step at the front door, narrow interior doors, a tub with a high threshold, poor task lighting, round knobs, thick rugs, and storage that requires climbing or bending. “After” means an entry with a graded walkway or ramp, at least one no-step entrance, doors widened to improve wheelchair or walker clearance, a curbless shower with a handheld showerhead, strategically placed grab bars, rocker switches, non-slip floors, and work surfaces set to usable heights. The transformation is not cosmetic alone. It changes how someone gets up, moves, bathes, cooks, rests, and exits in an emergency.
Start With an Accessibility Assessment, Not a Product List
The most successful home accessibility makeovers begin with a professional assessment. In my experience, families often call asking for a ramp or grab bars, but the underlying issue is broader: unsafe transfers, poor route planning, storage placed too high, or a bathroom layout that forces awkward pivoting. A certified aging-in-place specialist, occupational therapist, accessibility contractor, or home modification specialist can identify the actual barriers. They review how the resident enters the home, what mobility device is used, whether assistance is needed, and how conditions may change over the next five to ten years.
Assessment should document dimensions and function, not just appearance. Key measurements include doorway widths, hall widths, step heights, slope percentages, toilet centerline clearance, shower dimensions, counter heights, and floor transitions. The evaluator should also note lighting levels, reach ranges, turning space for wheelchairs, and where transfers occur from walker to chair, chair to toilet, or chair to bed. This planning stage prevents expensive mistakes, such as installing a ramp that is too steep, choosing a beautiful tile that becomes slippery when wet, or placing grab bars where wall blocking is inadequate.
Good assessment also prioritizes projects by urgency. If someone is falling in the bathroom, that room comes before a full kitchen remodel. If stair navigation is the main barrier, a first-floor bedroom conversion or stair lift may matter more than replacing all interior doors immediately. A phased plan makes budgets realistic and creates an internal roadmap for future improvements across entrances, bathrooms, kitchens, and mobility routes throughout the home.
Entry and Exit Makeovers: From One Dangerous Step to Smooth Access
Entrance modifications are often the highest-impact changes because if someone cannot safely get in and out, the rest of the home is effectively inaccessible. The typical “before” condition includes one to three exterior steps, a narrow threshold, no handrail, poor lighting, and a storm door that clashes with a walker or wheelchair. The “after” version usually combines a no-step approach, slip-resistant surface, sturdy railings, brighter motion-activated lighting, and enough landing space to pause and manage the door safely.
Ramps need careful design. The commonly referenced ADA slope ratio of 1:12 is a useful benchmark, meaning one inch of rise requires at least twelve inches of ramp length, though private homes may need even gentler slopes depending on user strength and weather exposure. Landings at top and bottom improve control. Handrails on both sides help balance. For many homes, a graded walkway or vertical platform lift is more practical than a long ramp dominating the front elevation. I have seen side-yard entries transformed with subtle concrete paths that preserve curb appeal while eliminating the most dangerous step on the property.
Door hardware matters too. Lever handles are easier than round knobs for people with arthritis or limited grip strength. Smart locks can reduce fumbling with keys. Thresholds should be beveled and minimized where possible, and a peephole may need to be lowered or supplemented with a video doorbell. These are small details, but they often determine whether an entrance is merely updated or truly accessible.
Bathroom Accessibility Modifications Deliver the Biggest Safety Gains
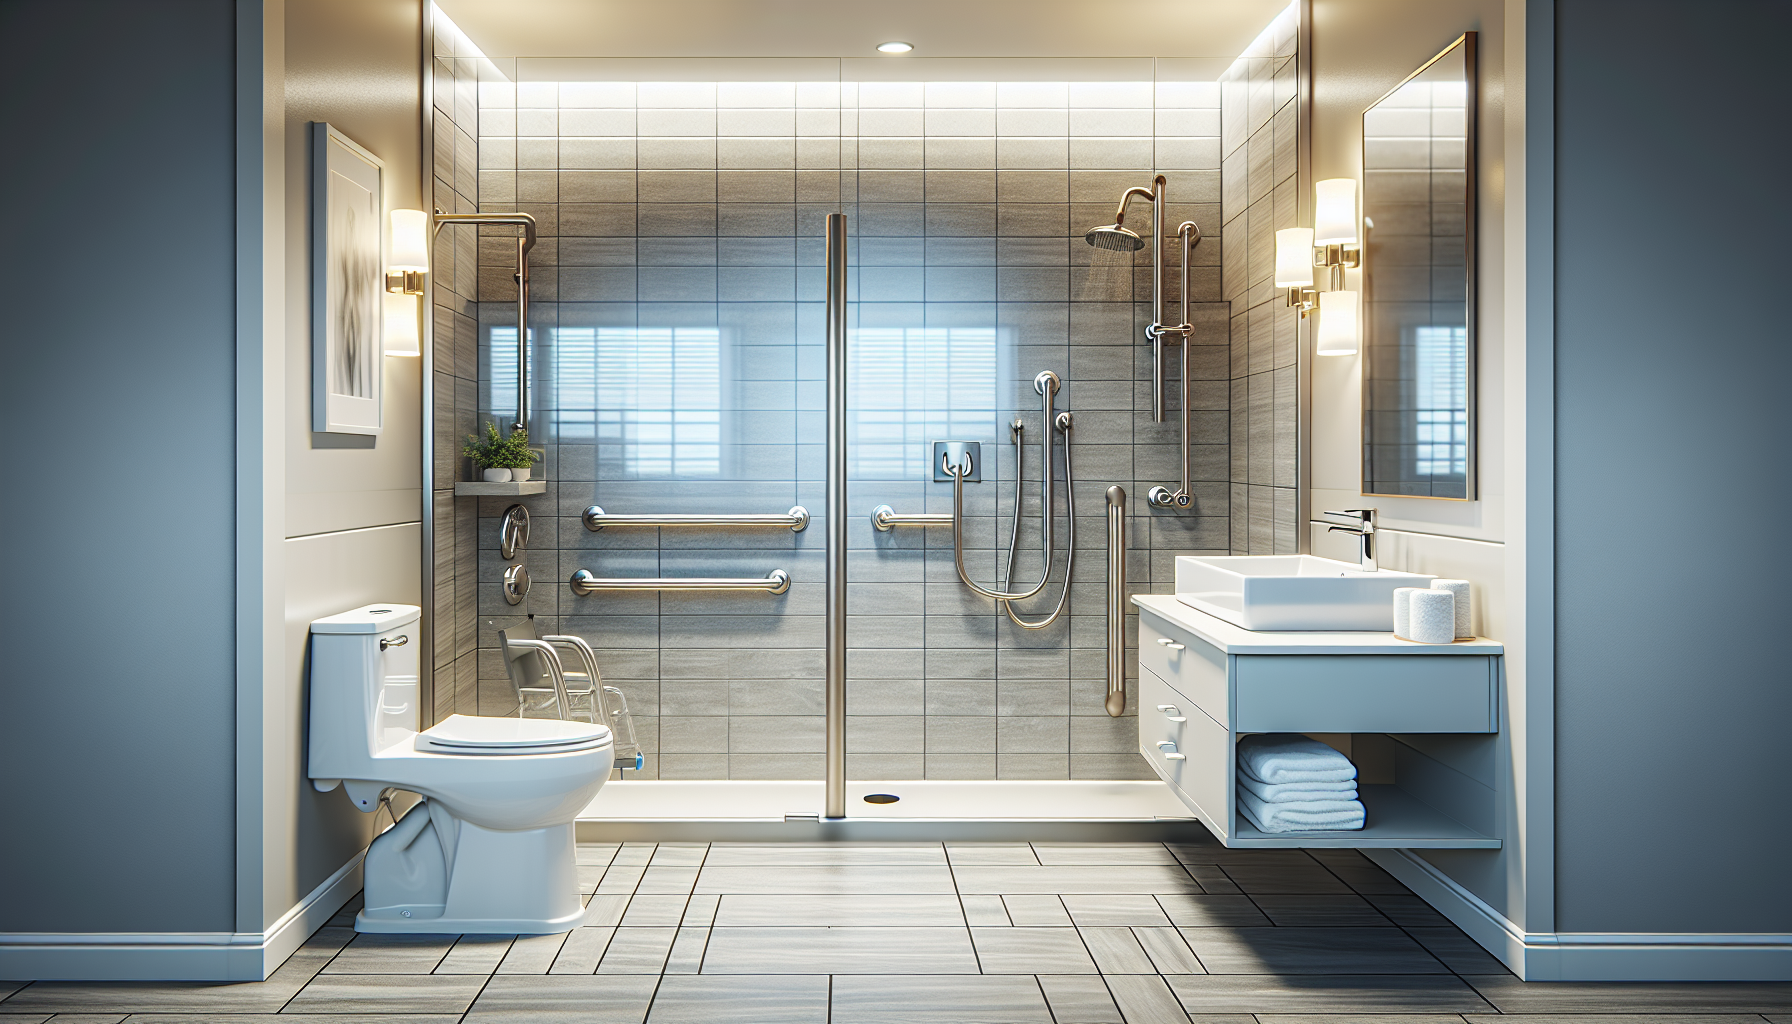
If homeowners ask where to invest first, I usually say the bathroom. Most serious in-home falls and transfer struggles happen there because the room combines water, hard surfaces, tight turning space, and frequent sitting-to-standing movements. Before-and-after bathroom makeovers often deliver the most immediate safety gains. A typical “before” bathroom has a tub-shower combo with a high wall, glossy tile, no grab bars, a low toilet, and a vanity that blocks knee clearance. After remodeling, the same space may include a curbless or low-threshold shower, linear drain, slip-resistant tile, pressure-balanced valve, fold-down seat, handheld showerhead, reinforced grab bars, comfort-height toilet, and improved lighting at the mirror and floor.
Grab bars deserve special attention because they are often installed too late or in the wrong locations. They should be anchored into blocking or appropriate structural backing, not screwed only into drywall. Strategic placements include the shower entry, control wall, and toilet area. Many newer products look like attractive towel bars, which helps homeowners who dislike a clinical appearance. Toilets can be raised with replacement fixtures rather than temporary risers for better stability and easier cleaning.
For wheelchair users, details become even more precise. Shower dimensions, entry width, drain location, turning radius, and sink knee space all affect usability. Anti-scald valves and offset controls allow water to be turned on without reaching through the spray. This is where skilled design matters: a bathroom can be compact and still work exceptionally well if the fixture layout supports the person’s transfer method and range of motion.
Kitchen Makeovers That Restore Daily Independence
The kitchen is where accessibility modifications directly support independence, nutrition, and energy conservation. Before remodeling, I often see deep base cabinets, overhead storage that requires a step stool, appliances with rear controls, and tight work triangles that trap walkers or wheelchairs. After remodeling, the kitchen becomes a set of purposeful zones: clear circulation paths, varied counter heights, pull-out shelves, D-shaped cabinet pulls, side-opening or wall ovens, induction cooktops, and task lighting that reduces shadows on work surfaces.
Not every accessible kitchen needs a full custom renovation. Sometimes the best before-and-after improvement comes from replacing a few lower cabinets with roll-out trays, moving the microwave to counter height, lowering one section of countertop for seated prep, and installing a single-lever faucet with a pull-down sprayer. In larger projects, under-sink insulation prevents burns, open knee space allows seated use, and drawer dishwashers reduce bending. Refrigerators with French doors often work better than side-by-side models for some users because the fresh-food compartment is easier to access within a comfortable reach range.
Storage strategy is as important as fixture selection. Frequently used cookware should move between shoulder and hip height. Heavy items belong in drawers, not overhead cabinets. Lazy Susans, pull-down shelving systems, and full-extension slides can make a standard kitchen feel dramatically more accessible without changing the room’s footprint.
Whole-Home Changes: Doors, Floors, Stairs, Bedrooms, and Controls
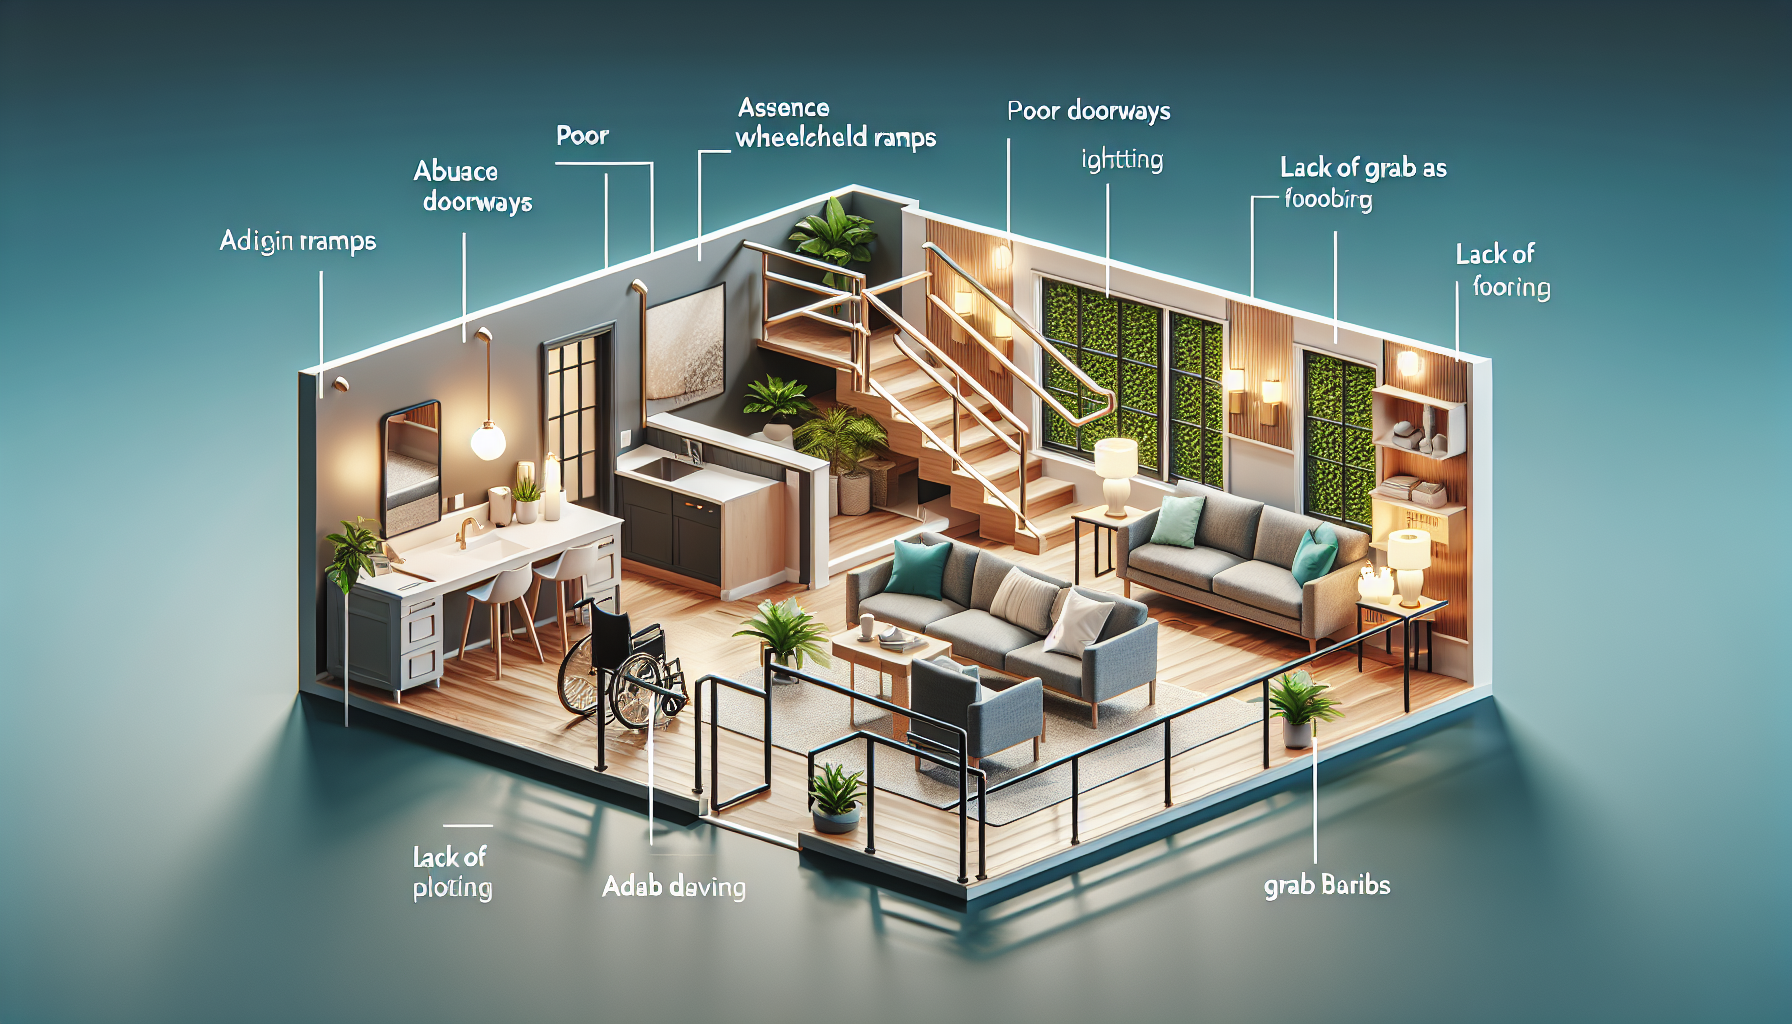
Many accessibility barriers are not dramatic; they are cumulative. A half-inch floor transition, a narrow bathroom door, a loose rug, a dark hallway, or a bedside path cluttered with furniture can turn routine movement into a daily hazard. The strongest whole-home makeovers address circulation first. Widening doorways to about 32 inches clear minimum, or more where possible, can improve access for wheelchairs and walkers. Pocket doors may save swing space, though hardware must remain easy to grasp. Hallways benefit from even lighting and wall protection where mobility devices may contact surfaces.
Flooring should be stable, low-glare, and slip resistant. Luxury vinyl plank, textured porcelain tile, low-pile carpet tile, and well-finished hardwood can work, while thick padding and high thresholds usually create problems. Bedrooms often need better bed clearance, reinforced support near transfer zones, and reachable switches from the bed. On multilevel homes, the before-and-after solution may be a stair lift, residential elevator, or conversion of a den into a first-floor bedroom suite.
| Area | Common Before Condition | Effective After Modification |
|---|---|---|
| Entry | Steps, no rail, poor lighting | No-step route, rails, motion lighting |
| Bathroom | Tub wall, slippery floor, no supports | Curbless shower, grab bars, slip-resistant tile |
| Kitchen | High storage, rear controls, tight paths | Pull-outs, accessible appliances, wider clearance |
| Bedroom | Cluttered transfer area, distant switches | Clear bedside space, reachable controls |
| Stairs | Unsafe climbing, fatigue, fall risk | Stair lift or main-floor living setup |
Controls are another underestimated upgrade. Rocker light switches, smart bulbs, voice assistants, automated blinds, video doorbells, and app-based thermostats can reduce physical strain and improve safety. For people with low vision, high-contrast controls and consistent switch placement matter. For cognitive changes, simple interfaces and routines matter more than adding every available smart feature.
Budget, Funding, and Choosing the Right Contractor
Costs for home accessibility modifications vary widely, from a few hundred dollars for lighting, handheld showerheads, and lever handles to tens of thousands for a full bathroom remodel or vertical lift. The smartest budgeting approach is to separate immediate safety fixes from structural renovations. Start with fall prevention, transfer safety, and home entry. Then schedule larger projects that improve long-term independence. When possible, combine accessibility work with planned renovations to reduce labor duplication.
Funding options may include Medicaid waiver programs in some states, Veterans Affairs grants such as HISA or specially adapted housing programs for eligible veterans, nonprofit assistance, state assistive technology programs, local aging agencies, and certain long-term care insurance benefits. Some medically necessary modifications may also have tax implications, though homeowners should verify details with a tax professional. Product warranties, maintenance schedules, and service availability should factor into decisions, especially for lifts and automated systems.
Contractor selection is where many projects succeed or fail. Look for experience with accessible remodeling, not just general renovation. Ask how they handle slope calculations, waterproofing in curbless showers, blocking for grab bars, doorway clearances, and coordination with occupational therapists or equipment suppliers. Request references and photos from similar projects, not only luxury kitchens. A good contractor explains tradeoffs clearly: for example, a zero-threshold shower may require floor reframing, and a ramp that meets a safe slope may need more site space than expected.
How to Build a Long-Term Accessibility Plan That Ages Well
The best home accessibility makeovers solve today’s problem without creating tomorrow’s limitation. That means designing for changing strength, endurance, vision, and caregiving needs. Reinforce bathroom walls even if grab bars will be added later. Choose blocking, wider doors, curbless shower entries, and reachable outlets during renovation because these upgrades cost less before finishes are closed. Think in scenarios: a cane today, walker next year, wheelchair after surgery, overnight caregiver during recovery. Durable planning protects the investment.
As a hub for home accessibility modifications, the main takeaway is simple: start with function, prioritize safety, and adapt each room to the person rather than forcing the person to adapt to the house. Before-and-after accessibility makeovers work because they remove friction from ordinary life—entering the home, bathing, cooking, sleeping, and moving from room to room. Begin with a professional assessment, build a phased plan, and tackle the highest-risk barriers first. If you are planning upgrades now, use this page as your roadmap and move next into the specific room-by-room guides that fit your home.
Frequently Asked Questions
What kinds of changes are usually included in a real home accessibility makeover?
A real home accessibility makeover can include a wide range of improvements, depending on the person’s needs, the home’s layout, and the available budget. Some projects focus on simple, affordable upgrades such as replacing round doorknobs with lever handles, adding brighter layered lighting, removing loose rugs, installing grab bars, widening clear pathways, and lowering frequently used storage. Others involve more substantial remodeling, such as creating a no-step entrance, building a ramp, widening doorways for wheelchair access, replacing a traditional bathtub with a roll-in or low-threshold shower, improving stair safety, or reworking a kitchen so countertops, sinks, and appliances are easier to reach and use. In many before-and-after accessibility projects, the most effective changes are the ones that reduce daily strain and remove common barriers in the areas used most often, especially entryways, bathrooms, bedrooms, kitchens, and hallways. The goal is not just to make a home look updated, but to make it safer, more comfortable, and far more functional for everyday living.
How do before-and-after accessibility remodels improve everyday independence?
Before-and-after accessibility remodels improve independence by reducing the number of tasks that require assistance, extra effort, or unsafe workarounds. For example, a person who once struggled to step over a high tub wall may be able to bathe independently after the bathroom is redesigned with a curbless shower, grab bars, a handheld showerhead, and a built-in bench. Someone who had trouble entering the home because of stairs may regain easy access through a no-step entry with secure handrails and better exterior lighting. In the kitchen, lower work surfaces, pull-out shelves, easy-grip hardware, and more open floor space can make meal preparation less exhausting and more manageable. These improvements also support confidence. When people can move through their homes without constantly worrying about falls, fatigue, or hard-to-reach features, daily routines become smoother and less stressful. That combination of safety, usability, and dignity is what makes accessibility makeovers so transformative in real life.
Are home accessibility modifications only for wheelchair users?
No. Home accessibility modifications are not limited to wheelchair users, and that is one of the most important things homeowners often learn when they see real makeover examples. Accessibility improvements can help people with many different challenges, including limited mobility, joint pain, poor balance, low vision, hearing loss, reduced grip strength, cognitive changes, and conditions that affect endurance or coordination. For one person, accessibility may mean a ramp and wider doorways. For another, it may mean non-slip flooring, better contrast between surfaces, motion-sensor lighting, rocker light switches, a walk-in shower, or a more intuitive room layout that reduces confusion and clutter. Even small details can make a major difference, such as easier-to-read controls on appliances, consistent floor surfaces that reduce trip hazards, or improved lighting in stairways and bathrooms. The best accessibility makeovers are tailored, not generic. They respond to how a specific person lives in the home and what would help them function more safely and comfortably every day.
How much do accessibility makeovers typically cost, and where should homeowners start?
The cost of an accessibility makeover can vary widely, from relatively inexpensive upgrades to major renovations. Lower-cost improvements might include installing grab bars, changing hardware, improving lighting, adding railings, or rearranging furniture to create clearer circulation paths. Mid-range projects may involve replacing flooring, updating a bathroom for better safety, or modifying kitchen storage and work areas. Larger investments can include structural changes such as widening doorways, reconfiguring room layouts, adding lifts, or creating a step-free entrance. The smartest place to start is with the modifications that address immediate safety risks and everyday barriers. Bathrooms, entrances, and stairs are often top priorities because they are common sites of falls and frustration. It is also wise to think in phases. A homeowner may begin with low-cost, high-impact updates now and plan larger renovations over time. In many cases, consulting an occupational therapist, accessibility specialist, or experienced contractor can help prioritize changes that offer the greatest benefit for the money while avoiding costly mistakes.
What makes an accessibility makeover successful in the long term?
A successful long-term accessibility makeover does more than solve a single problem in the moment. It creates a home environment that remains safe, practical, and welcoming as needs change over time. That usually means designing with both present and future use in mind. Features such as no-step entries, wider passageways, durable non-slip flooring, easy-to-operate fixtures, accessible storage, and reinforced walls for future grab bars can continue to provide value even if a person’s mobility, strength, or balance changes later. Long-term success also depends on good planning and thoughtful design, not just adding isolated products. The most effective makeovers consider how someone enters the home, moves between rooms, uses the bathroom and kitchen, and completes daily routines without unnecessary obstacles. Just as important, the finished result should feel like a comfortable home rather than a clinical space. The strongest before-and-after transformations show that accessibility and attractive design can work together, producing spaces that support independence, improve quality of life, and help people stay in their homes longer with greater confidence.