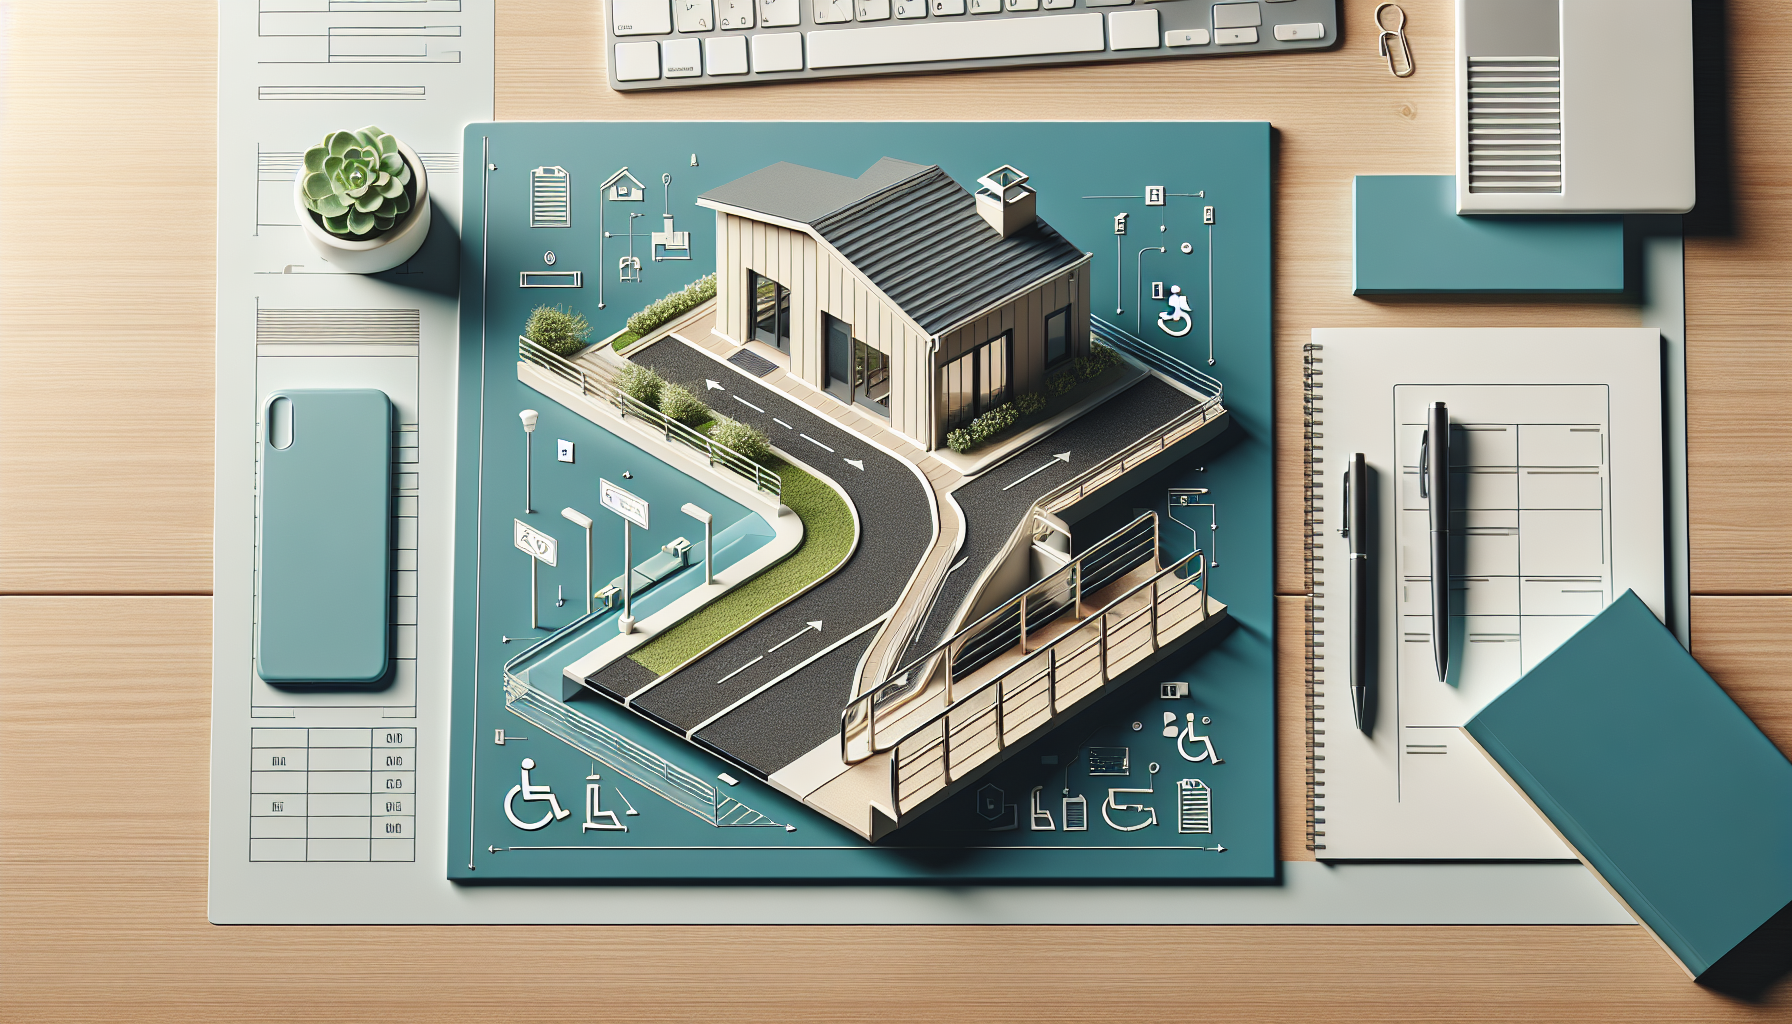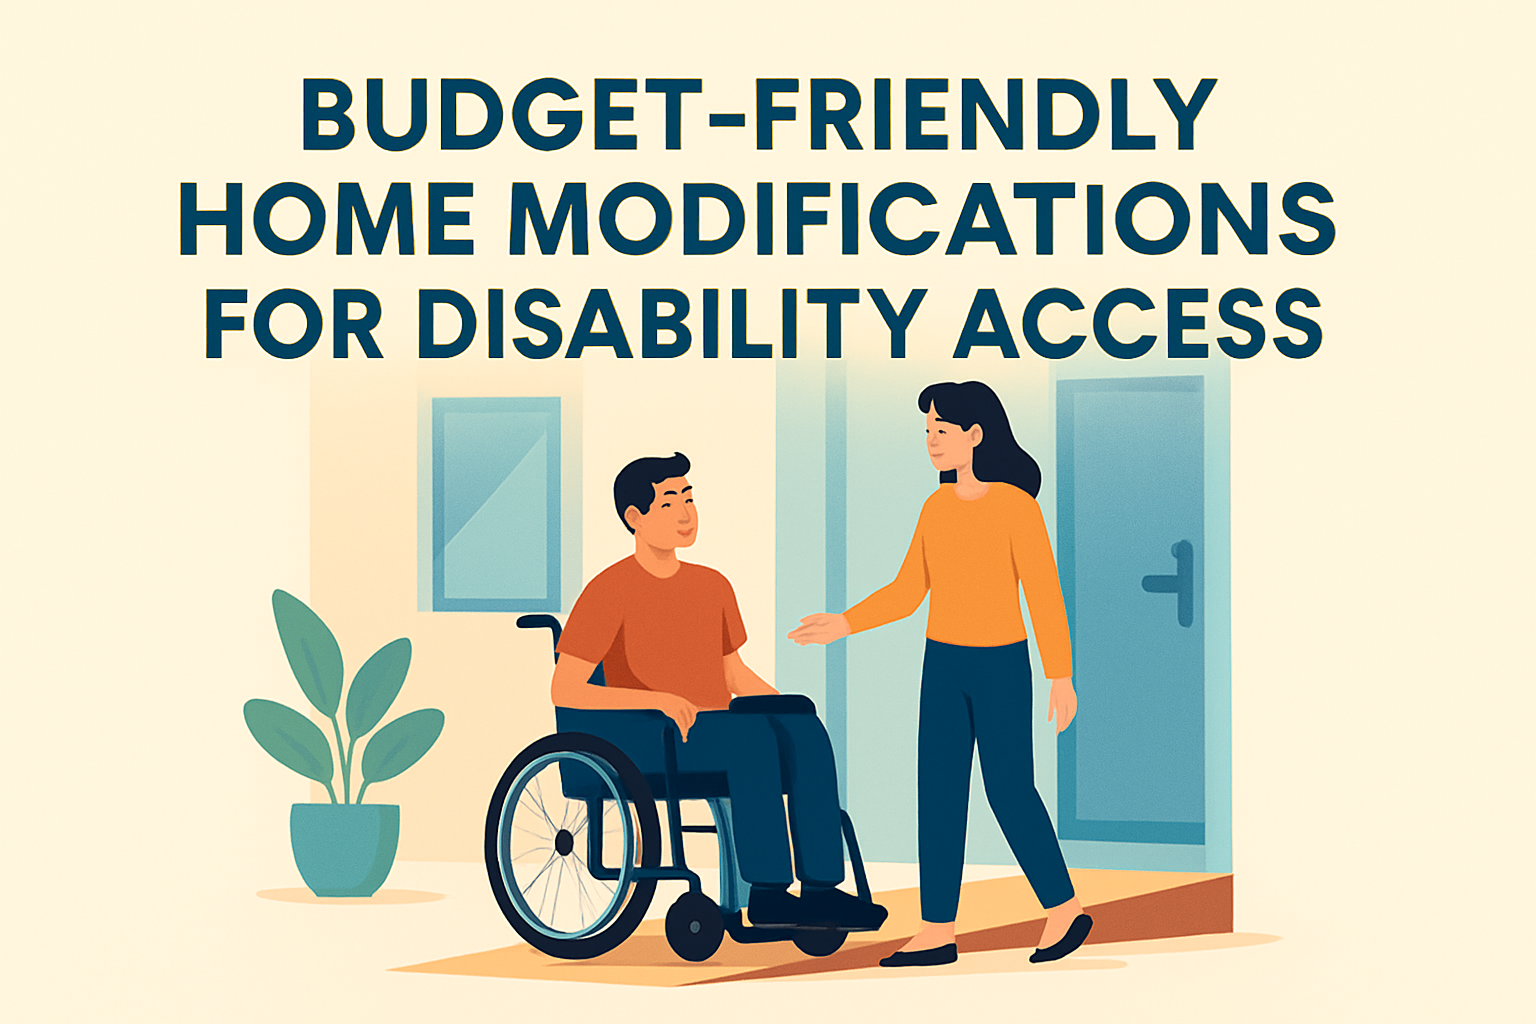
Budget-friendly home modifications for disability access can dramatically improve safety, independence, and daily comfort without requiring a full remodel. Home accessibility modifications are changes that reduce physical barriers in entrances, bathrooms, kitchens, bedrooms, and shared living spaces so people with mobility, sensory, cognitive, or dexterity limitations can use a home more easily. In practice, that can mean something as simple as swapping round doorknobs for lever handles, adding brighter task lighting, or installing grab bars near a toilet and shower.
This topic matters because accessibility needs are common, costs add up quickly, and most people are adapting existing homes rather than building new ones. In my experience reviewing modification plans with families, the best results come from matching a person’s functional needs to the layout of the home, then prioritizing low-cost changes that remove the biggest risks first. A modest budget can often cover the improvements that prevent falls, reduce caregiver strain, and make everyday routines faster and less frustrating. This hub covers the full landscape of home accessibility modifications, from entrances and flooring to bathroom safety, kitchen usability, lighting, controls, and funding options, so homeowners, renters, and caregivers can make practical decisions with confidence.
Start with a home accessibility assessment and clear priorities
The most cost-effective modification is the one that solves a real access problem. Before buying equipment or hiring a contractor, assess how the person moves through the home and where tasks break down. Look at transfers, reach range, turning radius, stair use, fatigue, vision, balance, grip strength, and whether a walker, cane, wheelchair, or scooter is used now or likely soon. Occupational therapists are especially valuable because they evaluate daily activities, not just building features. A certified aging-in-place specialist or experienced accessibility contractor can then translate those needs into practical changes.
Prioritize high-risk, high-frequency areas first: the main entrance, bathroom, bedroom path, and kitchen work zone. Falls often happen during transfers, on stairs, and in wet rooms, so those spaces usually deliver the best return on a limited budget. Also separate temporary fixes from durable solutions. Adhesive threshold ramps, shower chairs, and handheld showerheads can help immediately, but a permanent zero-threshold entry or curbless shower may be the right long-term investment if mobility is declining. Good planning avoids paying twice for stopgap products that soon become obsolete.
Measure everything. Door clear width, hallway width, threshold height, toilet height, tub wall height, sink knee clearance, and available wall blocking all affect product choice. The ADA Standards for Accessible Design are not a requirement for most private homes, but they remain a useful benchmark for clearances, reach ranges, and ramp slope guidance. For many households, using those dimensions as targets creates a safer, easier home even when a complete code-style retrofit is not feasible.
Low-cost entry and doorway modifications that improve access fast
Entrances are often the first and most frustrating barrier. A single step at the front door can block wheelchair access, increase fall risk, and make package handling difficult. Budget-friendly fixes start with threshold ramps made from rubber or aluminum. These work well for small height changes, usually one to three inches, and are far cheaper than rebuilding a stoop. For larger rises, a portable ramp can help, but it must be the right length to reduce steepness. A ramp that is too short may technically provide access while still being unsafe.
Door hardware is another quick win. Lever handles are easier than round knobs for people with arthritis, limited grip, tremors, or who carry mobility aids. Offset hinges can add about an inch and a half to two inches of clear doorway width without reframing, which is often enough for a walker or narrow wheelchair. If a doorway still feels tight, removing a door slab, reversing the swing, or using swing-clear hinges can improve passage at lower cost than widening the rough opening.
Good lighting at entrances is not optional. Motion-sensor LED fixtures reduce fumbling with keys and improve visibility for uneven steps, locks, and packages. Smart locks and video doorbells can also support access by letting people unlock doors remotely, verify visitors without rushing, and reduce repeated trips to the entry. These are convenience features, but for many disabled adults they function as practical accessibility tools.
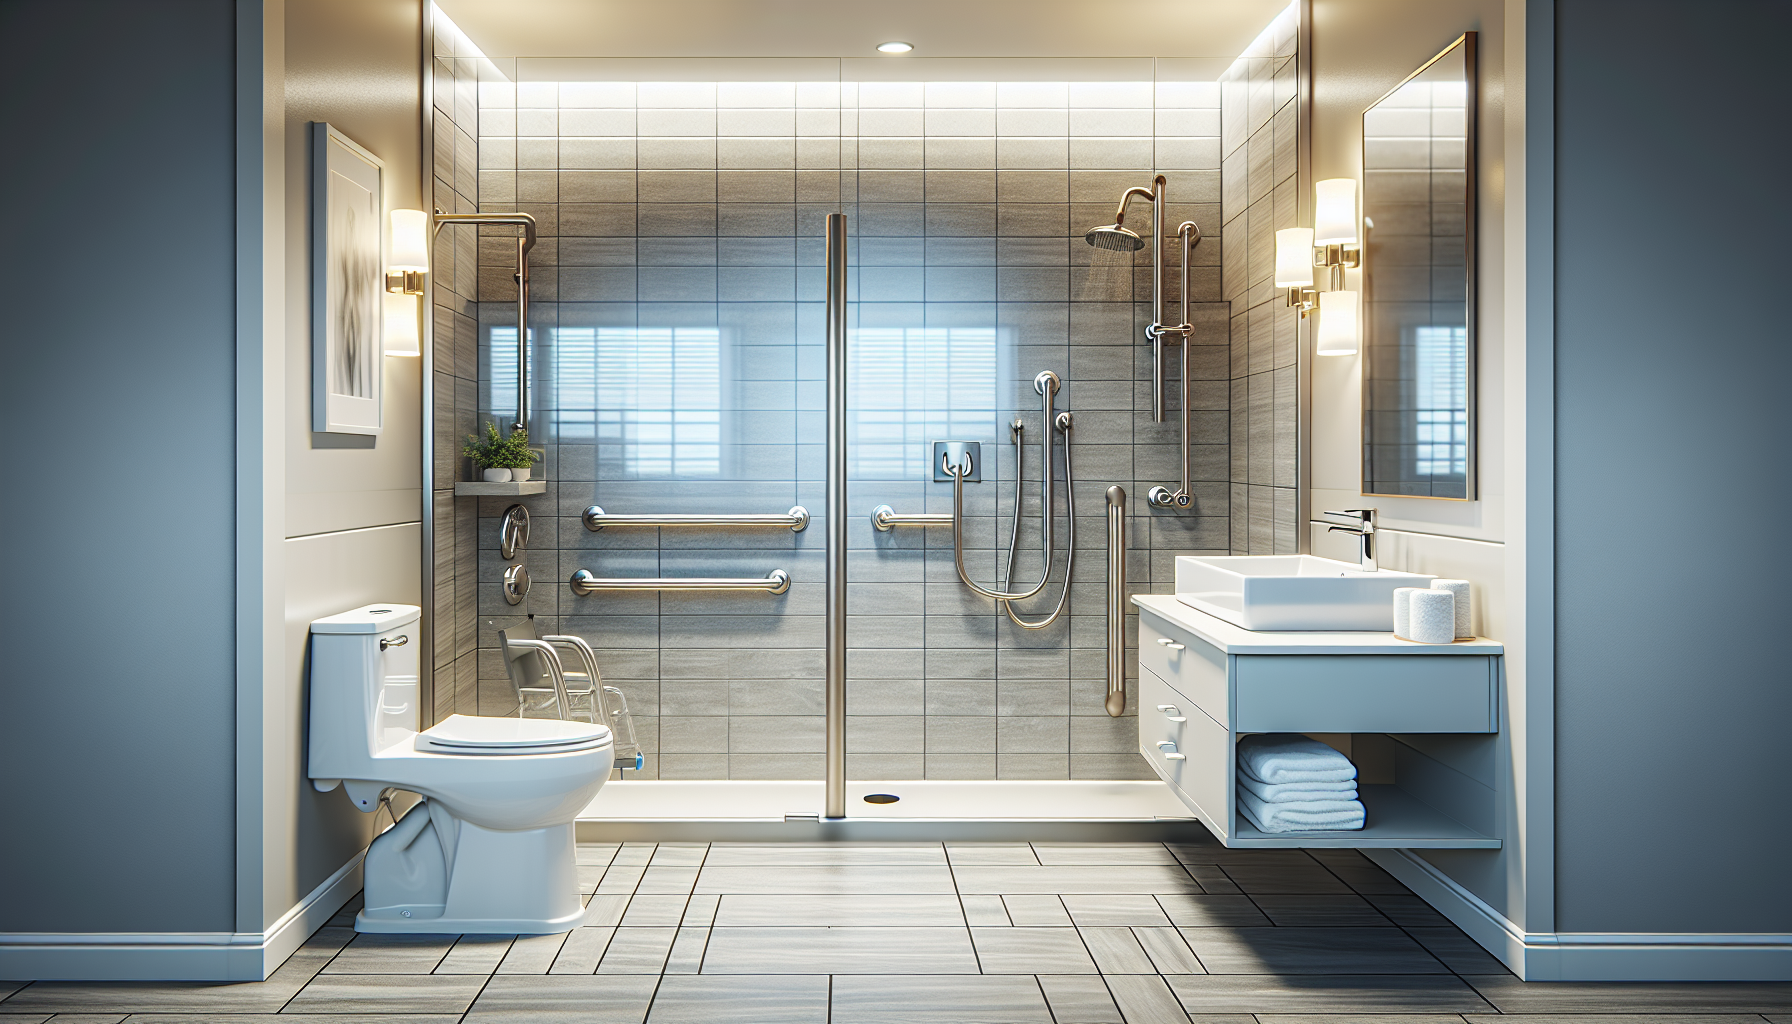
Bathroom modifications usually deliver the highest safety value
If a home modification budget is limited, start in the bathroom. Bathrooms combine hard surfaces, water, transfers, and tight clearances, making them one of the highest-risk spaces in any home. The most effective low-cost improvements include properly anchored grab bars, non-slip flooring or bath strips, a handheld showerhead on a slide bar, a shower chair or tub transfer bench, and a raised toilet seat or comfort-height toilet. Installed correctly, these changes significantly reduce effort and improve confidence.
Grab bars deserve special attention because placement matters as much as product quality. Towel bars are not substitutes. In showers and near toilets, bars should be anchored to studs or installed with approved secure mounting systems rated for load. I have seen many bathrooms where families spent money on decorative upgrades but delayed bars, even though bars were the single feature that immediately changed transfer safety. For renters, tension-mounted or suction products may seem attractive, but permanent anchoring is more reliable.
Bathtubs are a common challenge. A full roll-in shower renovation is expensive, but there are lower-cost steps before that point. A tub transfer bench lets a user sit outside the tub and slide in. A handheld showerhead makes seated bathing practical. Anti-scald valves or temperature-limiting devices reduce burn risk for users with slower reaction time or reduced sensation. If a remodel is possible, a low-threshold shower with a wide opening and reinforced walls for future grab bars is usually a stronger long-term choice than another standard tub.
Kitchen and living area changes that support independence every day
Kitchens need accessibility because they are used constantly and involve heat, water, weight, and reaching. Full accessible kitchen remodels can be expensive, but many functional improvements are affordable. Replace D-shaped pulls with larger easy-grip handles, use pull-out shelves in lower cabinets, add a lazy Susan to corner storage, and move frequently used items to waist-to-shoulder height. Single-lever faucets are easier than two-knob fixtures, and touch or touchless faucets can help users with pain, weakness, or limited dexterity.
Appliance placement matters as much as appliance type. A microwave set too high is a burn hazard. A countertop microwave or drawer microwave is safer. Side-by-side refrigerators often improve reach compared with top-freezer models. Induction cooktops reduce burn risk because the surface stays cooler than traditional electric radiant units after cookware is removed. In living rooms and bedrooms, stable seating with firm cushions and armrests is usually better for transfers than deep, low sofas. Bed risers, transfer poles, or a properly selected adjustable bed can reduce caregiver strain and make dressing easier.
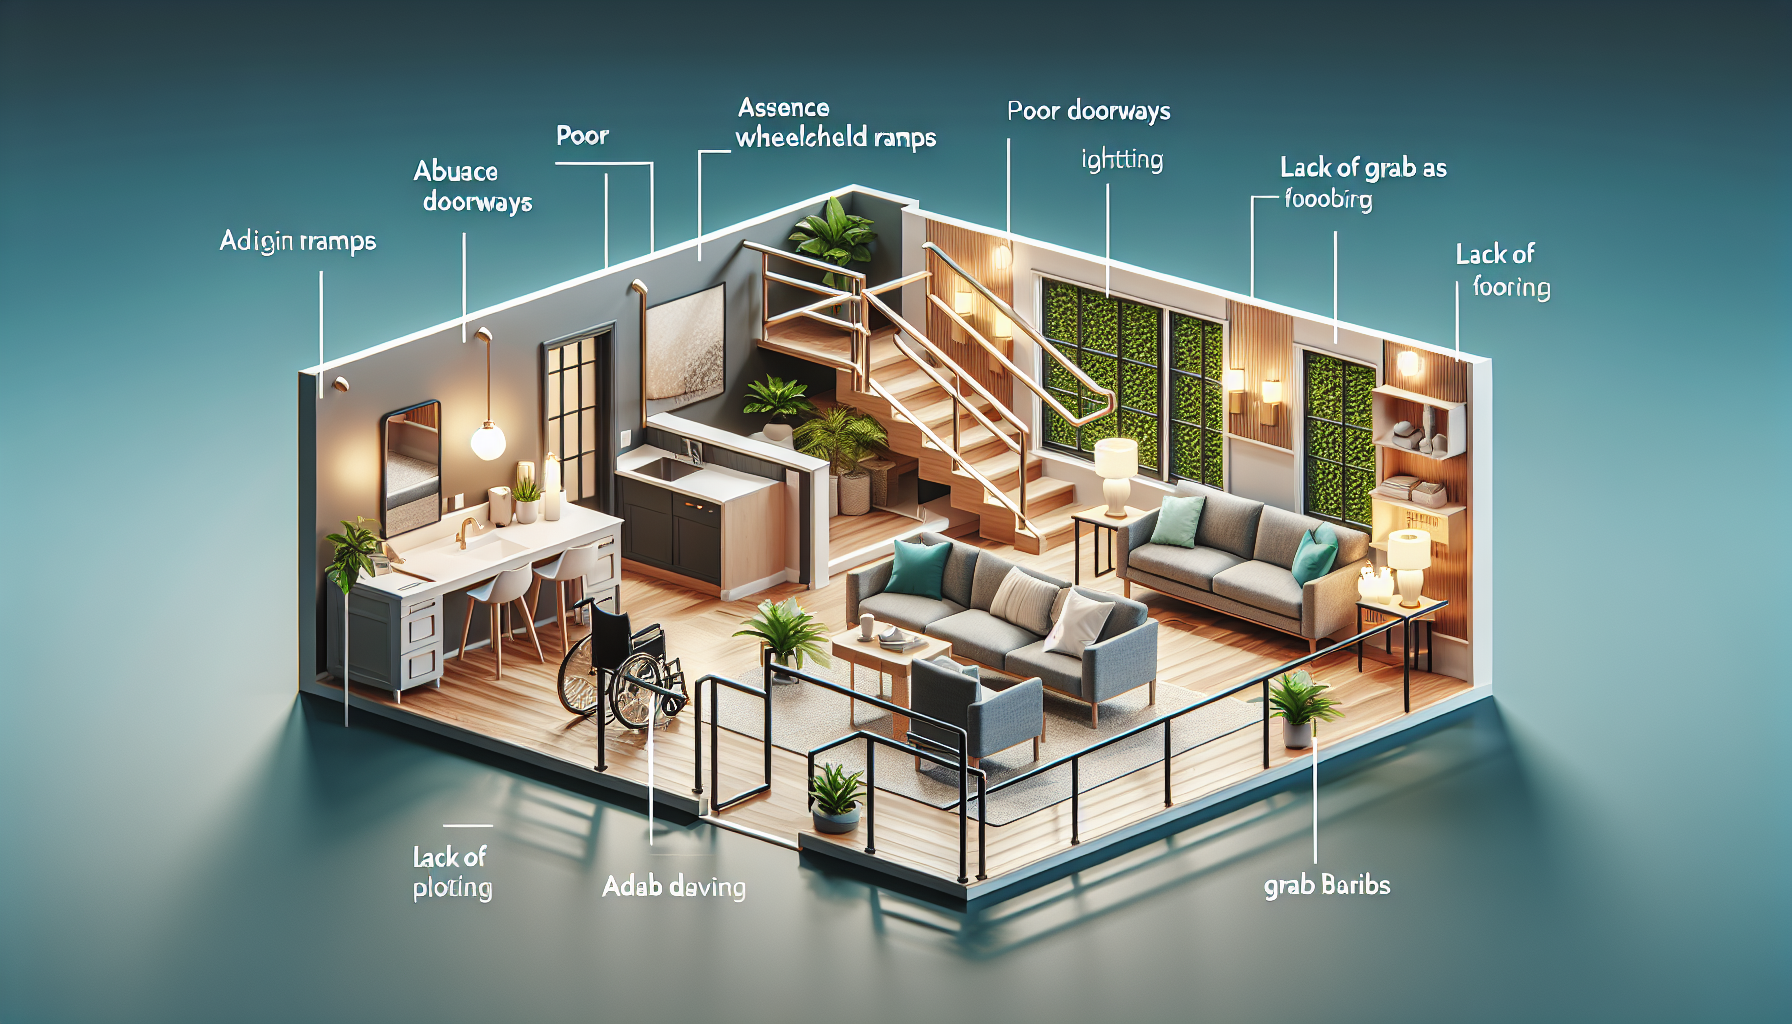
Open circulation space is essential. Remove clutter, unnecessary furniture, and loose floor decor that narrows pathways. Rearranging a room is one of the least expensive modifications available, yet it often creates immediate turning space for walkers and wheelchairs. Extension cords should be eliminated where possible, and furniture edges that force awkward sidestepping should be repositioned. Accessibility is not only about special products; it is also about preserving clear, predictable movement through the home.
Flooring, lighting, and controls are often overlooked but highly effective
Some of the best accessibility gains come from details people ignore because they do not look dramatic. Flooring should be stable, slip resistant, and easy for mobility devices to roll across. Thick plush carpet increases rolling resistance and catches walkers. High-pile rugs and curled mats are common trip hazards; removing them is one of the fastest safety upgrades available. Where rugs must remain, use low-pile styles with secure backing and beveled edges. Thresholds between rooms should be minimized or ramped smoothly.
Lighting affects mobility, reading, medication management, and fall prevention. Layered lighting works best: overhead ambient light, task lighting where activities happen, and night lighting along routes to the bathroom. LED bulbs are efficient and bright, but color temperature matters. Neutral white often improves contrast without feeling harsh. Under-cabinet lights in kitchens, illuminated switches, and motion-activated nightlights in halls and bathrooms all provide disproportionate benefit for modest cost.
Controls should be easy to see, reach, and operate. Rocker light switches are easier than small toggles. Smart plugs, voice assistants, programmable thermostats, and motorized blinds can reduce unnecessary walking and awkward reaching. These tools are especially useful for people with fatigue, chronic pain, spinal cord injuries, neurological conditions, or limited hand function. When chosen well, home automation is not a luxury category; it is a practical extension of accessibility.
What budget-friendly home accessibility modifications usually cost
Costs vary by region, product quality, and installation complexity, but the range below reflects realistic starting points I commonly see when planning upgrades. The key is to compare cost against daily impact and risk reduction, not appearance alone.
| Modification | Typical Cost Range | Main Benefit |
|---|---|---|
| Lever door handles | $20 to $80 each | Easier grip and door operation |
| Rubber threshold ramp | $50 to $250 | Smoother wheelchair and walker entry |
| Grab bar with installation | $100 to $300 | Safer transfers in bathroom areas |
| Handheld showerhead | $30 to $150 | Improved seated bathing |
| Raised toilet seat | $40 to $150 | Reduced effort during sit-to-stand |
| Tub transfer bench | $100 to $250 | Safer tub access |
| Portable ramp | $150 to $800 | Temporary access over steps |
| Motion-sensor lighting | $25 to $150 | Better visibility and fewer falls |
| Pull-out cabinet shelves | $50 to $300 per cabinet | Easier kitchen reach and storage |
The table shows why strategic upgrades usually outperform cosmetic projects. A few hundred dollars spent on bars, ramps, lighting, and better hardware can produce a measurable accessibility improvement. By contrast, a bathroom renovation that ignores transfer mechanics may cost thousands and still fail the user. When budgets are tight, sequence upgrades so that each phase still works with later improvements. For example, if a bathroom will eventually be remodeled, install grab bars and a handheld showerhead now, but also choose locations and plumbing fixtures that support the future layout.
Funding, rental-friendly options, and common mistakes to avoid
Many households assume home accessibility modifications must be paid entirely out of pocket, but funding options do exist. Medicaid Home and Community-Based Services waivers may cover certain modifications for eligible individuals, although rules vary by state. The U.S. Department of Veterans Affairs offers housing adaptation programs for qualifying veterans. Some nonprofit organizations, Area Agencies on Aging, state assistive technology programs, and community development offices provide grants, low-interest loans, or equipment reuse programs. Health savings accounts and flexible spending accounts may also help cover eligible items with medical purpose, though installation labor is not always included.
Renters have options too. Removable threshold ramps, shower chairs, handheld showerheads, smart lighting, lever-style handle adapters, bed rails, and furniture reconfiguration can make a large difference without permanent alterations. Under fair housing rules in many situations, tenants with disabilities may request reasonable modifications, though restoration conditions and payment responsibility vary. It is important to document requests clearly and get written approval before altering walls, plumbing, or flooring.
The most common mistakes are buying equipment before measuring, choosing products for appearance over function, and treating accessibility as a one-time project. Needs change. A person recovering from surgery may need temporary support, while someone with progressive multiple sclerosis or Parkinson’s disease may need a home that can adapt over several years. Think in stages, focus on actual tasks, and ask qualified professionals when safety is uncertain. Start with one room, one route, or one daily problem. Then build from there. If you are planning upgrades now, begin with an accessibility assessment and tackle the highest-risk barriers first.
Frequently Asked Questions
What are the most affordable home modifications for improving disability access?
The most affordable accessibility upgrades are usually the small, high-impact changes that remove everyday obstacles without requiring major construction. In many homes, simple improvements such as replacing round doorknobs with lever-style handles, installing grab bars in bathrooms, adding non-slip flooring or bath mats, improving lighting in hallways and entryways, and using offset door hinges to widen clear passage space can make a meaningful difference. Threshold ramps, handheld showerheads, raised toilet seats, bed rails, and motion-sensor lights are also relatively low-cost options that can improve both safety and independence.
Another budget-friendly strategy is to focus on ease of use rather than full renovation. For example, rearranging furniture to create wider pathways, lowering frequently used items to reachable shelves, adding pull-out organizers in cabinets, and switching to rocker-style light switches can make a home much more functional for someone with mobility, dexterity, or balance challenges. These upgrades are often affordable, fast to install, and practical for renters as well as homeowners. The best starting point is usually to identify the daily tasks that are hardest or least safe, then prioritize changes that solve those specific problems first.
How can I make a bathroom more accessible without doing a full remodel?
A bathroom can often be made much safer and easier to use without tearing everything out and starting over. Some of the most effective low-cost upgrades include installing grab bars near the toilet and inside the shower or tub, using a tub transfer bench or shower chair, adding a raised toilet seat, placing non-slip strips or mats on wet surfaces, and replacing traditional faucets with lever-handle models. A handheld showerhead can also make bathing easier for people who need to sit, have limited mobility, or need caregiver assistance. These changes improve stability and reduce fall risk, which is especially important because bathrooms are one of the most hazardous rooms in the home.
You can also improve bathroom accessibility by increasing visibility and reducing the amount of bending, twisting, and reaching required. Better lighting, especially around mirrors and pathways, can help individuals with low vision. Open shelving or easy-reach storage can keep toiletries accessible without straining. If the doorway is narrow, a swing-clear hinge may provide a little extra usable width without rebuilding the frame. Even replacing a slippery bath rug, adjusting mirror height, or adding color contrast around fixtures can make the room more usable. A full remodel may eventually be needed in some cases, but many households can achieve meaningful results through targeted, budget-conscious upgrades first.
What should I prioritize first when planning budget-friendly accessibility modifications?
The smartest way to prioritize accessibility changes is to start with safety, then move to essential daily activities, and finally address convenience and long-term comfort. In practical terms, that means first looking at areas where falls, strain, or blocked access are most likely, such as entrances, bathrooms, stairs, and main walking paths. If someone has trouble getting into the home, stepping over a tub wall, standing up from the toilet, or moving through narrow cluttered spaces, those issues should typically come before cosmetic or less urgent upgrades. Prioritizing this way helps make the biggest difference with the least amount of money.
It also helps to think about how the person uses the home every day. Focus on the spaces needed for basic routines: entering and exiting the house, bathing, using the toilet, preparing food, sleeping, and moving safely from room to room. If the budget is limited, choose modifications that solve multiple problems at once, such as better lighting, lever handles, or threshold ramps. It is also wise to consider future needs. A person’s mobility, strength, vision, or balance may change over time, so selecting adaptable improvements now can prevent additional costs later. A simple home accessibility assessment, whether done informally or with an occupational therapist or aging-in-place specialist, can help identify the highest-value upgrades.
Are there affordable ways to improve accessibility in the kitchen and living areas?
Yes, and many of the best improvements in kitchens and living spaces are less expensive than people expect. In the kitchen, accessibility often comes down to reach, maneuverability, and ease of operation. Budget-friendly updates can include adding pull-out shelves, lazy Susans, D-shaped cabinet pulls, lever-handle faucets, anti-fatigue and non-slip floor surfaces, and under-cabinet lighting. Frequently used cookware, dishes, and pantry items should be moved to waist-level storage to reduce bending and reaching. A small rolling cart can also help transport items safely for someone with limited strength or balance. Even a few simple adjustments can make cooking and meal prep more manageable and less tiring.
In living rooms, bedrooms, and shared spaces, the goal is usually to create clear pathways and reduce physical effort. Rearranging furniture to allow wheelchair, walker, or cane access is often free and highly effective. Area rugs that slide or curl should be removed or secured. Chairs with supportive arms and appropriate seat height can make sitting and standing much easier. Smart bulbs, voice-controlled assistants, and easy-touch remotes can add convenience for people with mobility or dexterity limitations without major installation costs. In bedrooms, risers, bed rails, touch lamps, and accessible closet organization systems can improve independence. These room-by-room adjustments may seem modest, but together they can dramatically improve daily comfort and usability.
Can renters make disability access improvements on a budget?
Renters can often make meaningful accessibility improvements without permanent remodeling, and many low-cost options are portable or reversible. Examples include temporary ramps, removable grab bars designed for certain surfaces, shower chairs, raised toilet seats, bed rails, non-slip mats, motion-sensor lighting, adhesive cabinet pulls, and smart home devices. Furniture can be rearranged to create better mobility routes, and storage can be reorganized so essential items are easier to reach. In many cases, these changes can be installed quickly and removed later with little or no damage to the property, making them practical choices for rental housing.
It is still important for renters to communicate with landlords before making any modification that affects walls, doors, plumbing fixtures, or the building structure. Some landlords may allow minor accessibility updates, especially if the request is reasonable and clearly related to disability access. Depending on local laws and housing rules, tenants may also have rights related to reasonable accommodations or modifications. Even when a landlord does not approve major alterations, renters can usually still improve safety and function through non-permanent solutions. The key is to focus on changes that address the renter’s specific needs while staying affordable, portable, and compatible with the lease.