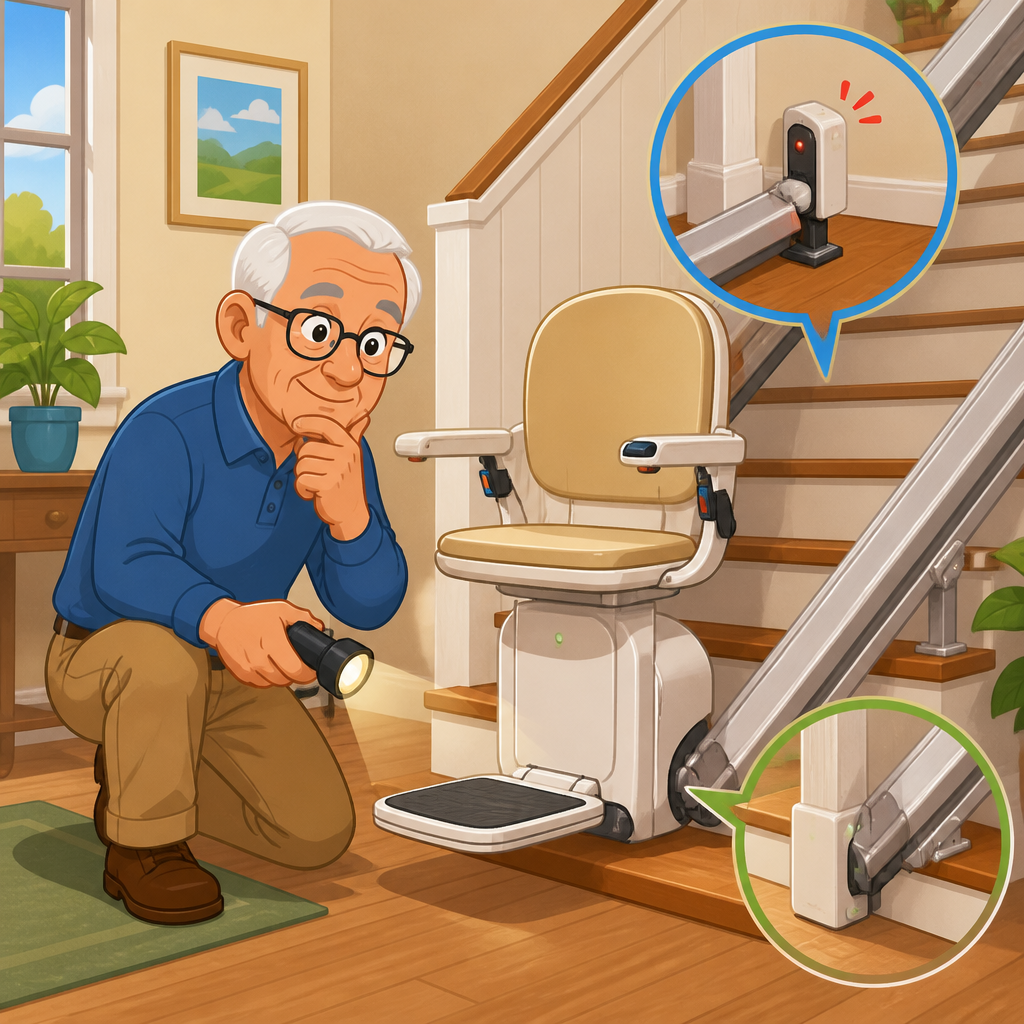
A stair lift that will not charge at the top or bottom usually has a simple cause, but diagnosing it methodically matters because the charging system, battery health, rail contacts, and parking alignment all work together. In service calls, I have found that most “dead lift” complaints are not sudden motor failures; they start with weak charging at one landing, dirty charge points, a tripped outlet, or a lift left just off its charging position. This guide explains the step-by-step checks that solve the problem safely, what each part does, and when the issue moves beyond homeowner troubleshooting.
In plain terms, a stair lift charges its batteries when the carriage parks on designated charging points, usually at the top, the bottom, or both ends of the rail. The batteries then power the lift during travel, which is why many models still run in a power cut until the charge is depleted. If the unit will not charge at the top or bottom, the key terms to understand are charging contacts, charging strips, batteries, power supply, seat swivel interlock, and limit sensors. Those components determine whether the lift can recognize it is parked correctly and whether electricity can reach the batteries.
This matters for more than convenience. Poor charging shortens battery life, increases breakdown risk, and can leave a user stranded on the stairs. It also creates confusion because symptoms overlap: beeping, slowing, stopping between floors, and a lift that seems fine one day and dead the next can all trace back to charging faults. As the hub for lift not working step-by-step help, this article shows how to check the common causes in a logical order, distinguish a charging issue from another fault, and know which related troubleshooting topics deserve deeper follow-up.
How stair lift charging works and why top or bottom faults happen
Most modern stair lifts use rechargeable batteries housed in the carriage base. The batteries are charged through spring-loaded contacts or charge shoes that touch metal charge points on the rail when the lift is parked in the correct position. Some brands use a charge strip running part of the rail; others use dedicated charge points near the ends. The household outlet feeds a transformer or power supply, which converts mains voltage to a lower DC voltage for charging. If any link in that chain fails, charging stops even though the lift may still have enough stored battery power to move temporarily.
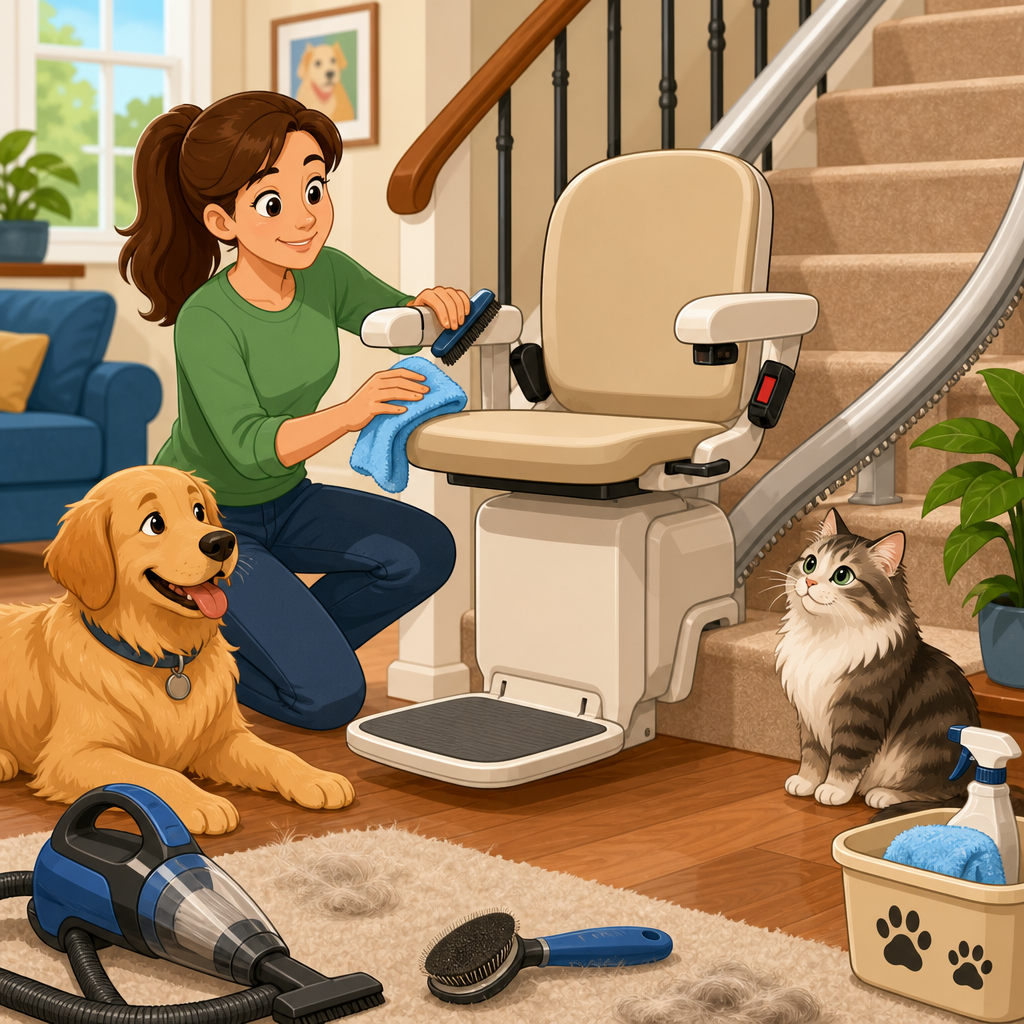
Top or bottom charging faults happen for predictable reasons. The carriage may be stopping slightly short of the charging point because of a dirty rail, a misadjusted limit, or user habit. Contacts may be oxidized, bent, or contaminated with pet hair and dust. The outlet may have lost power because a breaker tripped or a switch was turned off. Batteries may be old enough that they no longer accept charge properly; in practice, many stair lift batteries last roughly three to five years, though heavy use, temperature swings, and repeated deep discharge can shorten that range. Less commonly, the charger board or wiring harness fails.
One important principle guides troubleshooting: a stair lift can have power and still not be charging. Users often assume that because lights are on or the lift moves a short distance, charging is fine. In reality, the batteries may simply be carrying the unit until they weaken further. That is why the most effective diagnosis begins with where the lift is parked, whether the charge indicator shows active charging, and whether the top and bottom positions behave differently.
Start with the safest first checks before touching anything
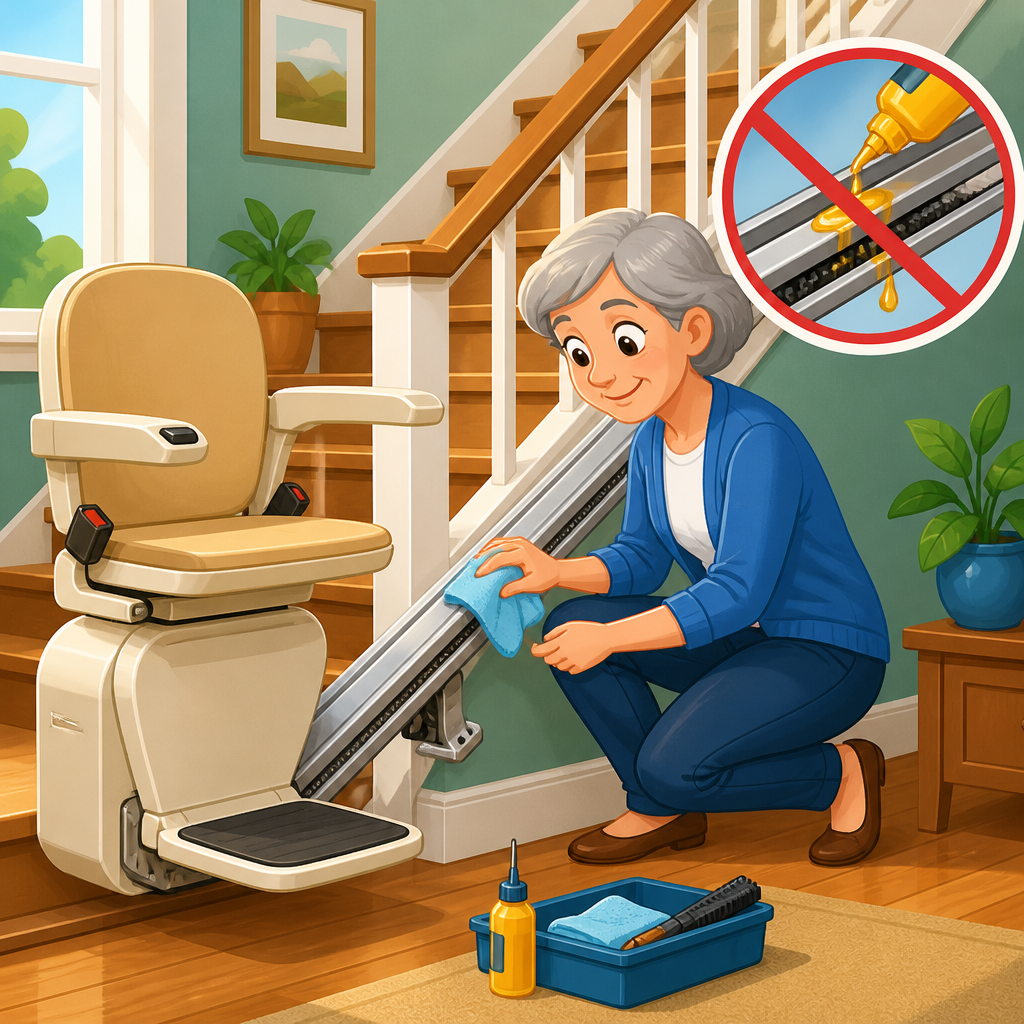
Before inspecting a stair lift, make safety the first step. Park the lift on a landing if possible, remove items from the stairs, and keep hands clear of moving parts. Do not remove covers unless the manufacturer’s manual specifically allows it for user maintenance. Avoid using oil, spray lubricant, or abrasive pads on charging contacts because they can attract dirt or damage plated surfaces. If the lift is stuck on the staircase and a user depends on it immediately, use the call/send controls only if the unit still responds normally; do not force the carriage by hand.
Your first observation should be the display, status light, or audible beeps. Common brands such as Bruno, Acorn, Handicare, Harmar, and Stannah provide fault indicators that narrow the diagnosis quickly. A steady charging light at one end but not the other points toward parking alignment or end-specific contacts. Repeating low-battery beeps usually indicate the charger is not replenishing the batteries. A complete lack of lights may indicate no mains supply, a disconnected power supply, or severely depleted batteries. The owner’s manual is valuable here because beep patterns and indicator colors vary by manufacturer.
Next, confirm the simplest operational items. Make sure the seat is fully locked in the travel position, armrests are down if the model requires them, and the footrest is not obstructed. Check that the swivel seat at the top landing is fully returned from its exit position, because many lifts use an interlock that prevents operation or normal parking if the seat is partly turned. Also verify that the key switch, if fitted, is on. These sound basic, but they account for more “lift not working” reports than many owners expect.
Step-by-step checks for a stair lift that will not charge
Use this sequence in order. It mirrors the process technicians follow because it rules out high-probability causes before moving to component faults.
| Step | What to check | What a problem looks like | What to do |
|---|---|---|---|
| 1 | Park position at top and bottom | Lift stops slightly away from charge point | Use call/send and re-park carefully at each end |
| 2 | Outlet and power supply | No charger light, dead outlet, loose transformer | Test outlet, reset breaker, firmly reconnect plug |
| 3 | Charge contacts and rail points | Visible dirt, tarnish, bent springs | Clean gently with dry cloth; arrange service if damaged |
| 4 | Status lights or fault codes | Low-battery or charge error indicator | Match code to manual and note whether issue is top, bottom, or both |
| 5 | Battery behavior | Lift runs briefly then slows, beeps, or dies | Suspect aged batteries if power supply is confirmed good |
| 6 | Related interlocks and sensors | Seat not locked, footrest safety edge engaged | Reset position and remove obstructions |
| 7 | Wiring or charger fault | All simple checks pass but unit still will not charge | Book manufacturer or qualified stair lift service |
Start by testing both ends deliberately. Send the lift to the bottom and listen for the normal park/charge indication. Then send it to the top and repeat. If it charges at one end but not the other, the issue is localized: misalignment, worn contacts, or a failed charge point at that end. If it charges at neither end, look first at the outlet, transformer, fused spur if installed, or the charger itself. This top-versus-bottom comparison is one of the fastest ways to narrow the field.
Check the household power source next. Many stair lifts plug into a standard nearby outlet, while others are hardwired through a switched fused connection unit. I have seen lifts fail simply because a vacuum cleaner was plugged into the same outlet and tripped a GFCI or breaker. Test the outlet with a lamp or meter if it is safe and accessible. Inspect the charger brick or transformer for a loose connection, heat damage, or an unplugged lead. If the power supply has an indicator light, verify it is on.
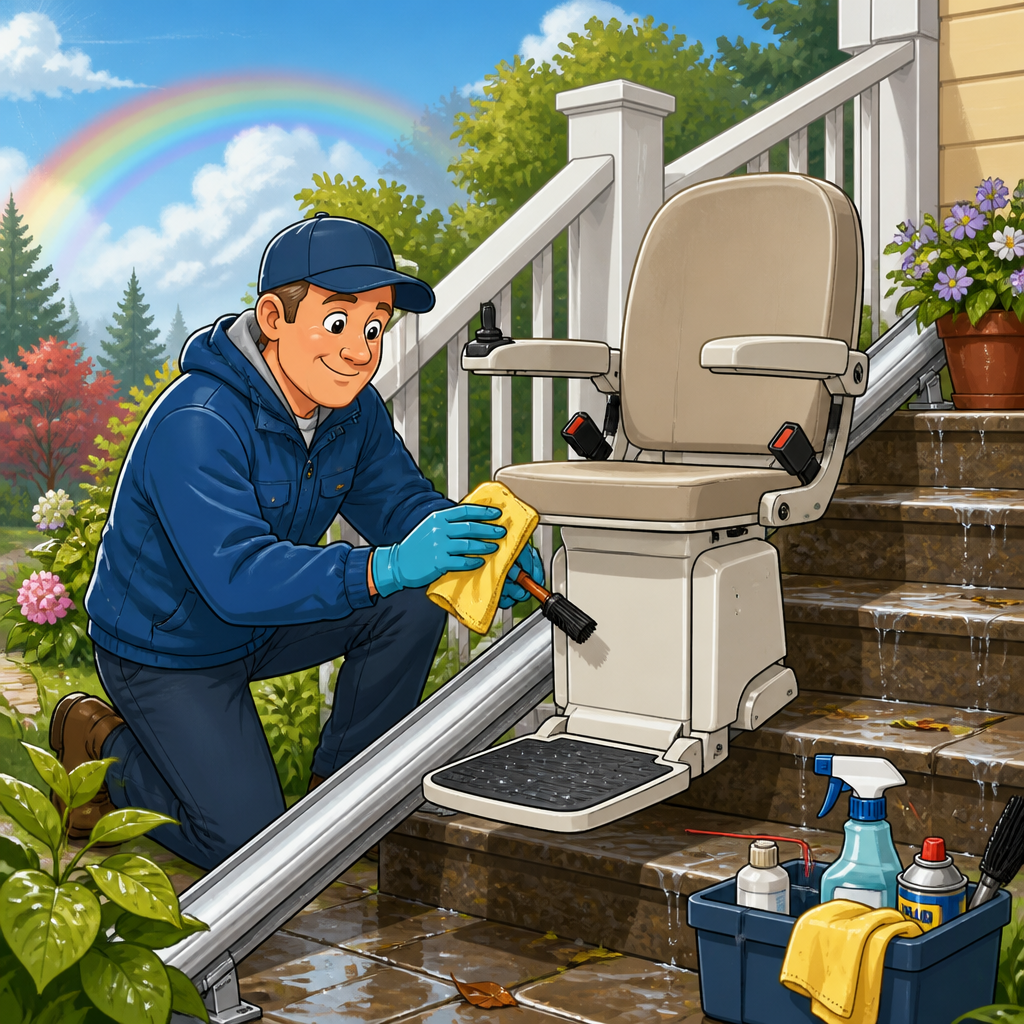
Then inspect the charging contacts. On most units, these are easy to identify as metal pads or spring-loaded brushes where the carriage meets the rail’s charging points. Dirt buildup is common, especially in homes with pets, kitchens near the stairway, or open windows. Use a dry microfiber cloth to wipe the contacts and the matching rail points. If the manual permits, a very lightly dampened cloth followed by drying may be acceptable, but never saturate components. If springs are bent, missing, or stuck, stop there and arrange service; contact pressure matters for reliable charging.
After cleaning, park the lift precisely. Some lifts need to settle into a very specific final position before charging begins. If the carriage stops just a fraction short, move it off and return it again using the normal controls rather than pushing. Listen for a relay click or watch for the charge indicator. If the unit has a diagnostic screen, note any code exactly. Recording the symptom, the end of the rail affected, and the code will make the service visit faster and more accurate.
How to tell whether the problem is batteries, contacts, or the charger
Battery failure, dirty contacts, and charger faults can look similar, but the pattern usually reveals the answer. If the lift charges at times and then suddenly does not, especially only at one end, contacts or alignment are more likely than batteries. If the lift has been beeping for days, moving more slowly, or stopping after one or two trips despite confirmed mains power, the batteries are usually at the end of their service life. Sealed lead-acid batteries remain common in stair lifts, and they deteriorate faster when repeatedly left uncharged.
A charger problem often affects both ends at once because the charger supplies the whole rail system. You may see no charge light anywhere, while the outlet tests live. In that case, the transformer, charger board, fuse, or internal charging circuit becomes more likely. On some models, a failed charger allows the lift to keep working until the batteries drain fully, which misleads users into blaming the batteries alone. Replacing batteries without fixing the charger will only lead to another no-charge call.
Contacts create a different pattern. The lift may charge at the bottom but not the top, or only when parked very carefully. Sometimes a user reports that wiggling the seat or sending the lift down and back makes it “come alive.” That usually indicates marginal contact or parking position, not a healthy system. If you notice blackened pads, pitting, greenish corrosion, or inconsistent spring pressure, the repair should include inspection of both the moving contact assembly and the fixed charge points, because replacing only one worn side can leave the fault unresolved.
Related lift not working issues this hub helps you identify
A charging complaint is often the entry point to wider troubleshooting. If the stair lift will not move at all, check whether it is truly a no-charge condition or an interlock issue. Swivel seat switches, footrest safety edges, armrest controls, overspeed governors, and final limit switches can all prevent movement. If the unit beeps but still has some power, charging remains the prime suspect. If it is silent and dark, power supply and battery depletion move higher on the list. If it stops only midway on the stairs, look beyond charging to obstructions on the rail, gear rack contamination, or travel sensor faults.
This is why a maintenance, troubleshooting, and safety hub should connect symptoms rather than treat each in isolation. Homeowners commonly search for “stair lift not working,” “stair lift beeping,” “stair lift battery replacement,” “seat won’t swivel,” or “stair lift stopped halfway.” In practice, these issues overlap. A weak battery can trigger fault beeps. A misparked lift can appear dead by morning. A seat left partially swiveled at the top can prevent the unit from settling onto the charge point. Organizing diagnosis around symptoms and sequence saves time and reduces unnecessary parts replacement.
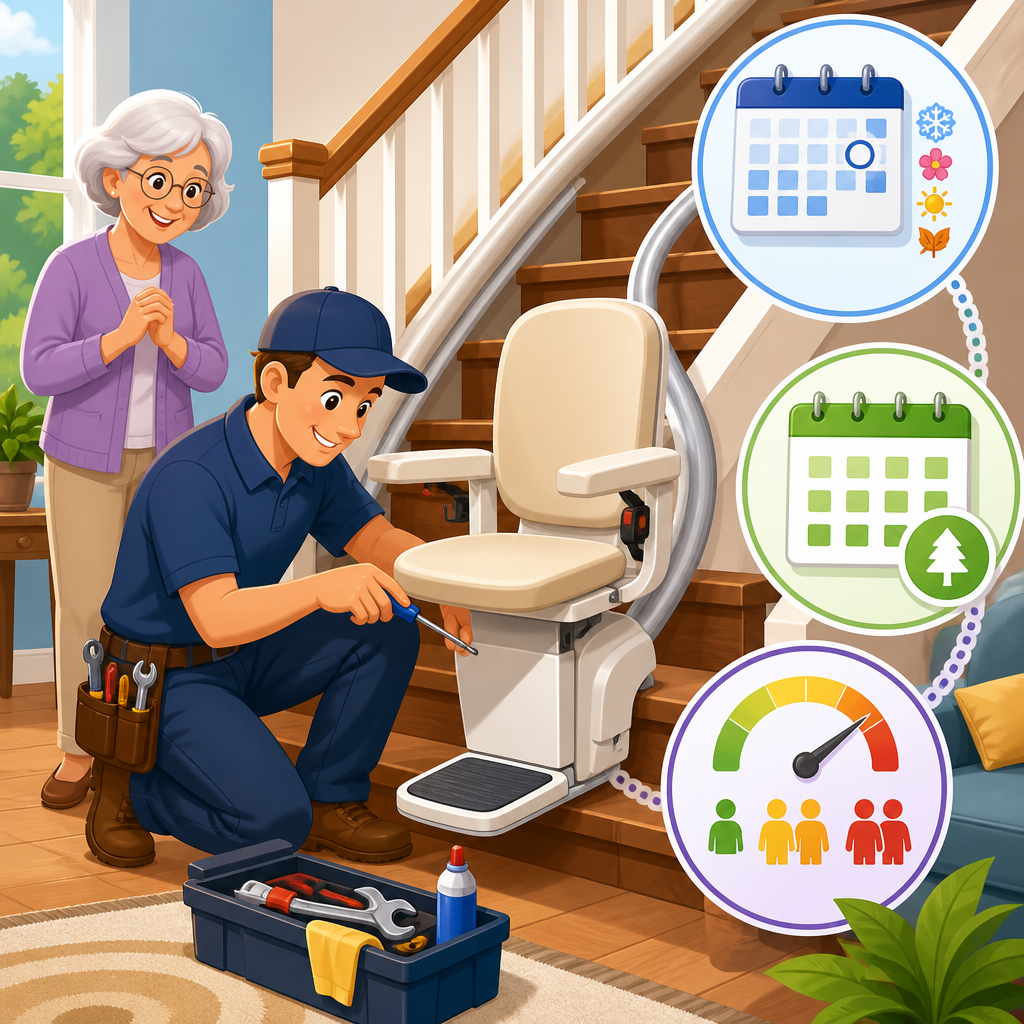
Preventive maintenance also belongs in the discussion because it reduces repeat charging failures. Keep the rail clean and dry, avoid storing items where they can bump the carriage at the landings, and listen for changes in the normal parking sound. During annual service, technicians should verify charging voltage, battery load performance, contact condition, and the accuracy of stop positions at both ends. Reputable providers document battery test results and replace batteries in matched pairs when required. That service record becomes especially important for older lifts or reconditioned units.
When to stop troubleshooting and call a stair lift technician
Call for professional service if the lift will not charge after you have confirmed parking position, mains power, and clean visible contacts. Also call immediately if you smell overheating, see melted insulation, notice cracked battery cases, or hear unusual clicking from the charger area. Electrical testing beyond basic outlet confirmation should be left to trained technicians because chargers, control boards, and battery circuits can be damaged by incorrect probing or shorting. Manufacturers such as Stannah, Bruno, Acorn, Handicare, and Harmar all have model-specific procedures and parts that matter in diagnosis.
A technician should also handle repeated battery depletion, replacement of contact assemblies, and any issue involving the carriage covers, track wiring, or internal fuses. In my experience, the fastest service calls happen when the owner can report three things clearly: whether the lift charges at the top, the bottom, both, or neither; what lights or beeps appear; and whether the outlet powering the charger is definitely live. Those details let the engineer arrive with the right batteries, charger, or contact kit instead of making a second trip.
The main benefit of a step-by-step approach is simple: it turns a vague “stair lift not working” problem into an answerable diagnosis. Start with safe checks, compare charging at the top and bottom, confirm the power source, clean visible contacts, and note every indicator. Most no-charge faults come from parking alignment, dirty or worn contacts, failed power supplies, or aging batteries, and each has a recognizable pattern. If the simple checks do not restore charging, book qualified service promptly to protect the batteries and restore reliable use. For the best results, use this hub as your starting point for every stair lift troubleshooting and safety question, then follow through with regular maintenance and model-specific support.
Frequently Asked Questions
Why will a stair lift charge at one end of the rail but not at the top or bottom?
If a stair lift charges at one landing but not the other, the problem is usually related to the charging circuit at that specific end rather than a total failure of the lift itself. Most stair lifts use charge points at the top and bottom of the rail, and the chair must park in exactly the right position so the charging contacts can meet properly. If the lift stops slightly short, rolls a little past the contact point, or is left just off its normal parking location, the batteries may not receive a charge at that end.
Another common cause is dirty or oxidized charging contacts. Over time, the metal contact strips or charging tabs at the top or bottom landing can collect dust, pet hair, grease, or corrosion. That buildup creates resistance and can interrupt charging even though the lift appears parked correctly. In other cases, the issue may be with the power supply feeding that end of the rail. A tripped breaker, switched outlet, loose transformer plug, or failed charging lead can leave one end inactive while the other still works.
Start by checking whether the lift gives any low-battery beeps or charge indicator lights when parked at each end. Then confirm the chair is fully parked in its normal charging position, not an inch or two away. Inspect the charge points visually for dirt or discoloration, and verify the power outlet and charger are live. In many cases, the fix is simple: reposition the lift, clean the contacts, or restore power to the charger. If one end consistently fails after those checks, the charge contact assembly, wiring, or charging board may need professional testing.
What should I check first if my stair lift seems dead at the top or bottom landing?
The first thing to check is whether the stair lift is actually parked on its charging point. This is more important than many owners realize. A stair lift can look as though it is fully at the top or bottom, but if it is even slightly out of alignment, the batteries may not charge. Because most stair lifts run on batteries even when plugged in, a unit that has been left off the charging contacts can gradually go flat and then appear completely dead.
Next, check the simplest power issues. Make sure the unit is turned on at the main switch, if your model has one. Confirm the key switch is in the correct position if applicable. Then inspect the outlet that powers the charger or transformer. Do not assume the outlet is live just because the lift worked recently. Plugs can loosen, switches can get flipped, and breakers can trip without being obvious. Test the outlet with another device if it is safe to do so.
After that, look for indicators on the stair lift itself. Many models have a diagnostic display, status light, or audible beeping pattern that can point you toward charging loss, battery weakness, or a parked-position problem. Also check the armrests, seat swivel, and footrest safety edges, because some lifts will not operate if they are not in the correct position. If the lift has enough power to move, send it a short distance away and then return it firmly to the charging point. If it starts charging again, parking alignment was likely the issue. If it does not, the next step is to inspect the charge contacts and power supply more closely.
How do I clean and inspect stair lift charging contacts safely?
Before cleaning anything, turn off the stair lift using the main switch and, if possible, unplug the charger or isolate power according to the manufacturer’s instructions. Safety matters because you are working around electrical components and moving equipment. Once the lift is off, examine the charging points at both the top and bottom of the rail. Depending on the model, these may be copper strips, metal tabs, spring-loaded contacts, or fixed charging plates on the carriage and rail.
Look for obvious dirt, black marks, corrosion, bent contact fingers, looseness, or wear. Dust and oxidation are two of the most common reasons a stair lift will not charge consistently at one end. Use a soft, dry cloth first to remove loose debris. If the contacts are dirty, lightly clean them with a cloth slightly dampened with a manufacturer-approved cleaner or a mild electrical contact cleaner if appropriate for the model. Avoid soaking the components, using abrasive sandpaper, or applying heavy lubricants, because those can damage the contacts or attract more dirt.
As you inspect, pay attention to whether the contacts appear to line up correctly when the chair is parked. If a contact is bent, recessed, loose, or not making firm contact, cleaning alone will not solve the issue. Also inspect the rail around the charge area for anything that could prevent full parking, such as debris, damage, or a misaligned stop point. Once cleaned, restore power and park the lift carefully at the top and bottom to see whether charging resumes. If the problem remains and the contacts show physical damage or poor alignment, it is best to arrange service rather than force the parts or attempt electrical repairs yourself.
Can weak batteries make it seem like the stair lift is not charging properly?
Yes, weak batteries can absolutely make a charging problem look worse, or even create symptoms that mimic a fault at the top or bottom landing. Stair lifts typically rely on rechargeable batteries that are topped up whenever the chair is parked on its charging contacts. As batteries age, they lose capacity and can no longer hold a full charge or recover properly after use. That means the lift may work for a short time, beep unexpectedly, slow down, or stop after being parked away from the charger, even if the charging system is partly functioning.
This becomes especially confusing when there is also a minor charging issue at one end of the rail. For example, a lift with aging batteries might still operate normally if parked on the stronger charging point, but fail after sitting at the weaker one. Owners often assume the rail contact is the only issue, when in reality both battery condition and charging performance need to be considered together. A lift with old batteries is much less tolerant of any interruption in charging alignment or contact quality.
Signs of battery decline include reduced travel range during a power outage, repeated low-battery alarms, sluggish movement, or a lift that works briefly after charging but loses power quickly. If your batteries are several years old and the lift has begun acting inconsistently, battery testing should be part of the diagnosis. However, replacing batteries without checking the charger, outlet, and contacts can lead to the same problem returning. The best approach is to confirm the charger is delivering power, both charging points are working, and the batteries are still capable of accepting and holding a charge.
When should I stop troubleshooting and call a stair lift technician?
You should call a technician when the basic checks do not restore charging, or when you find signs of a fault that go beyond simple cleaning or repositioning. Homeowners can usually verify parking alignment, inspect visible contacts, confirm outlet power, and look for obvious obstructions. But if the lift still will not charge at the top or bottom after those steps, the problem may involve the charger, wiring harness, contact assembly, limit switches, circuit board, or batteries themselves. Those components often require electrical testing and model-specific knowledge.
It is also time to stop if you notice damaged wires, burnt smells, scorched contacts, cracked components, sparking, intermittent operation, or diagnostic fault codes you cannot interpret confidently. A stair lift is a safety device, not just a household convenience, so repeated trial-and-error repairs can create additional risk. If the chair stops on the stairs, only runs intermittently, or fails to hold charge overnight, a professional inspection is the safest course.
In practice, the smartest approach is to do the straightforward checks first: make sure the lift is fully parked on the charging point, confirm the outlet and charger have power, clean visible charge contacts, and observe whether the problem happens at one landing or both. If those steps do not produce a clear result, scheduling service can prevent unnecessary battery drain and reduce the chance of being stranded with a non-working lift. A technician can test voltage at the charge points, assess battery health under load, and identify whether the fault is with alignment, electrical supply, or internal components.