Creating a barrier-free bathroom on a budget starts with understanding what “barrier-free” really means: a bathroom designed so people with limited mobility, balance challenges, chronic pain, vision loss, or temporary injuries can use it safely, comfortably, and with as little assistance as possible. In practice, that means reducing trip hazards, widening clear floor space, improving support at transfer points, choosing easier-to-use fixtures, and planning layouts that work for walkers, wheelchairs, and caregivers. I have worked with families adapting homes after stroke, joint replacement, Parkinson’s progression, and age-related balance loss, and the same pattern shows up every time: the bathroom becomes the highest-risk room in the house, but also one of the most affordable rooms to improve in phases.
Budget matters because many households need accessibility changes quickly, often after a hospital discharge or a decline in mobility, and they cannot wait for a full luxury remodel. The good news is that better bathroom accessibility does not always require moving walls or spending tens of thousands of dollars. Strategic upgrades such as grab bars, handheld shower heads, anti-slip flooring, comfort-height toilets, better lighting, and smarter storage can meaningfully reduce fall risk and increase independence. This hub article covers bathroom and bedroom accessibility together because they are functionally linked: safe transfers, nighttime toileting, dressing, and personal care depend on how these spaces work as a system. If you are planning changes now, focus first on safety, then ease of use, then long-term adaptability.
Start with a practical accessibility assessment
The most cost-effective project begins with measurement, not shopping. Before buying any product, assess who will use the space, what their current limitations are, and what changes are likely over the next three to five years. A person using a cane today may need a walker after surgery; someone transferring independently today may need caregiver assistance later. Measure doorway width, clear floor area in front of the toilet and sink, tub height, shower threshold height, vanity knee clearance, and the distance from the bed to the bathroom. I usually sketch the room and note pinch points because small dimensions determine whether a low-cost fix will work or become wasted money.
Use recognized guidance where possible. ADA Standards are written for public accommodations, not private homes, but they provide useful benchmarks for clearances, reach ranges, and grab bar placement. For aging-in-place projects, many contractors also reference universal design principles and recommendations from occupational therapists. In plain terms, you want enough room to turn, stable places to hold, controls that can be operated with weak grip strength, and surfaces that stay safe when wet. An assessment should also include the bedroom because the route to the bathroom, bed height, lighting, and transfer space often create more risk than the bathroom fixtures themselves.
Prioritize the highest-value bathroom upgrades
If your budget is limited, make changes in order of risk reduction. Falls happen most often during entry, exit, transfer, and turning. That makes support bars, flooring traction, toilet access, and shower access the first priorities. In many homes, I recommend installing properly anchored grab bars before replacing any decorative finishes. A $100 to $300 grab bar installation can do more for safety than an expensive tile upgrade. Textured bath mats with secure backing can help temporarily, but they are not a substitute for slip-resistant flooring or a stable transfer surface.
The table below shows where budget dollars usually deliver the best return in everyday usability and safety.
| Upgrade | Typical Budget Range | Main Benefit | Best Use Case |
|---|---|---|---|
| Grab bars | $100–$400 installed | Safer transfers and balance support | Toilet, shower, tub entry |
| Handheld shower head | $40–$150 | Easier seated or assisted bathing | Limited standing tolerance |
| Shower chair or tub bench | $50–$250 | Reduces fatigue and fall risk | Weakness, dizziness, recovery |
| Raised or comfort-height toilet | $150–$500+ | Easier sit-to-stand transfers | Hip, knee, balance issues |
| Slip-resistant flooring | $3–$10 per sq. ft. material | Better traction when wet | Frequent slipping concerns |
| Zero-threshold shower conversion | $2,500–$10,000+ | Wheelchair and walker access | Long-term mobility planning |
That range matters because not every home needs the same level of intervention. For one client recovering from ankle surgery, a tub transfer bench, handheld sprayer, and suction-free grab bars anchored into studs provided a safe short-term setup for under $500. For another client with multiple sclerosis and worsening fatigue, the better investment was a curbless shower conversion and wider entry, because the lower-cost temporary fixes would have been outgrown within a year.
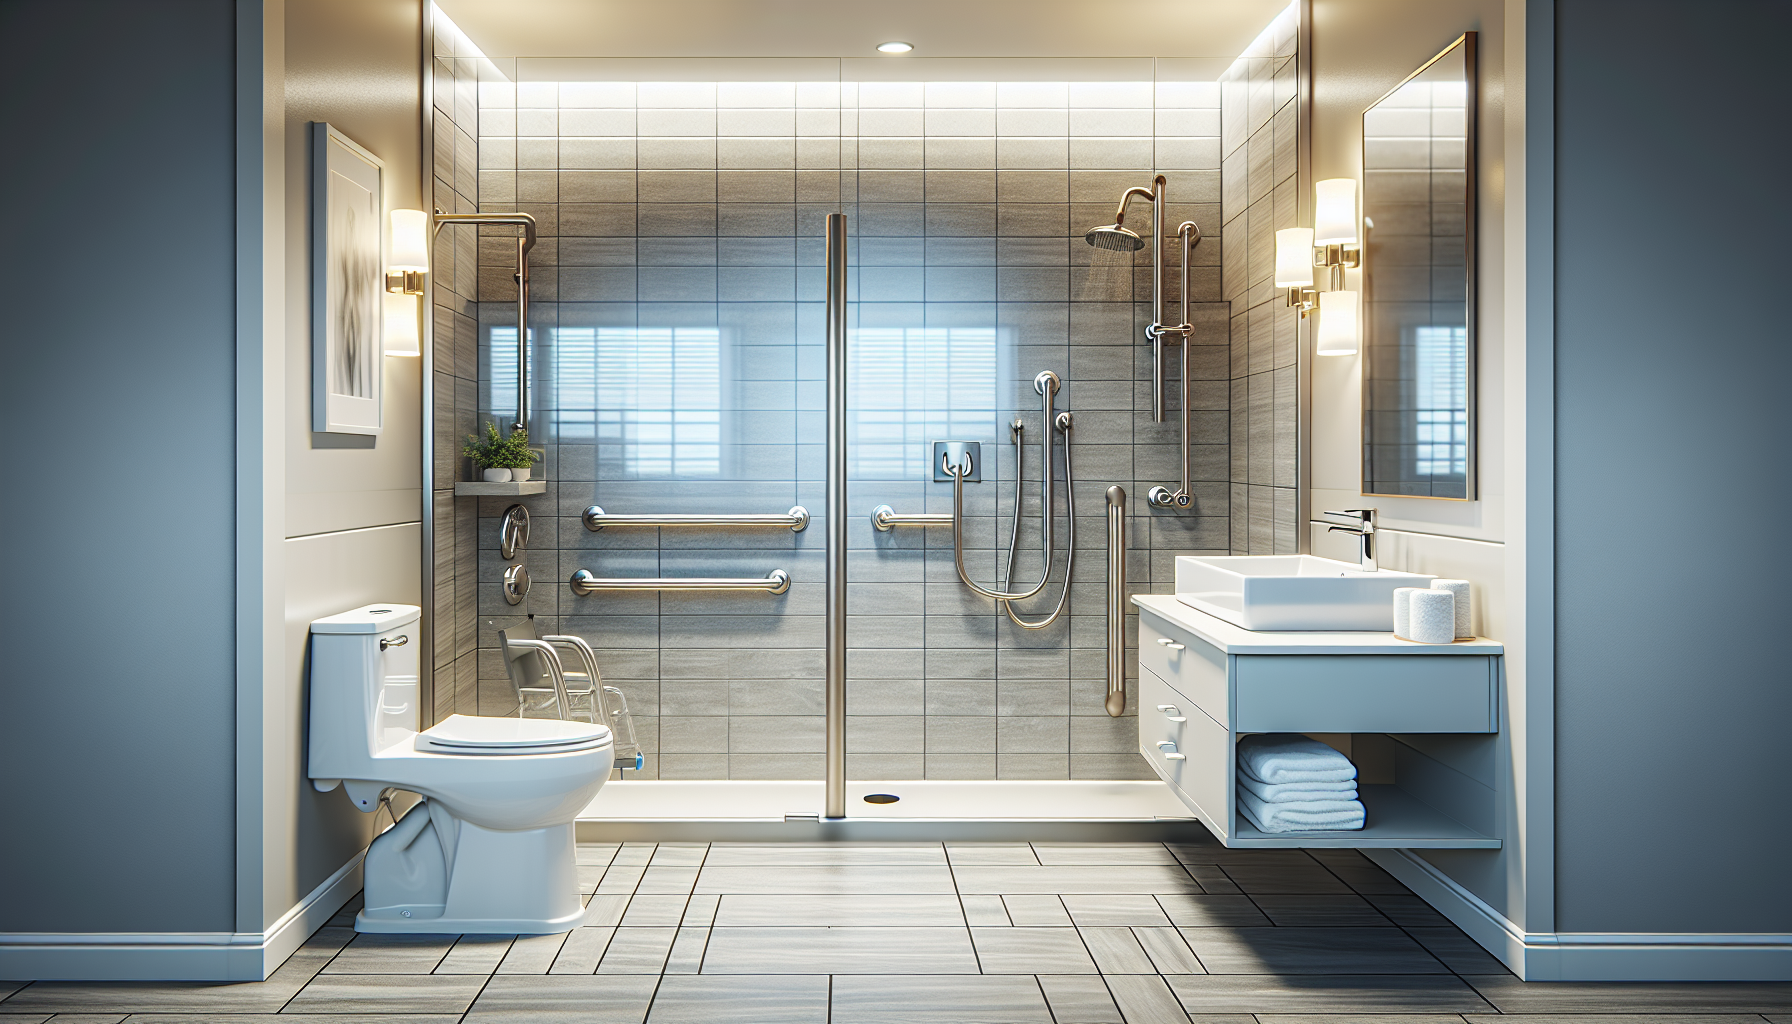
Make bathing safer without a full remodel
Bathtub and shower access is where many budget plans succeed or fail. A full wet-room renovation can be excellent, but it is not the starting point for most households. First, determine whether the user can step over a tub wall safely. If not, use a tub transfer bench that spans the tub edge, allowing the person to sit first and then slide in. Pair it with a handheld shower head on a long hose and an easy-to-reach diverter. This setup is often the fastest path to safer bathing after hospitalization.
For walk-in showers, focus on threshold height, control placement, drainage, and seating. A threshold above about half an inch can stop a wheelchair and catch a walker. If a full curbless conversion is not affordable, reducing the threshold and adding beveled transition pieces can still improve access. Install a fold-down shower seat or a freestanding bath chair with non-slip feet. Position controls so the user can turn on water without standing directly under the spray, which reduces burn risk and discomfort. Thermostatic or pressure-balance valves are worth the money because they maintain more stable water temperature, an important detail for users with slower reaction times or reduced sensation.
Improve toilet access and sink usability
Toilet transfers are frequent, time-sensitive, and often hardest at night. A comfort-height toilet, typically around 17 to 19 inches from floor to seat, can reduce strain for people with knee, hip, and back limitations. If replacement is not in the budget, a raised toilet seat can help, though fixed-height fixtures generally feel more stable and are easier to clean. Install grab bars beside and, when layout allows, behind the toilet. The exact placement should match the user’s transfer pattern, because a bar that is technically compliant but poorly positioned will be ignored.
Sinks are often overlooked. A beautiful vanity with deep cabinet bases can block wheelchair approach and force awkward leaning. If seated access matters, choose an open-bottom sink or modify the vanity for knee clearance while insulating hot-water pipes to prevent burns. Lever-handle faucets are easier than small knobs for arthritis, tremor, or limited grip strength. Mirrors should be usable from standing and seated positions, and task lighting at the mirror is far more important than a decorative ceiling fixture when shaving, grooming, or managing medications.
Choose flooring, lighting, and hardware that support independence
Some of the most effective low-cost accessibility improvements are also the least glamorous. Flooring should provide traction without creating rolling resistance for wheelchairs or walkers. Textured porcelain tile, slip-resistant sheet vinyl, and luxury vinyl with a matte finish are common choices. Highly polished stone looks upscale but often becomes slick when wet. Small grout joints and smooth transitions between rooms matter because wheels, canes, and shuffling feet catch on uneven edges. If a full flooring replacement is not possible, start by eliminating loose rugs and securing any necessary mats with low-profile edges.
Lighting is equally important. Older adults need more illumination to distinguish edges, read controls, and navigate safely at night. Layer ambient light with bright mirror lighting and motion-activated night lights from bedroom to bathroom. Replace round knobs with lever handles on doors and faucets. Consider contrasting colors between walls, floors, toilet seat, and grab bars to improve visibility for users with low vision. These are not cosmetic details; visual contrast helps people identify where to step, sit, and reach.
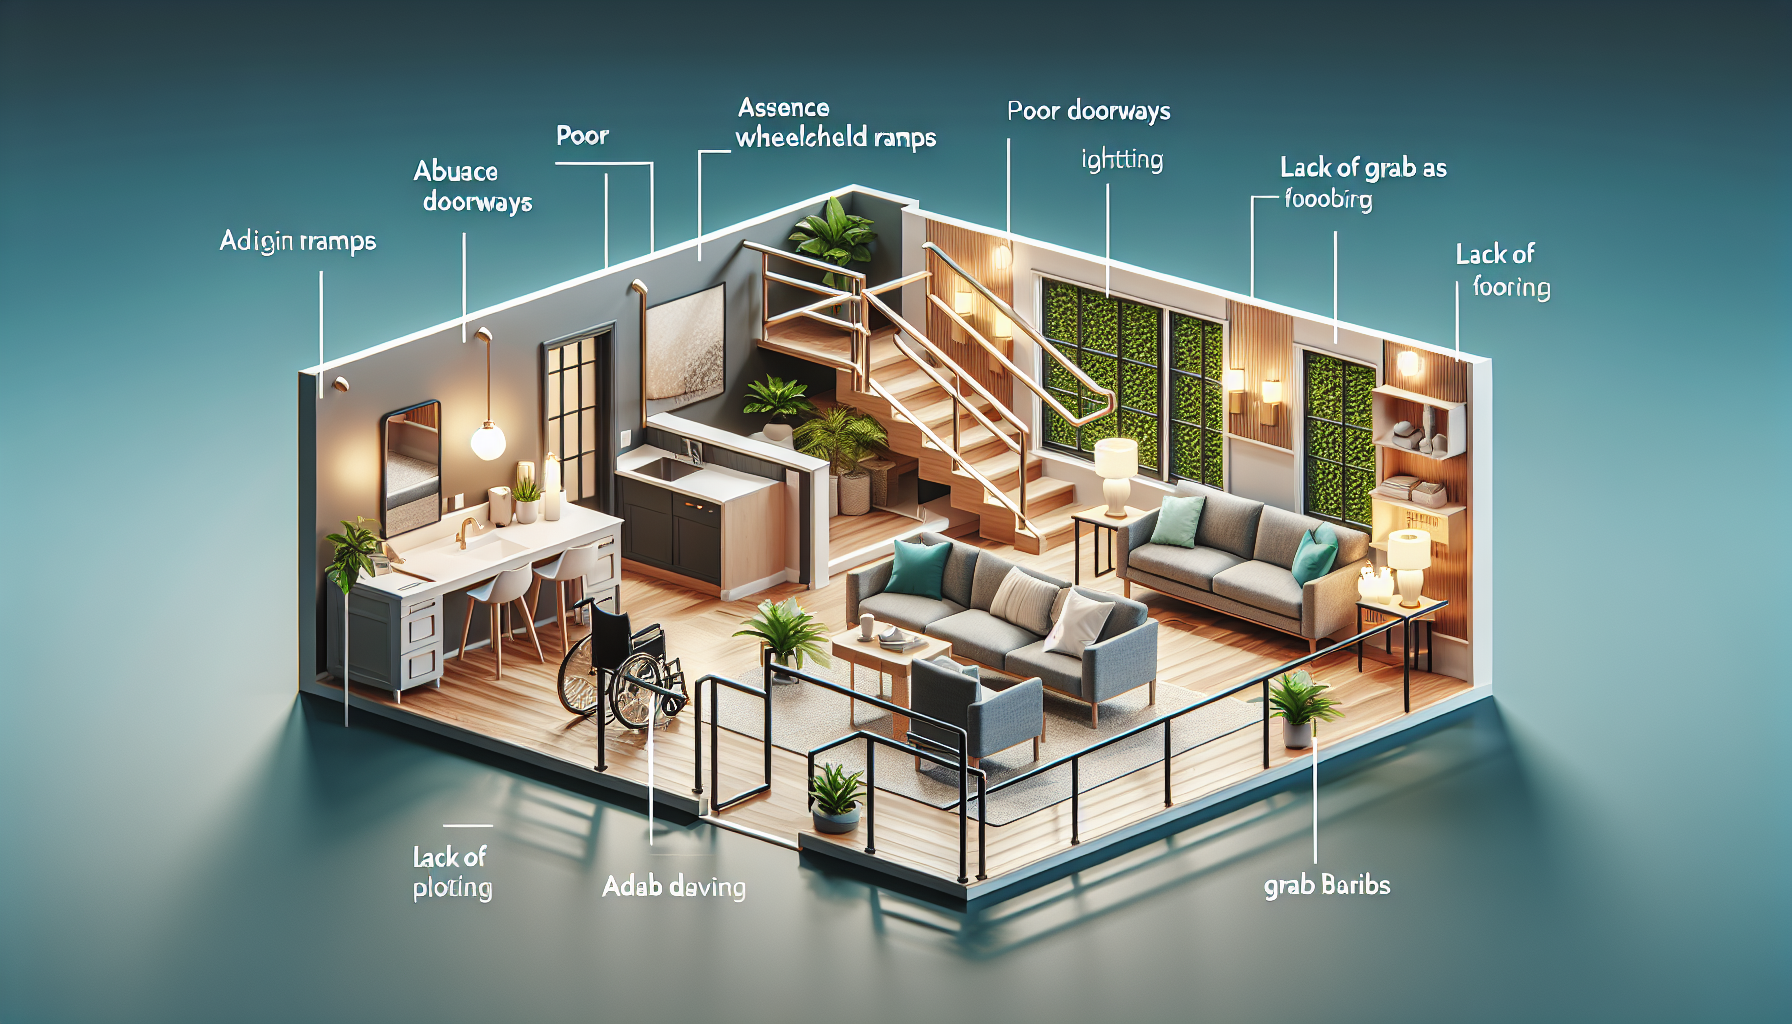
Extend accessibility planning into the bedroom
Bathroom and bedroom accessibility should be planned as one continuous routine, especially for dressing, toileting, bathing, and nighttime transfers. Start with bed height. A bed that is too low makes standing difficult; too high, and feet cannot plant firmly on the floor. In most homes, the ideal bed height allows the user to sit with knees bent roughly at right angles and both feet flat. Bed rails can help some users, but they must be chosen carefully to avoid entrapment risks; portable assist handles designed for home beds are often safer than improvised rails.
Clear the path from bed to bathroom. Remove clutter, reduce threshold changes, and ensure mobility aids can turn without hitting furniture. Install touch lamps, rocker switches, or voice-controlled lighting if hand dexterity is limited. In closets and dressers, place everyday items between shoulder and hip height to reduce stooping and overhead reaching. A stable chair with arms can create a safe dressing station. For clients with fatigue or orthostatic intolerance, a seated dressing area in the bedroom often prevents falls before the bathroom routine even begins.
Know when to use professionals and funding resources
Not every project should be a DIY job. Grab bars must be anchored to framing or installed with approved mounting systems that meet load requirements. Plumbing moves, waterproofing, electrical changes, and structural doorway modifications should be handled by qualified tradespeople. When I review failed budget remodels, the biggest mistakes are usually hidden: improperly waterproofed shower pans, bars mounted only into drywall, and floor transitions that create a new trip hazard. Hiring a contractor with aging-in-place or accessible remodeling experience often prevents costly rework. Look for professionals familiar with CAPS training, universal design, and residential accessibility standards.
Budget relief may come from more places than homeowners expect. Depending on location and eligibility, funding may be available through Medicaid waiver programs, Veterans Affairs grants such as HISA, state assistive technology programs, nonprofit rebuilding groups, or local Area Agencies on Aging. Some health plans and flexible spending accounts may cover certain durable medical equipment, including shower chairs or raised toilet seats, when medically justified. An occupational therapist home assessment can also save money by identifying the right sequence of modifications instead of relying on trial and error.
A barrier-free bathroom on a budget is achievable when you treat accessibility as a series of smart decisions rather than a single expensive remodel. Start with a clear assessment, prioritize transfer safety, improve bathing and toilet access, and support the full routine by adapting the bedroom and pathway too. The best results come from matching each upgrade to real daily tasks: getting out of bed, reaching the toilet in time, bathing without fear, and managing personal care with dignity. You do not need premium finishes to create a safer home. You need the right clearances, the right supports, and the right fixtures in the right places.
For most households, the first wins are simple: install anchored grab bars, add a handheld shower head and stable seat, improve lighting, remove trip hazards, and adjust fixture heights where possible. Then plan larger investments, such as a curbless shower or wider doorway, around long-term mobility needs. If you are building out this Accessibility & Mobility Solutions hub, use this page as the starting framework and then map deeper articles around shower conversions, toilet transfer aids, bedroom transfer setups, lighting for low vision, and funding options. Begin with one high-risk problem area this week, measure it carefully, and make the first upgrade that increases safety immediately.
Frequently Asked Questions
What does a barrier-free bathroom actually include, and how is it different from a standard bathroom remodel?
A barrier-free bathroom is designed to remove or reduce the obstacles that make bathing, toileting, and grooming difficult or unsafe for people with limited mobility, balance issues, chronic pain, low vision, or temporary injuries. Unlike a standard remodel that may focus mostly on style, a barrier-free design prioritizes safe movement, easier transfers, better reach ranges, and more usable floor space. That often includes features such as a curbless or low-threshold shower, slip-resistant flooring, strategically placed grab bars, comfort-height toilets, lever-style faucet handles, brighter layered lighting, and a layout that allows easier maneuvering with a walker or wheelchair.
On a budget, the goal is not necessarily to rebuild the entire room from scratch. In many cases, the biggest improvements come from targeted changes that solve the most important safety and access problems first. For example, removing loose rugs, replacing a difficult-to-step-over tub with a safer shower solution, reinforcing walls for grab bars, improving lighting around the vanity and toilet, and selecting easy-to-operate fixtures can dramatically improve usability without requiring a luxury renovation. A barrier-free bathroom is ultimately about function, dignity, and independence, and even modest upgrades can make a major difference.
What are the most affordable upgrades that make the biggest impact in a barrier-free bathroom?
If budget is limited, start with the upgrades that reduce fall risk and improve day-to-day usability right away. Grab bars are one of the best-value improvements because they provide support near the toilet, inside the shower, and at key transfer points. Slip-resistant flooring or slip-resistant surface treatments also offer strong value, especially in wet areas where falls are more likely. Better lighting is another affordable improvement that is often overlooked; brighter illumination at the vanity, shower, and entry area helps people with low vision or depth-perception issues move more confidently and safely.
Other cost-effective changes include installing a handheld showerhead, replacing round faucet knobs with lever handles, adding a shower seat or fold-down bench, and switching to a comfort-height toilet or adding a secure raised toilet seat if a full toilet replacement is not practical. Widening clear floor space can also be low-cost if it simply involves removing unnecessary cabinets, hampers, or decorative items that block movement. In many bathrooms, inexpensive layout adjustments create more accessibility than expensive finishes ever will. If you need to prioritize, focus first on fall prevention, then on support and transfer ease, and finally on convenience upgrades that make the room less physically demanding to use.
Can I create a wheelchair-friendly or walker-friendly bathroom without doing a full renovation?
Yes, in many homes you can make a bathroom much more walker-friendly or wheelchair-friendly without a complete gut remodel, although the extent of improvement depends on the room’s size and existing layout. A good starting point is to improve the clear floor area by removing obstacles and ensuring there is enough room to approach the toilet, sink, and shower more directly. Wall-mounted shelves, recessed storage, and replacing bulky vanities with more open designs can help free up usable space. If a wheelchair user needs knee clearance at the sink, a vanity swap may be worthwhile, but even simpler changes such as moving storage elsewhere can improve maneuverability.
For walkers, the key is smoother movement and safer transitions. That may mean eliminating raised thresholds, securing the flooring, and making sure doors, fixtures, and storage are easy to operate with limited balance or grip strength. For wheelchair users, door swing can also be a problem, so a pocket door or out-swing door may create better access if the budget allows. If the shower is not fully accessible, a tub transfer bench, handheld showerhead, and grab bars can still provide a safer interim solution. While a full renovation may eventually be needed for ideal wheelchair clearance and a true roll-in shower, many households can make meaningful improvements through smart, phased upgrades rather than one expensive project all at once.
How do I decide which accessibility features are worth the money if I have a very limited budget?
The best way to decide is to think in terms of daily risk, physical effort, and long-term usefulness. Ask which activities are currently hardest or most dangerous: stepping into the tub, lowering onto the toilet, standing in the shower, turning faucets, seeing clearly at night, or moving through the room without tripping. Features that reduce the highest-risk tasks are usually the smartest first investments. For most households, that means prioritizing grab bars, non-slip surfaces, better lighting, and safer bathing access before spending money on cosmetic upgrades.
It also helps to separate “must-have” features from “nice-to-have” ones. A fold-down shower seat may be essential for someone with fatigue or balance problems, while high-end tile may not improve safety at all. Reinforcing walls now for future grab bars is another budget-smart move because it avoids opening walls again later. Choosing durable, easy-to-clean materials is also worth considering, since maintenance can become a burden for people with limited strength or mobility. If multiple people use the bathroom, try to select features that are accessible without making the room feel institutional, such as attractive grab bars that double as towel bars, lever handles with clean styling, and comfort-height fixtures that work well for a wide range of users. A well-planned budget bathroom should solve real functional problems first and leave room for future upgrades as needs change.
Should I hire a contractor for a budget barrier-free bathroom, or are some upgrades safe to do myself?
Some upgrades are very reasonable for a confident do-it-yourselfer, while others should absolutely be handled by a qualified contractor. Simple improvements such as adding brighter bulbs, installing handheld showerheads, removing loose rugs, changing cabinet pulls, adding motion-sensor night lights, and reorganizing the layout to create more floor space are often manageable for homeowners. Some surface-mounted accessories may also be straightforward, but anything that supports body weight, affects waterproofing, or changes plumbing and electrical systems requires more caution.
Grab bars are the best example of a feature that must be installed correctly. They need secure anchoring and proper placement to be safe and effective. The same is true for shower seats, toilet reinforcement, flooring replacement, curbless shower construction, widened doorways, and any project involving structural framing or water management. Poor installation can create serious injury risks or lead to hidden moisture damage that becomes expensive later. If your budget is tight, a practical strategy is to combine DIY tasks with professional help for the critical safety work. You might handle demolition, painting, and accessory changes yourself, then hire a contractor for waterproofing, accessibility-focused layout changes, plumbing modifications, and support hardware installation. That approach helps control costs while still protecting the parts of the project where safety and code compliance matter most.